How to build a VR-ready gaming PC
Want a mighty gaming rig for your new VR headset? Here's how to build one for £1000...
Once you’ve tried virtual reality, you’ll never want to go back to the real world ever again.
While the likes of Google Cardboard and the Samsung Gear VR are great introductions to VR, they’re mere toys compared to the next-gen gaming experience of the Oculus Rift or HTC Vive.
Of course, if you want to dive into the weird and wonderful world of proper VR, you’re going to need a decent gaming rig to begin your journey.
Here’s a recipe for a £1000 gaming PC that should handle everything the latest VR headsets throw at it. Time to cook ourselves some tech…
1. Getting Started
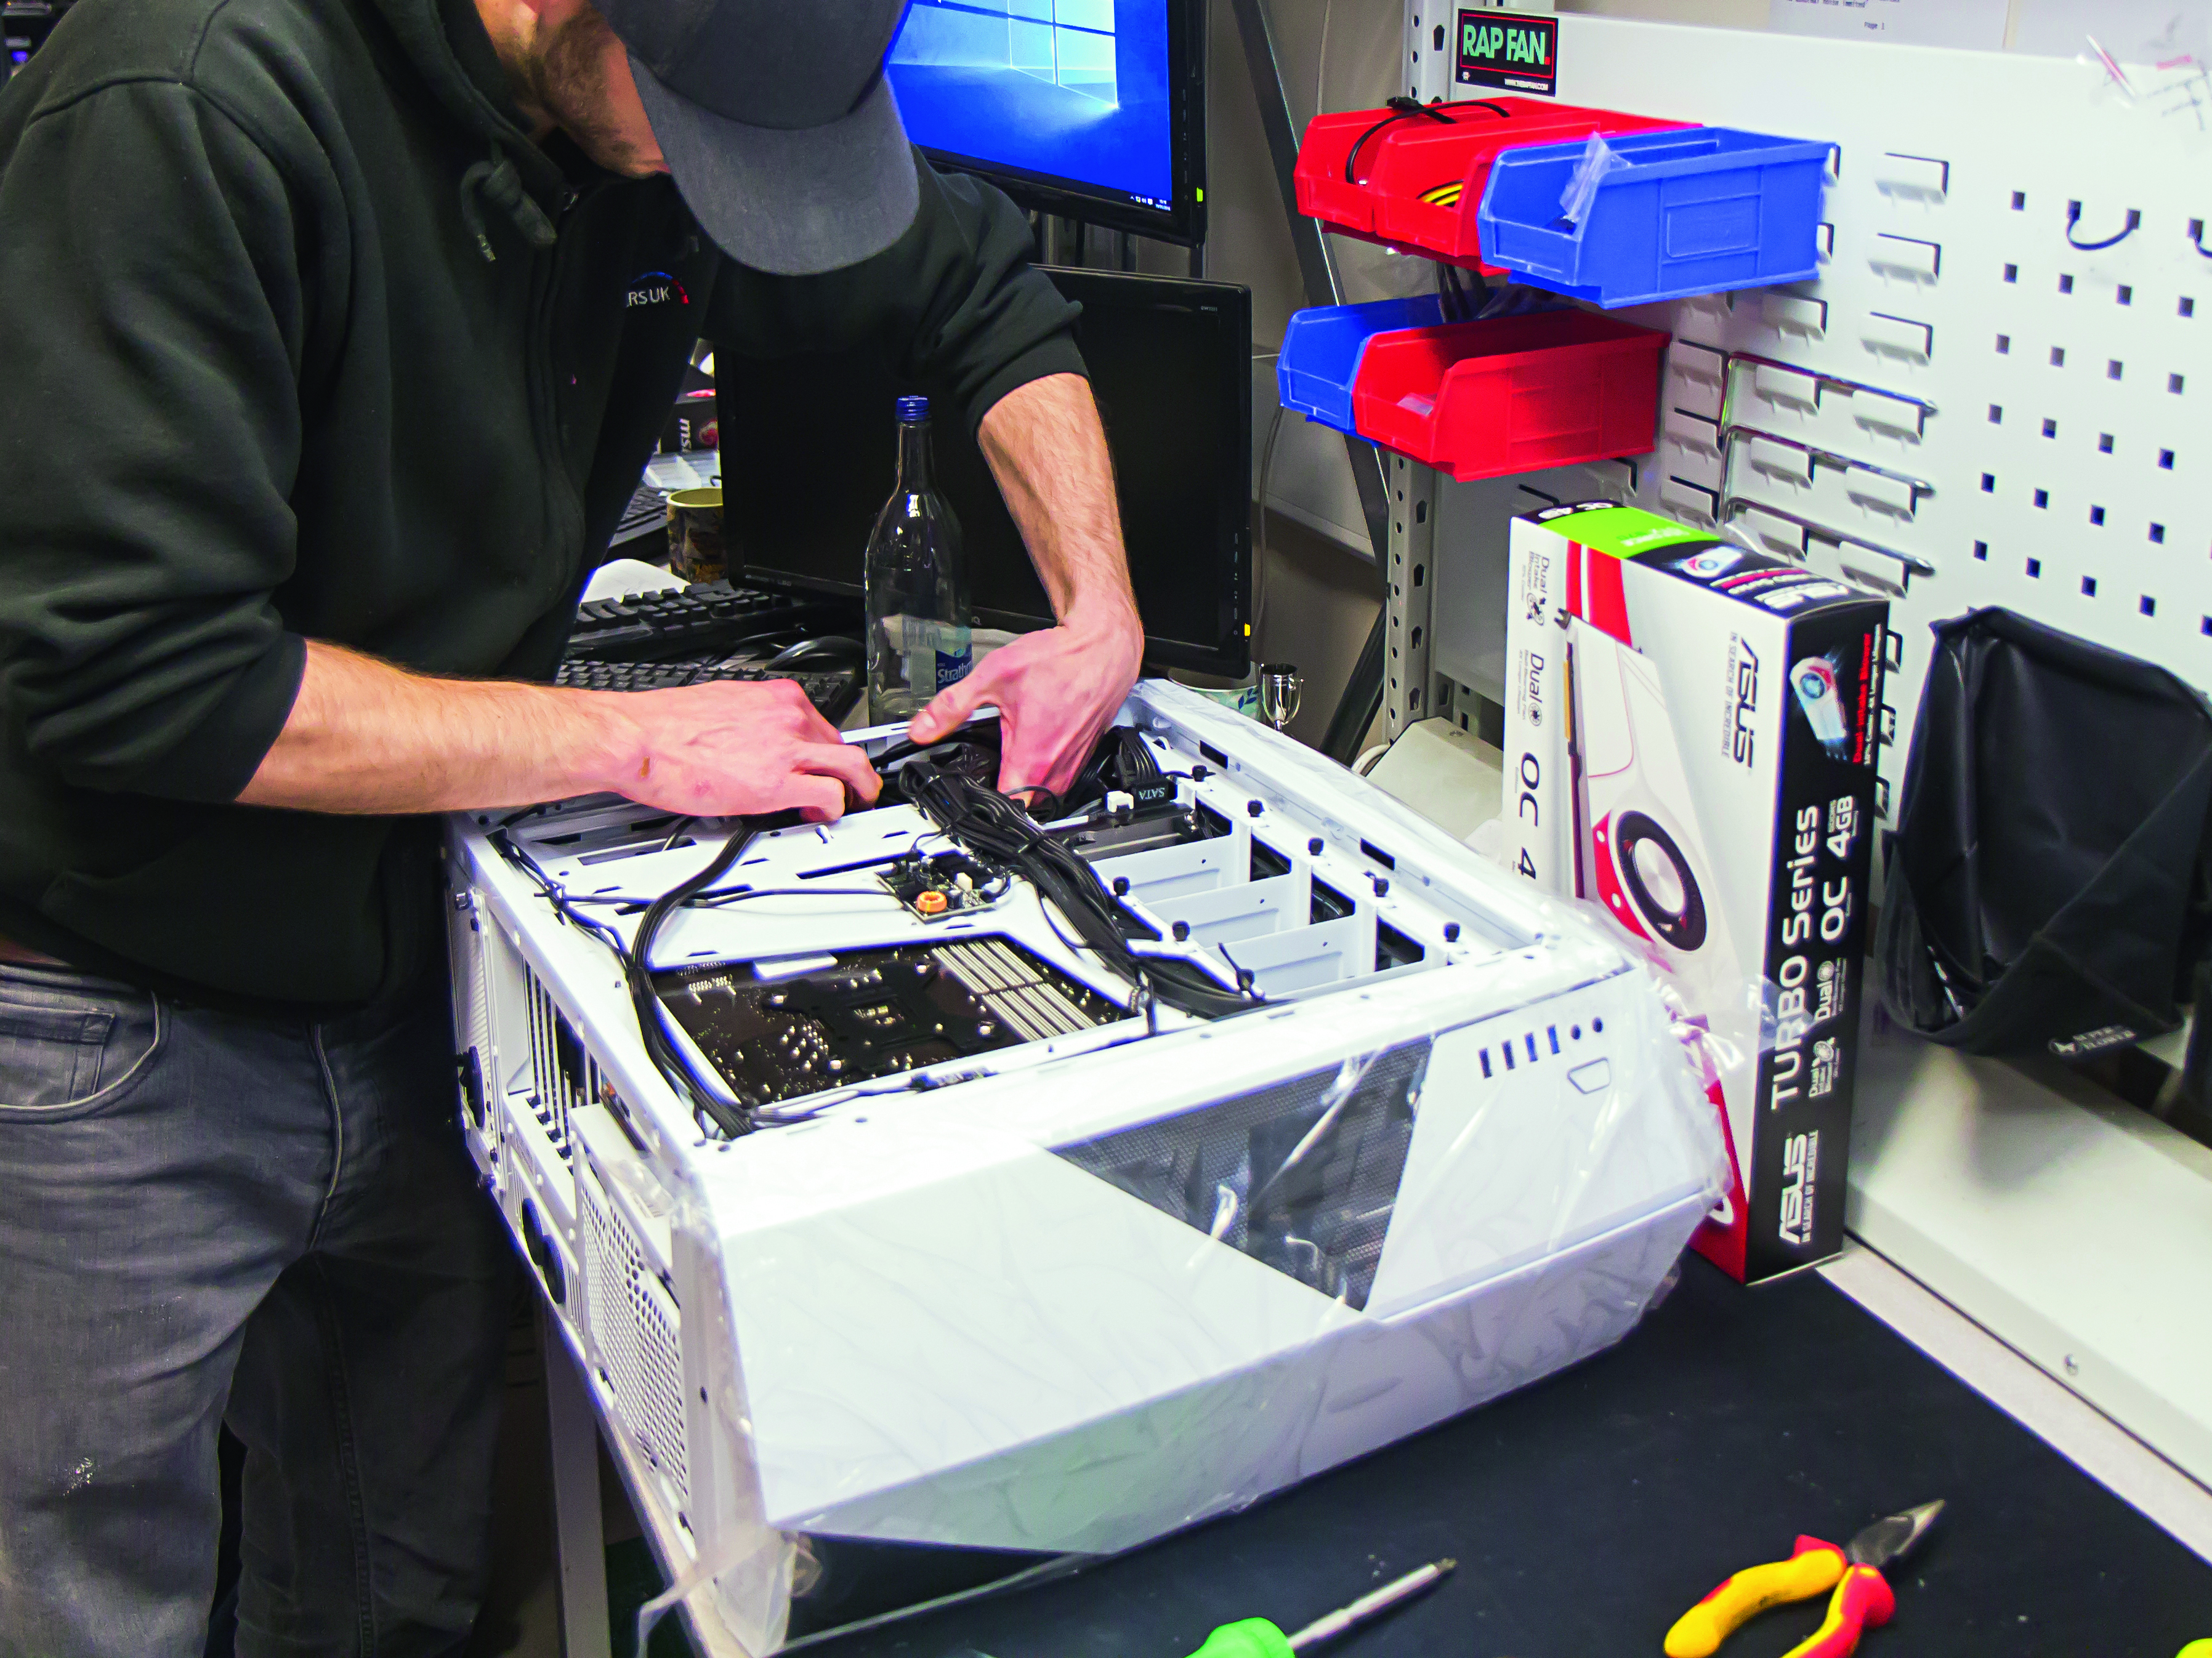
Rise above: Slide off the case’s side panel, then hunt down the bronze-coloured pins inside the motherboard’s box – these risers hold the board in place and keep it clear of the metal behind. Screw these into place, in line with the ATX motherboard positions that are printed on the case.
Route planning: Examine the case: visualise the power supply in its bracket beneath the NZXT’s metal shroud, and figure out where you’ll route the cables. Luckily, the case has been designed for neatness, with cables delving behind the motherboard and only emerging through the rubber-ringed holes when they’re needed.
Feel the power: Now you know where the cables will flow, slot the power supply into its bracket and screw it into place. It’s a modular unit, so pick out which cables you need, attach them to the relevant plugs, and draw the bundle of wires through the nearby gap so they emerge at the back of the case.
Pro Tip
Stay grounded, or else static can damage components. To ground yourself, touch the unpainted metal at the bottom of a radiator or buy an anti-static wristband.
2. Peripheral visions
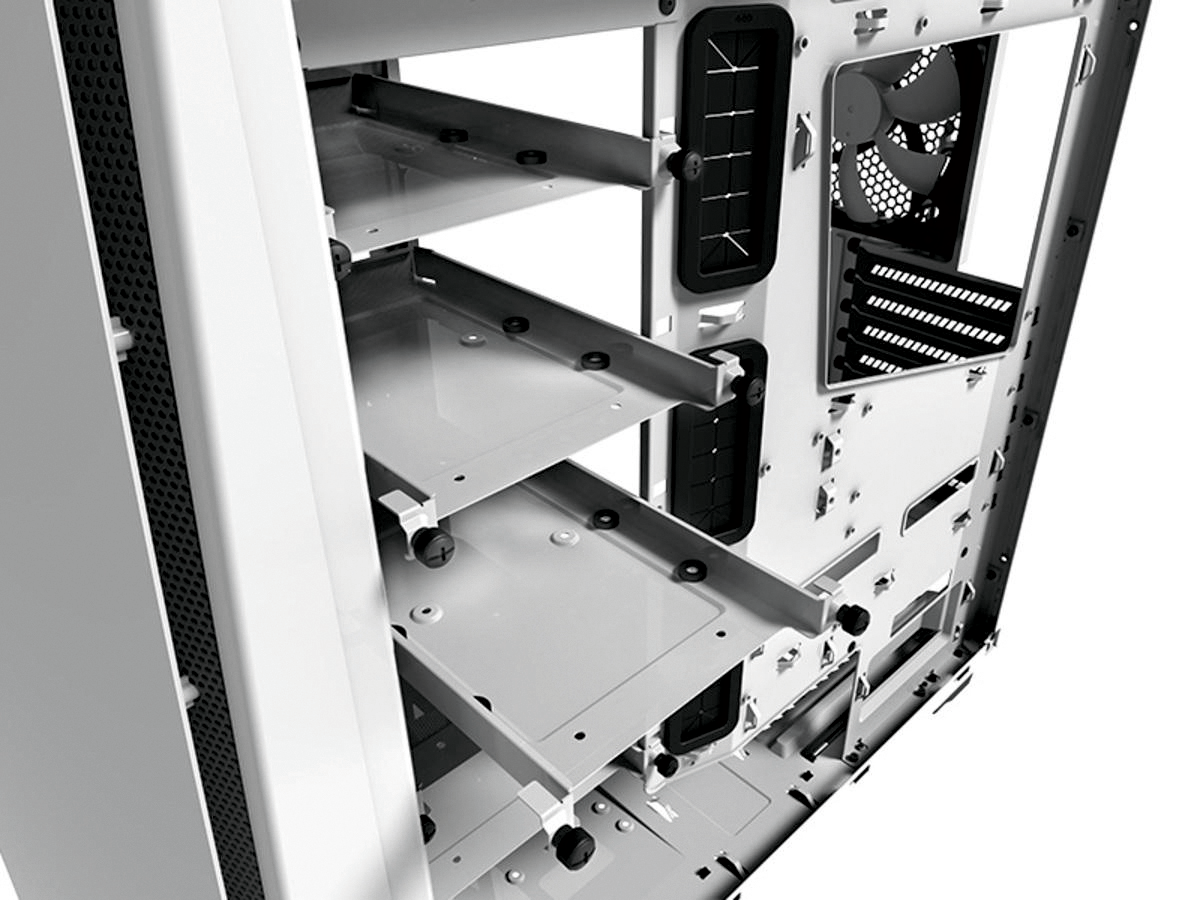
Driving forwards: Slot the SSD into a 3.5in hard disk case or the 2.5in mount that’s on top of the power supply shroud using a couple of screws. Hard disk installation is just as easy.
Collecting cables: Make sure you’ve got two SATA cables handy for the SSD and the hard disk, and check the storage power cable is attached to the power supply.
Missed connections: That flimsy bit of metal punctured with loads of holes is the rear I/O panel. It lines up with the back of the motherboard to provide a vital barrier between the computer and the outside world. Snap this into place, lining it up with the audio jacks.
Pro tip
To make sure smaller components like the SSD don’t get in the way when you’re installing the motherboard, get them in place now while the case is a little more spacious.
3. Mother Nature
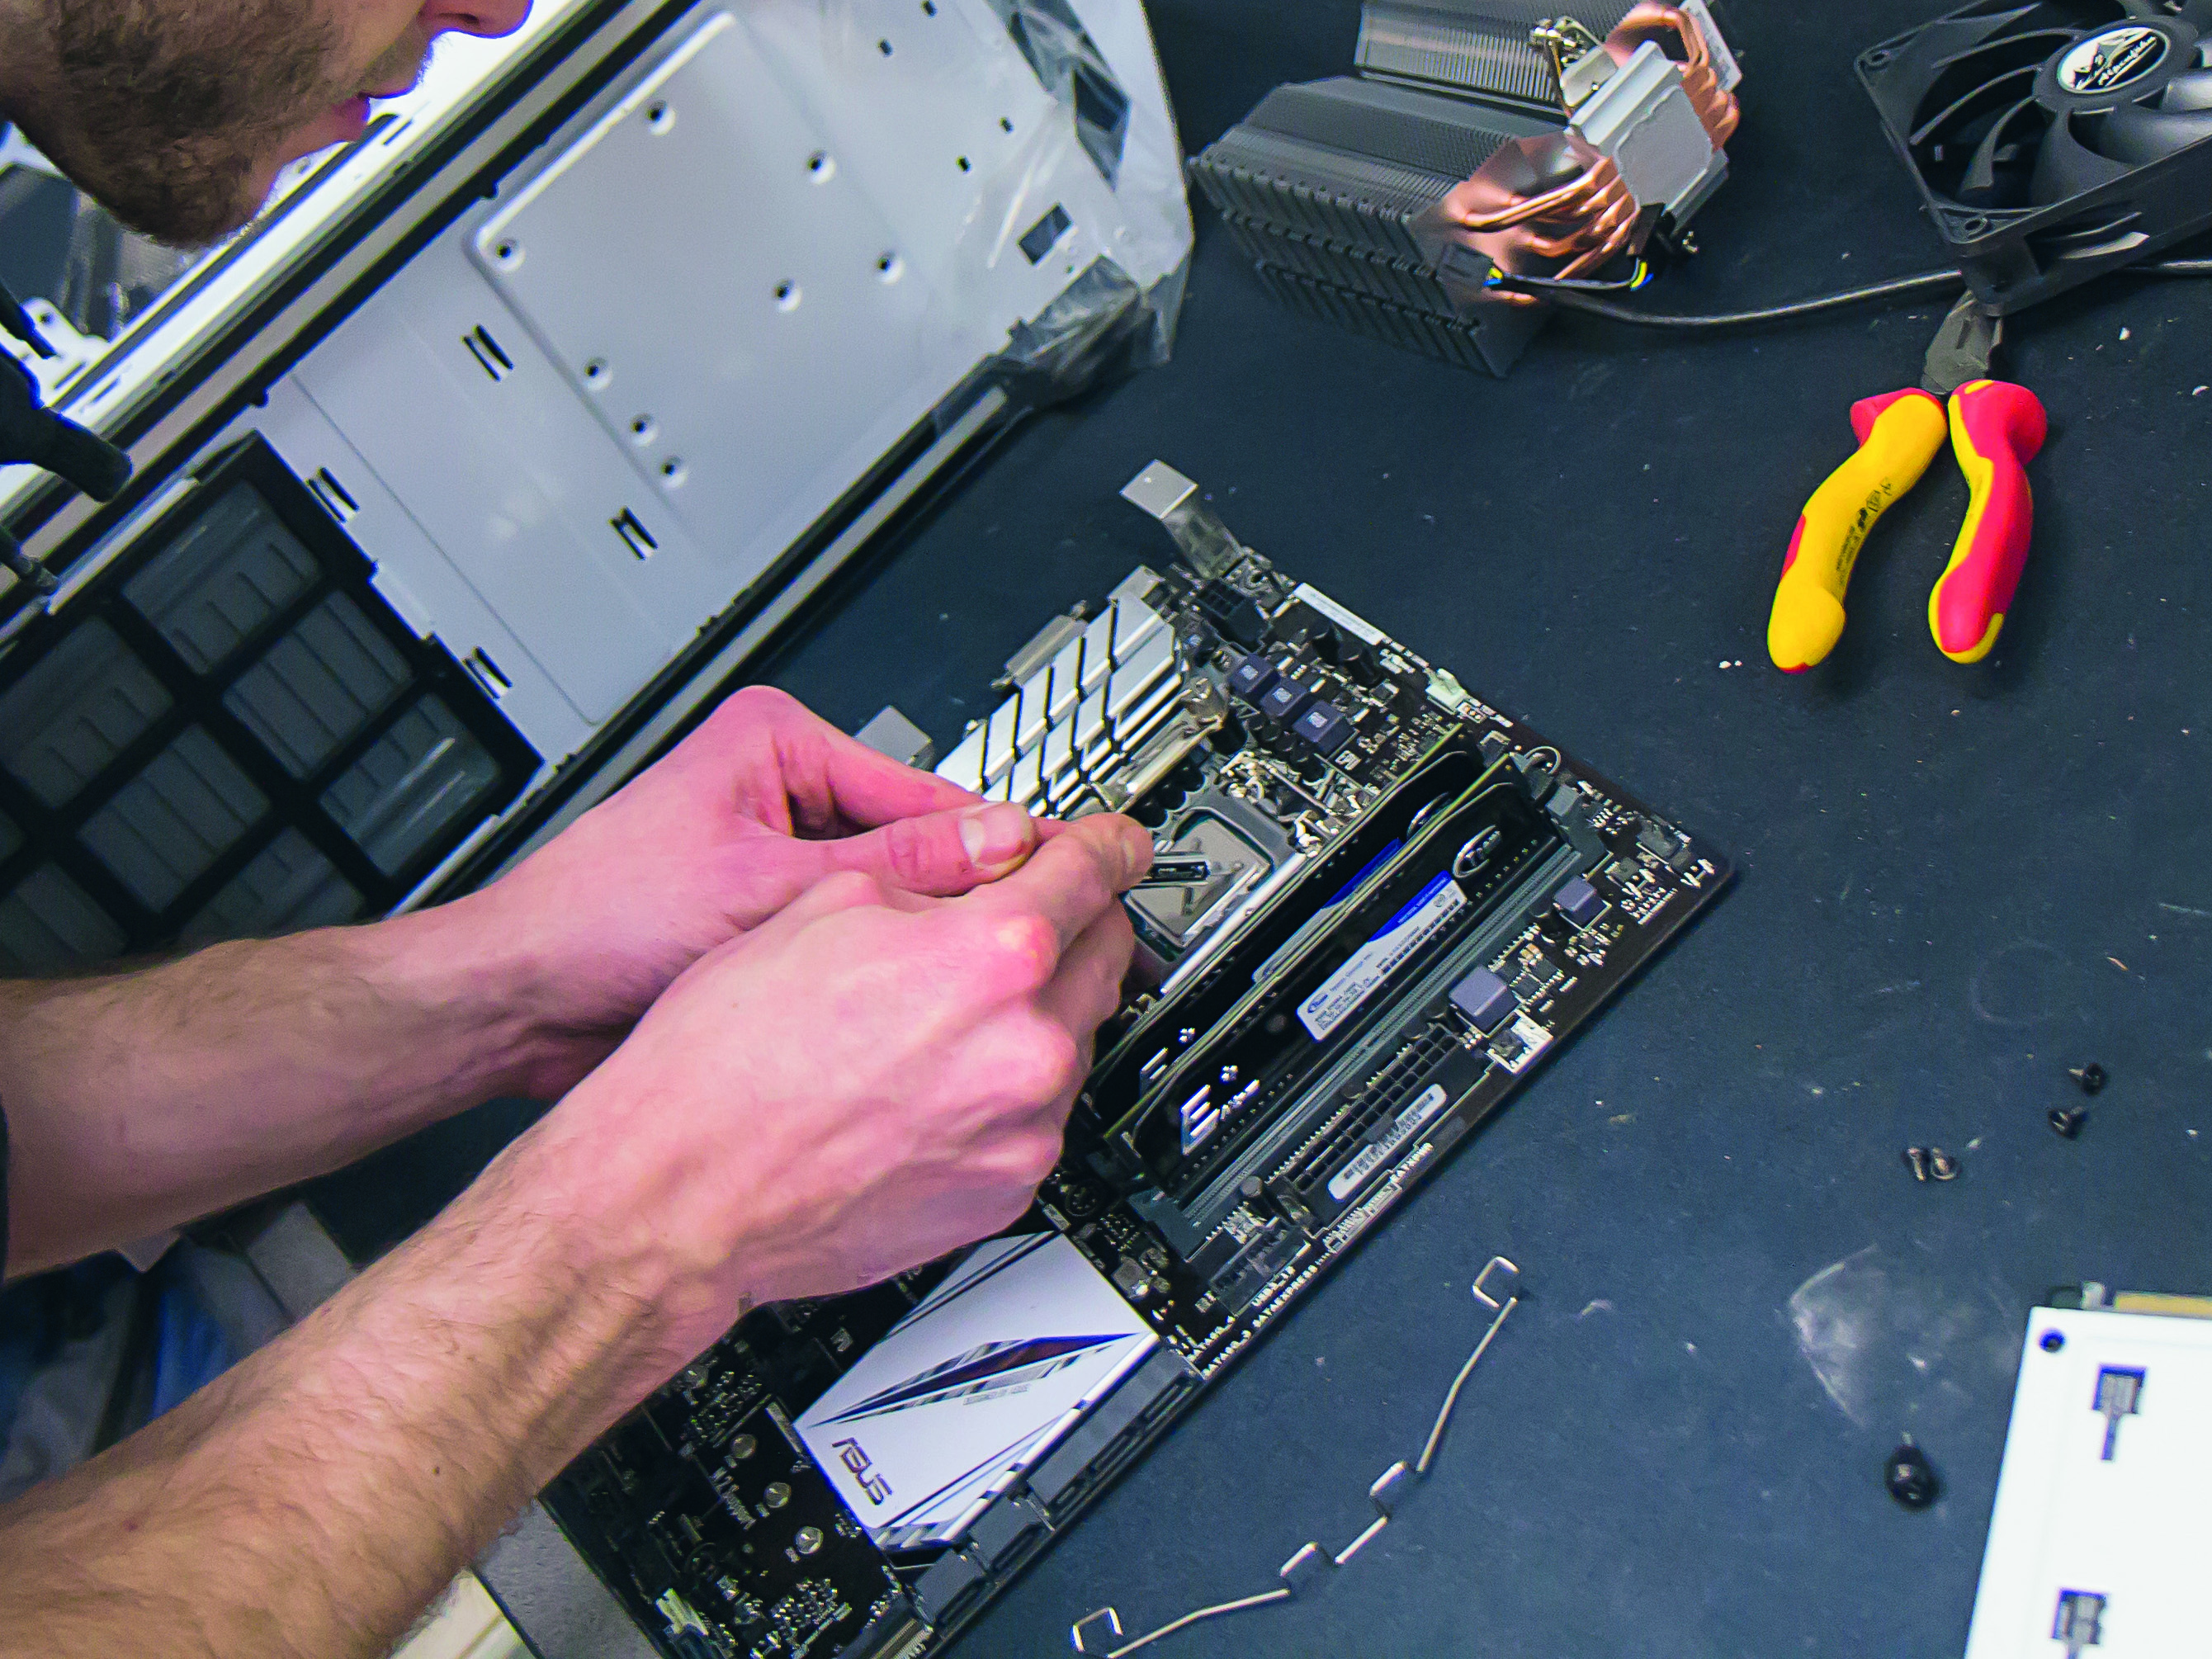
Slot in the silicon: Use the lever to open the metal CPU cover, then remove the plastic from the socket. Line up the processor with the two notches on the LGA 1151 socket, then use the lever to secure the lid.
Making memories: Add a dab of thermal compound, lock the heatsink in place, then plug the fan into a CPU fan header. Install the memory – use the DIMM_A1 and DIMM_B1 slots for using dual-channel mode.
Commence docking: Line the motherboard up with the standoffs and the rear I/O panel, then screw down. Now connect the leads for the front panel’s buttons, ports and speaker to the bottom right.
Pro tip
Once the chips are installed onto the motherboard, it’s a good idea to boot the system outside its case – just to make sure the key components are working before you put the rest together.
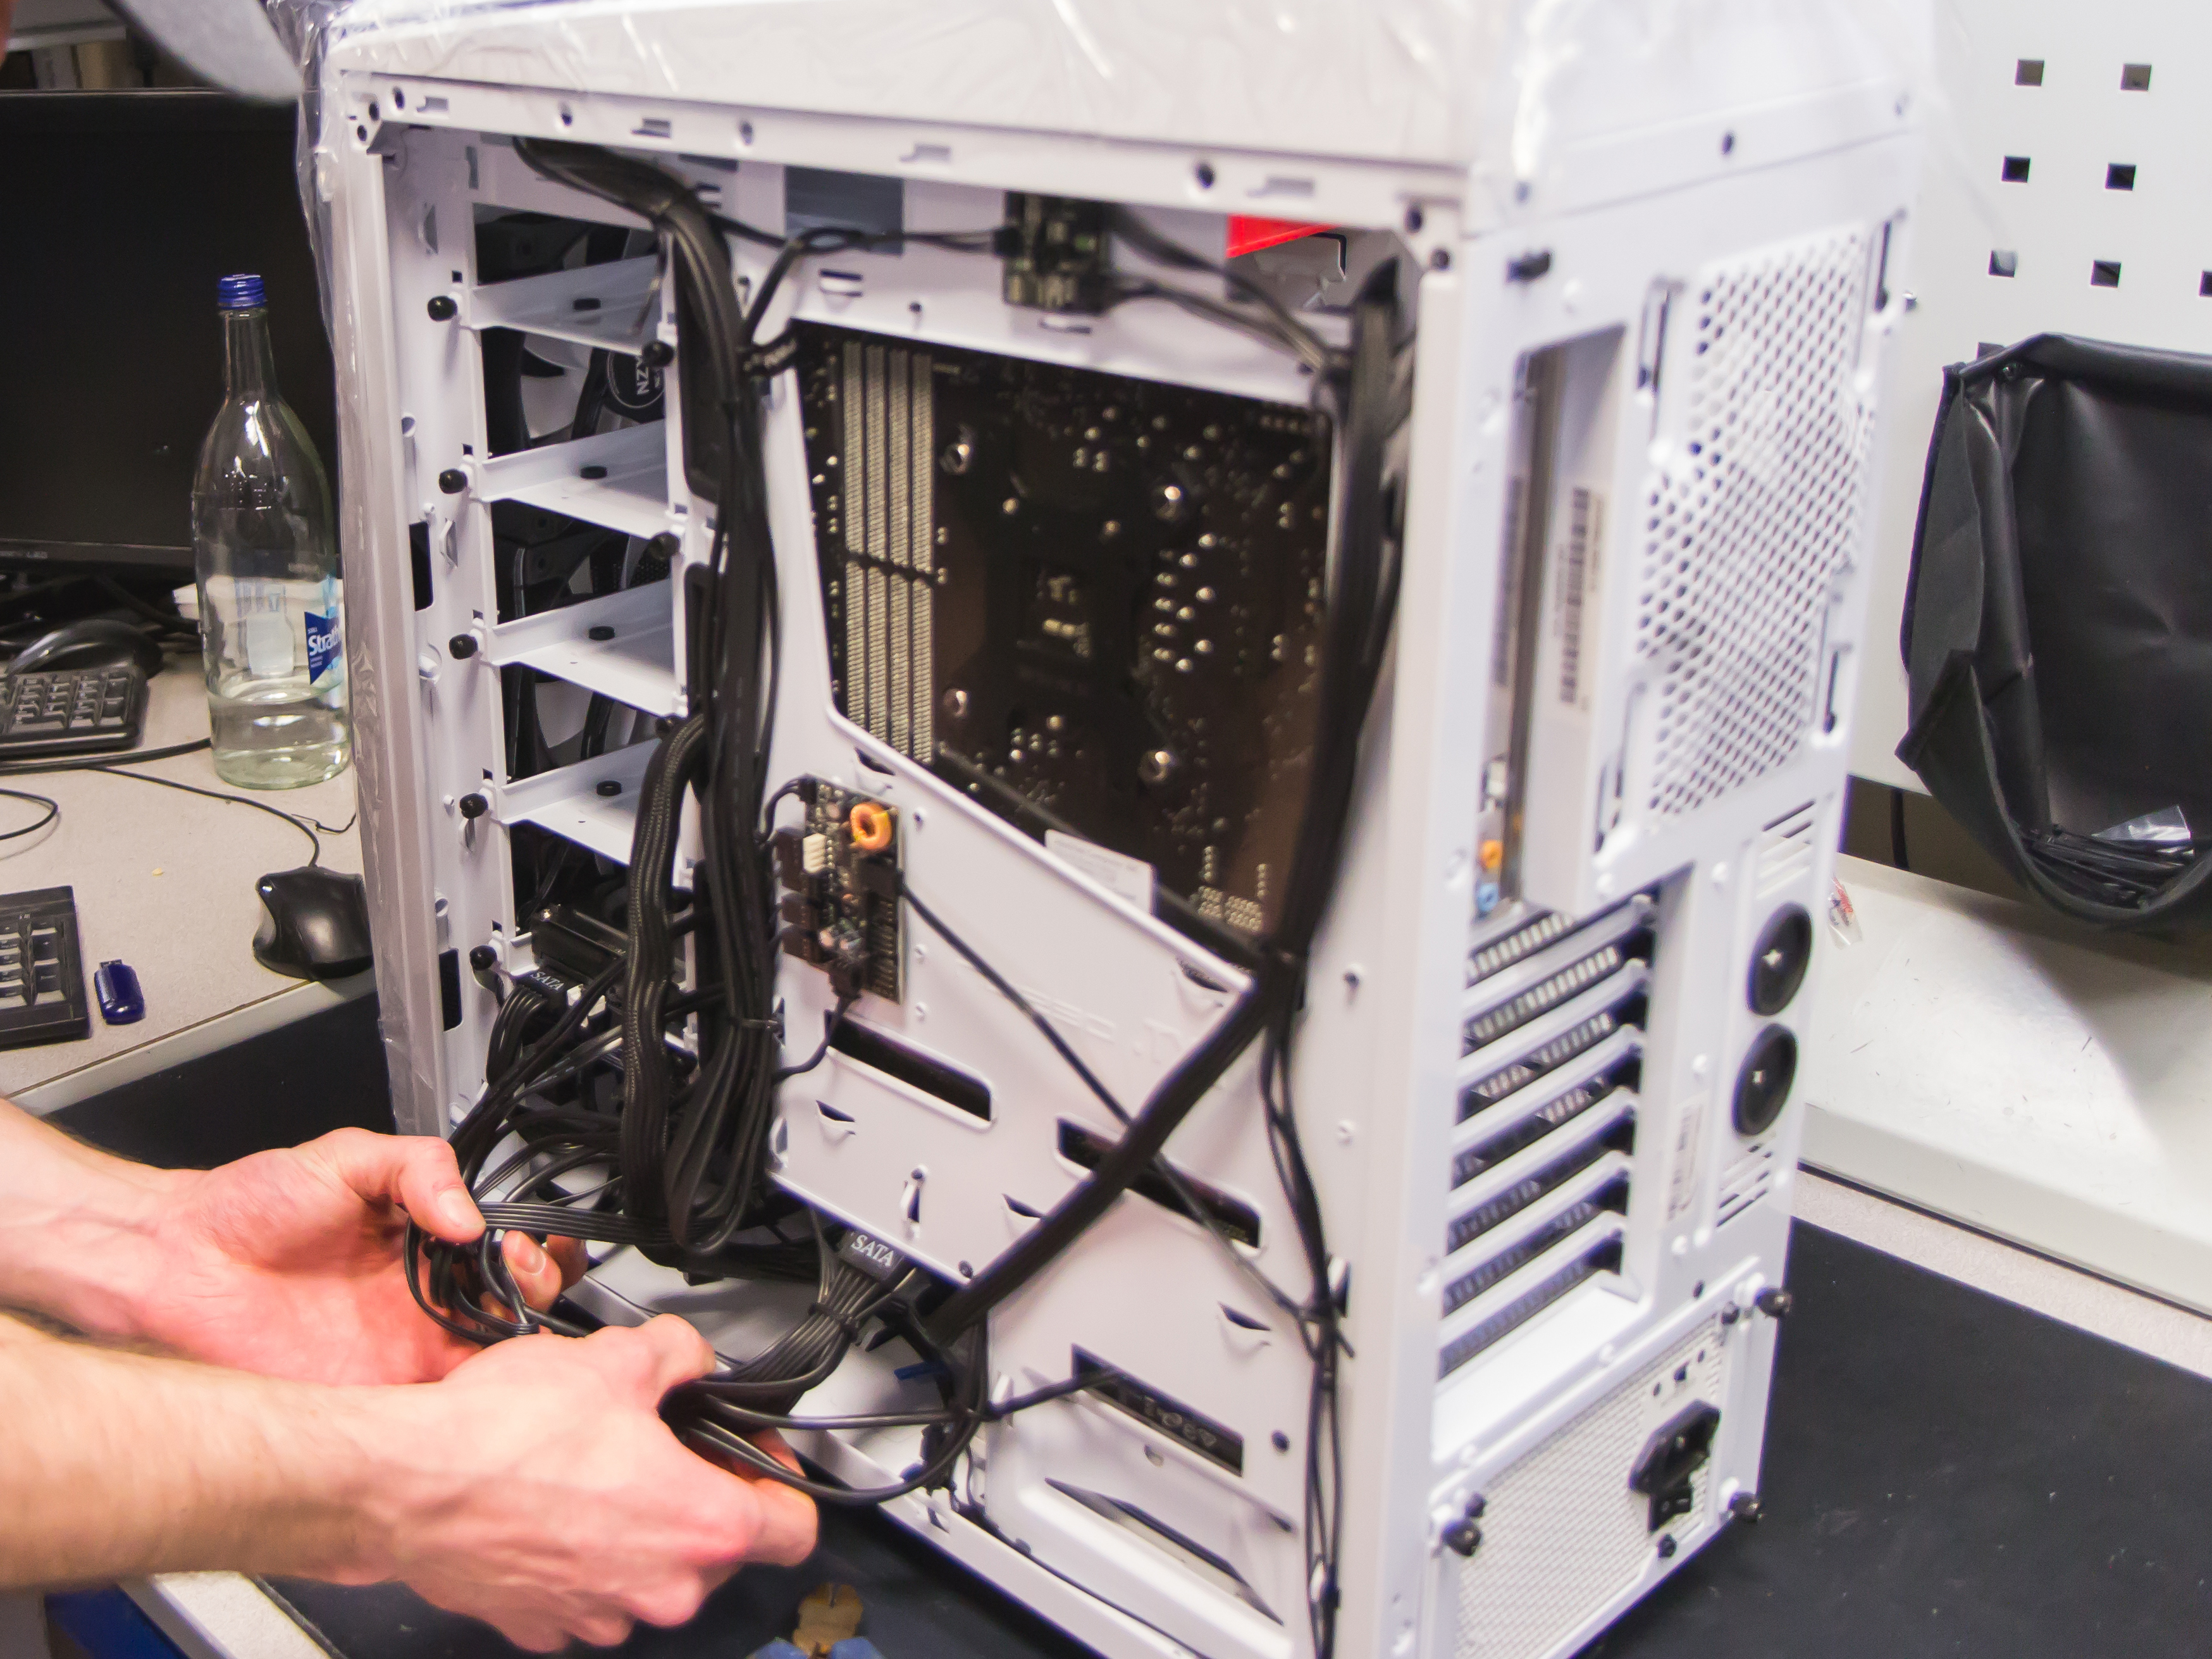
4. Get hooked up
Connecting the dots: Take time with cables: a neater build helps airflow, and also makes the system look slicker. The SSD and hard disk cables connect to SATA ports on the right-hand edge of the board, while the power supply’s two cables attach on the right and top of the board. Finally, connect the case’s four fans to the little board behind the motherboard tray.
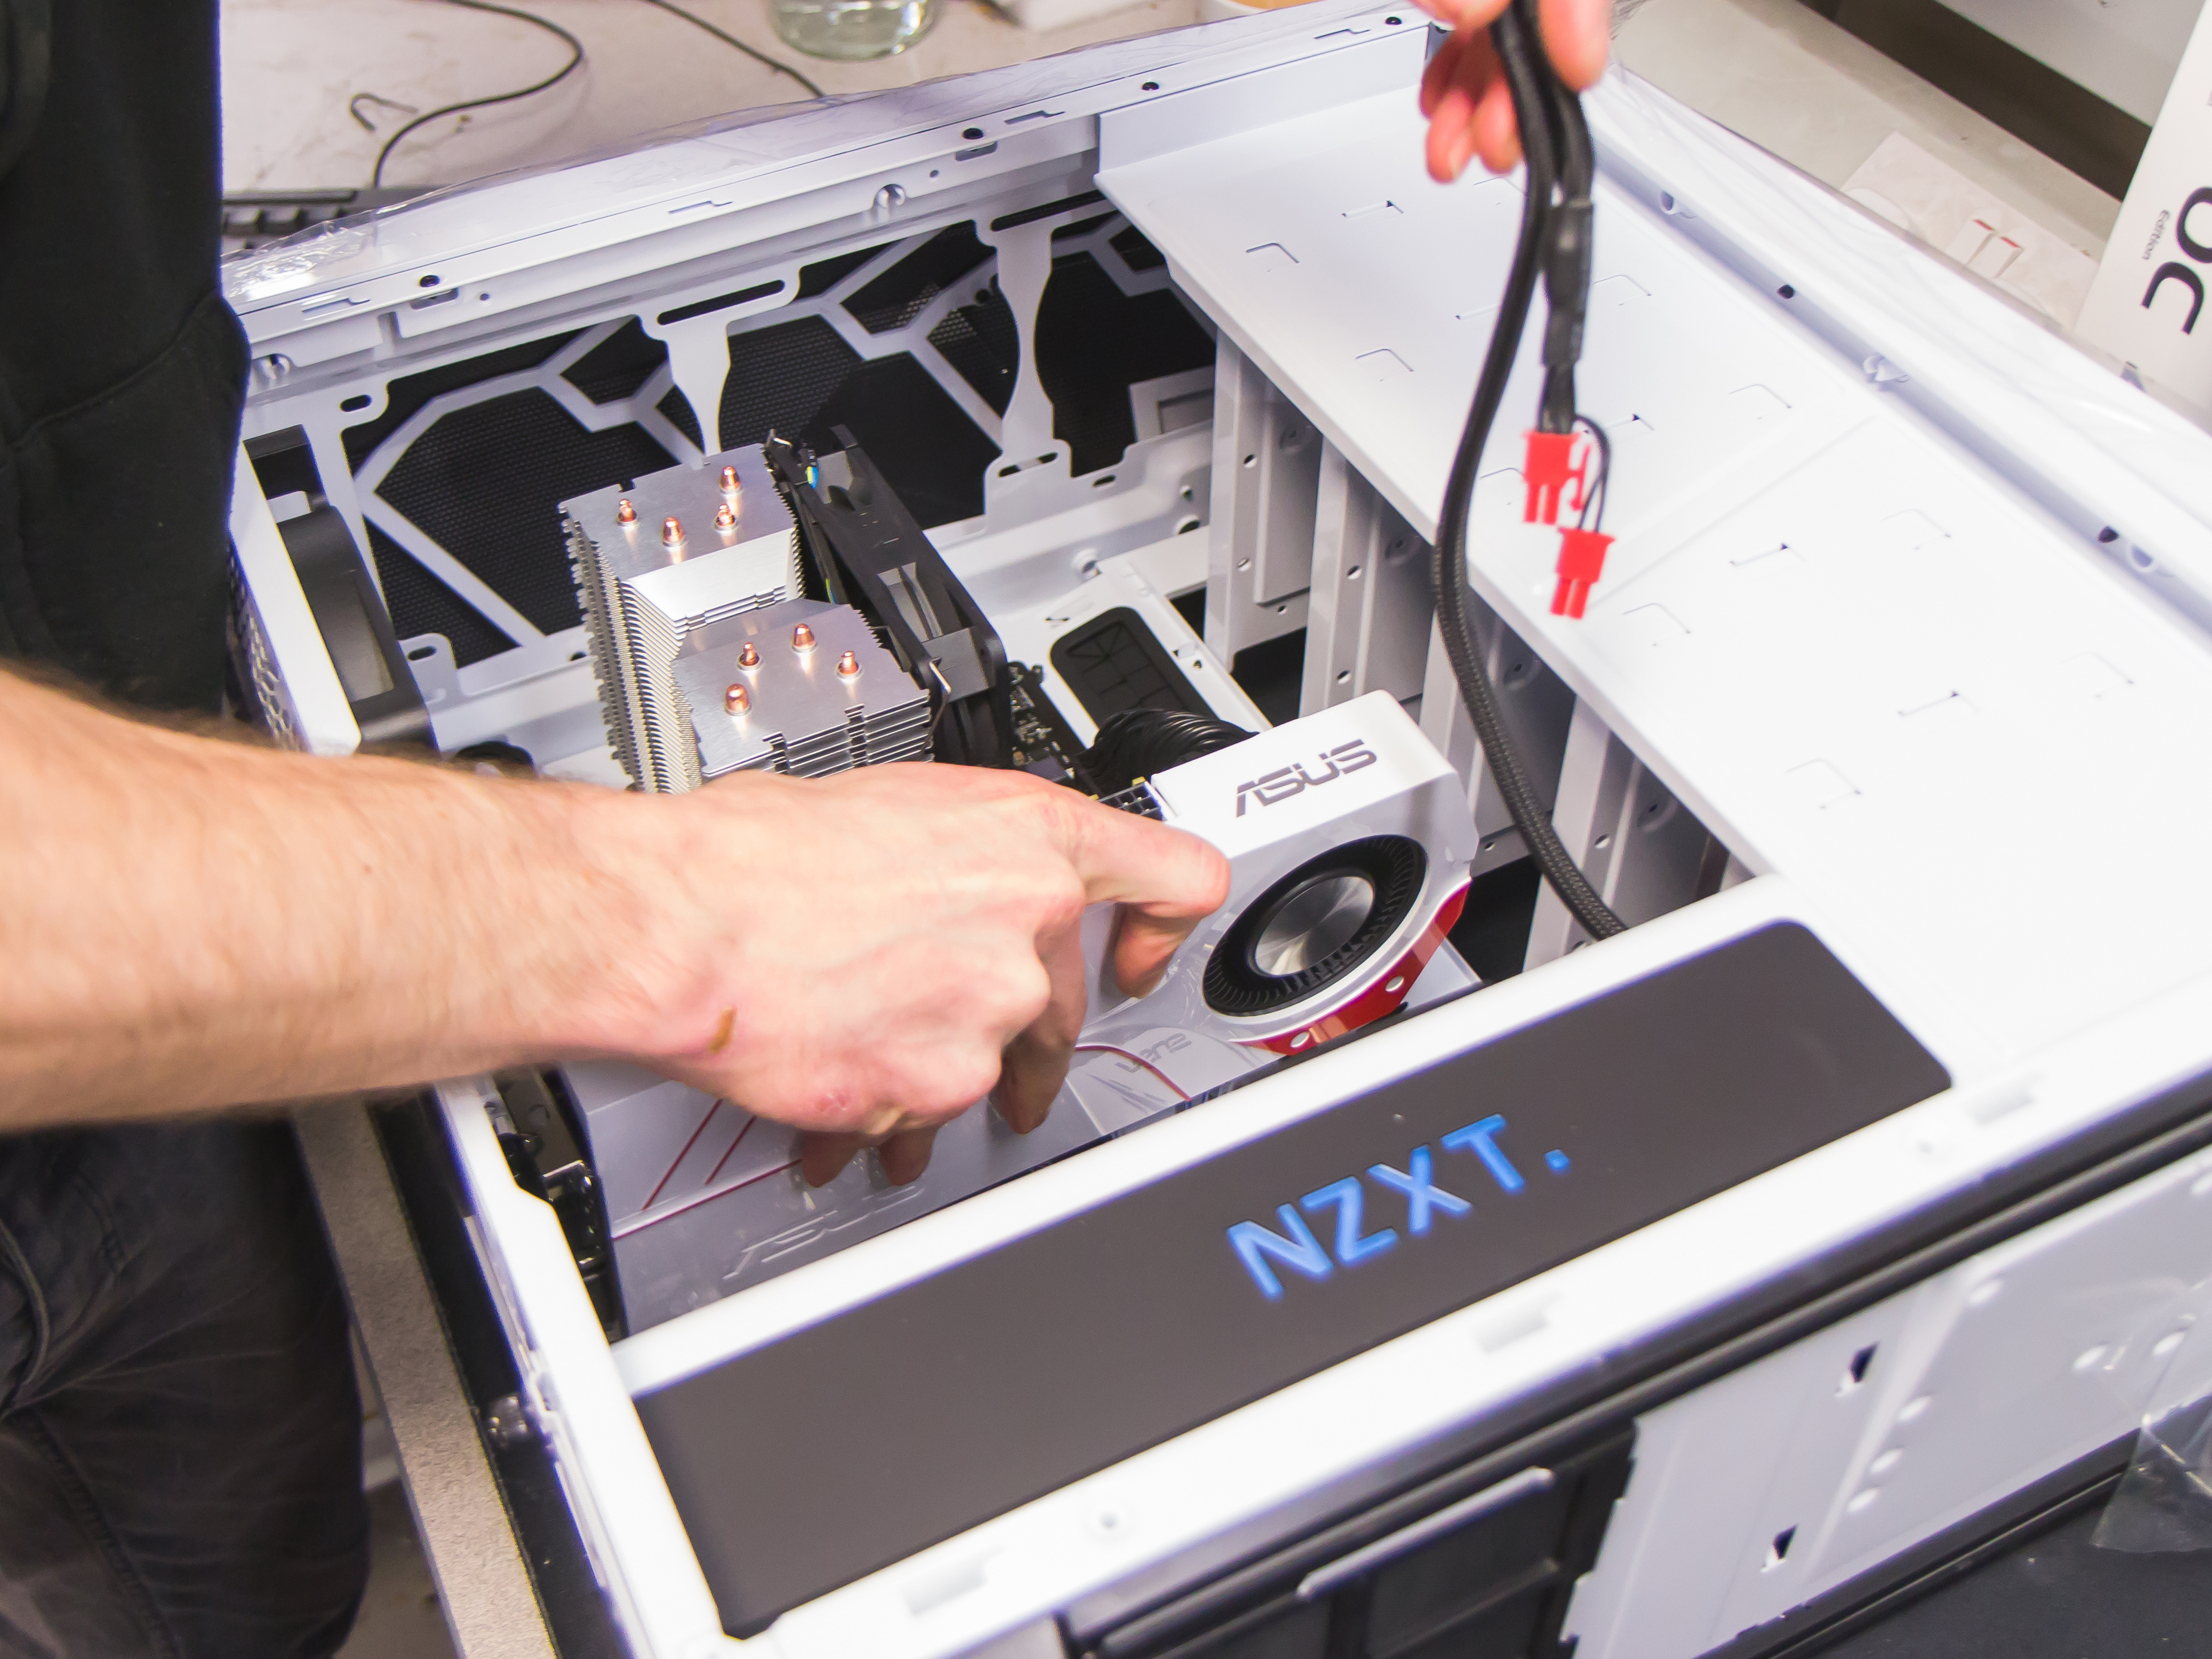
Graphic content: Remove two PCI blankers from the rear of the case – make sure they’re in line with the motherboard’s top PCI-Express slot. Grab the graphics card and then push it into that top PCI-Express socket. Now thread the PCI power cables through a hole on the motherboard and plug them into the top of the card.
It’s now or never: It’s time to test your system. Re-attach the case’s side-panel, stand the machine up, and connect the monitor, keyboard and mouse. Plug in the power, take a deep breath and press the button.
Pro tip
Make sure you have all your cables to hand, including ones for your peripherals. Some accessories, especially monitors, don’t always include everything you’ll need.
5. Give it the boot

Hitting the speed limit: The internal speaker should beep once during boot. Once the Asus logo appears, tap the delete key to enter the BIOS. Check out the other options available during boot: another button loads Safe mode, and there’s an option to choose which drive you use for booting. That’ll be used when you install Windows 10 from its USB drive.
Exploring the BIOS: Scour the main BIOS screen to find the names and speeds of your processor and memory. If those are correct, then press F10 to exit. Memory often defaults to slower speeds inside new systems. If that has happened, head to the Advanced section to alter the DRAM Frequency option.
Through the looking glass: This PC doesn’t have an optical drive, but that’s no barrier to getting Window 10 – Microsoft makes its latest OS available on a USB stick. Plug the drive in, boot from it, and then install Windows to the SSD.
Pro tip
If you’re not confident when delving into the BIOS (your PC’s booting program), make sure your motherboard’s manual is by your side. Don’t worry, any mistakes can be easily fixed by clearing the BIOS.
6. Prepare to play
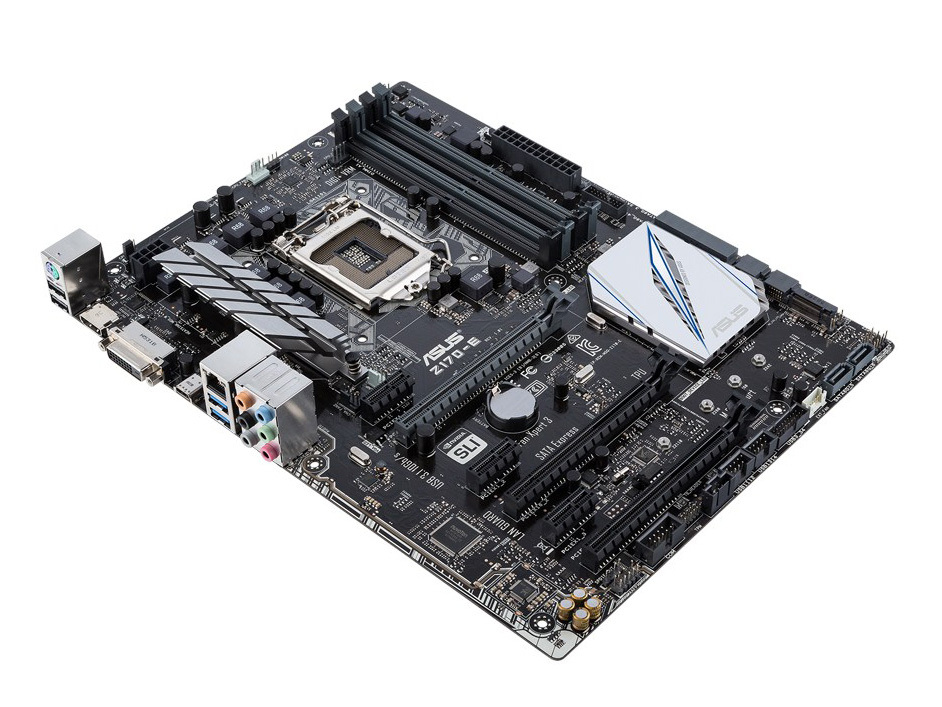
In the driving seat: It’s time to get every component running at its best. Head to the Asus Z170-E’s website (asus.com) to grab drivers for the chipset, storage, audio controllers and networking hardware, and Nvidia (nvidia.co.uk) for its latest graphics driver. Once installed, run a Windows update.
Get some protection: Install a free anti-virus from Avast, AVG or Microsoft. Now download Ninite (ninite.com). It’s a perfect tool for installing dozens of apps: tick the box next to each browser, IM app, office utility or media tool that you want, and it’ll package them inside a single installer.
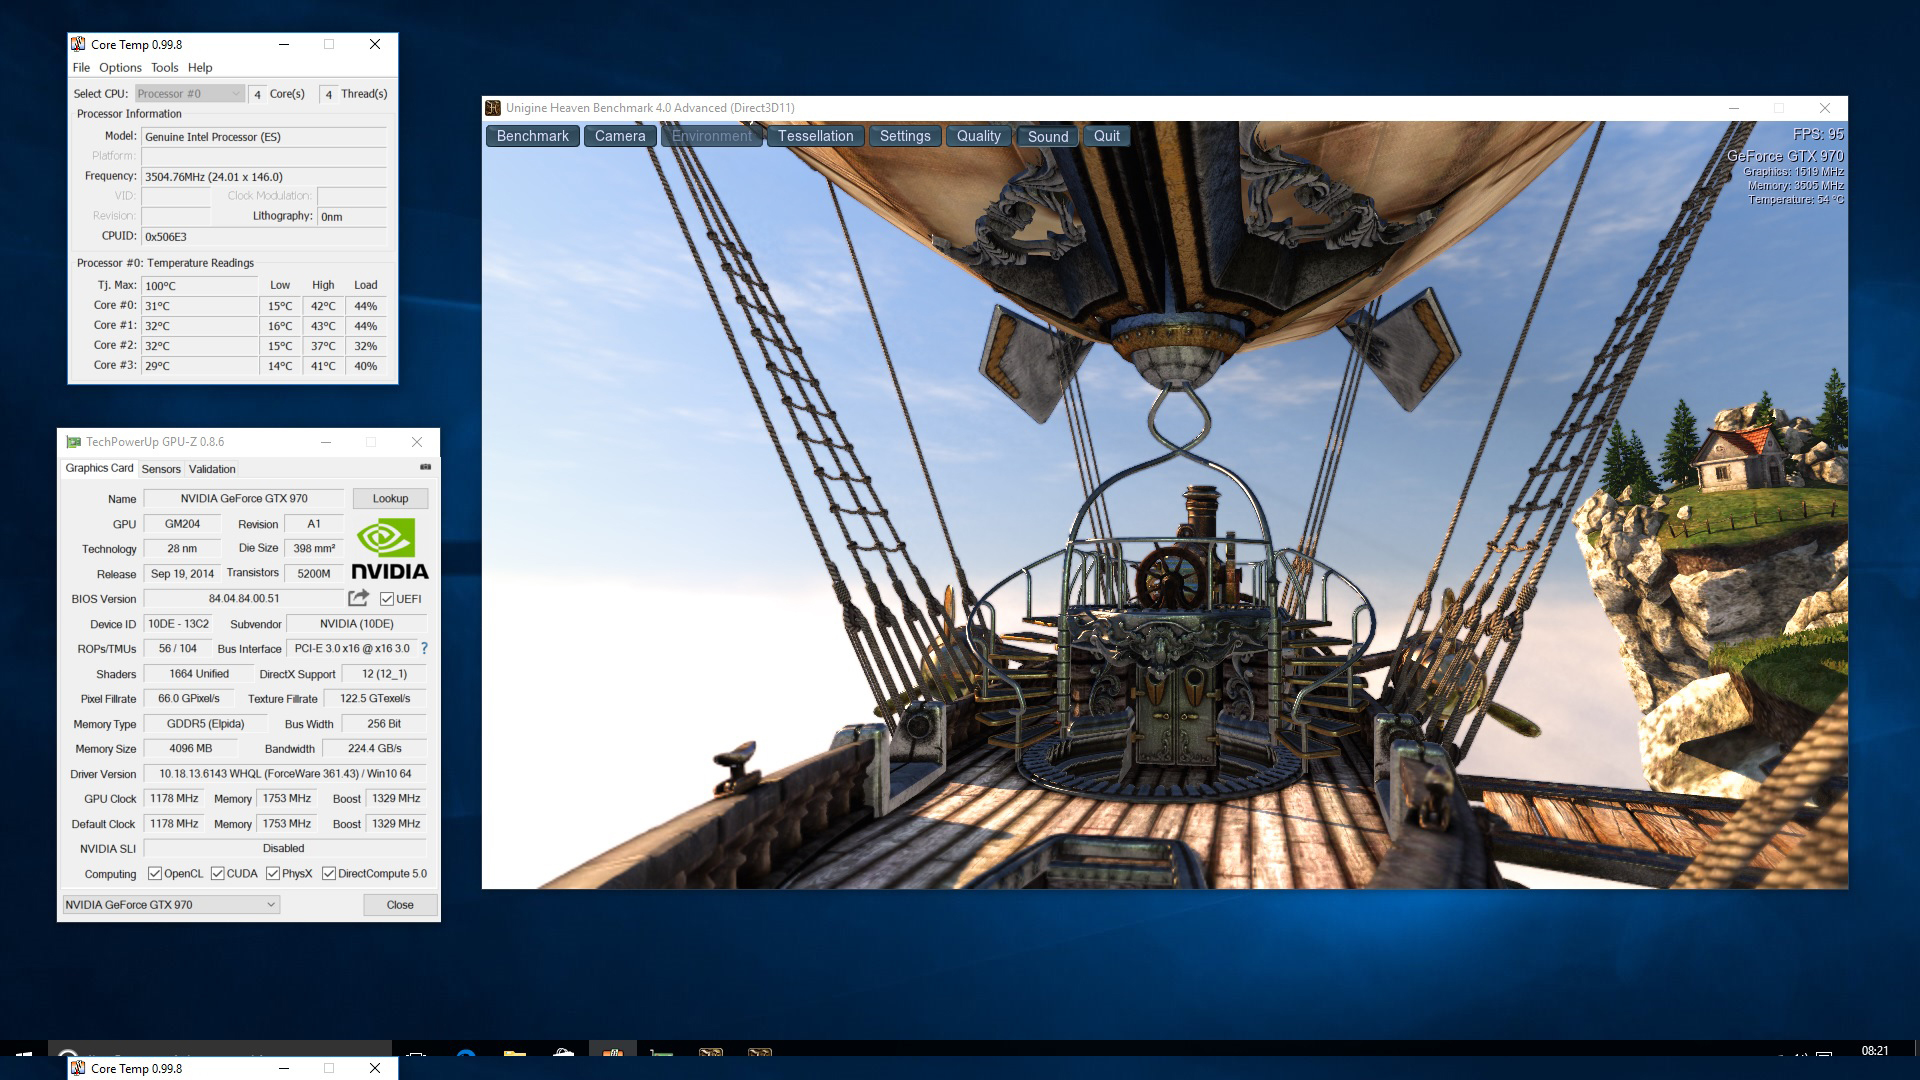
Go for a test drive: Download the Unigine Heaven and Prime95 CPU stress-testing tool, then Core Temp and GPU-Z. The former apps run the CPU and GPU at high levels, while the latter measure temperatures. If the system runs smoothly and its components don’t go near 80°C, you’re good to go.
Pro tip
Don’t rely on Windows Update for downloading the graphics card and motherboard drivers. The versions included in there are often out of date. Get them from the official sites.
Now add these…
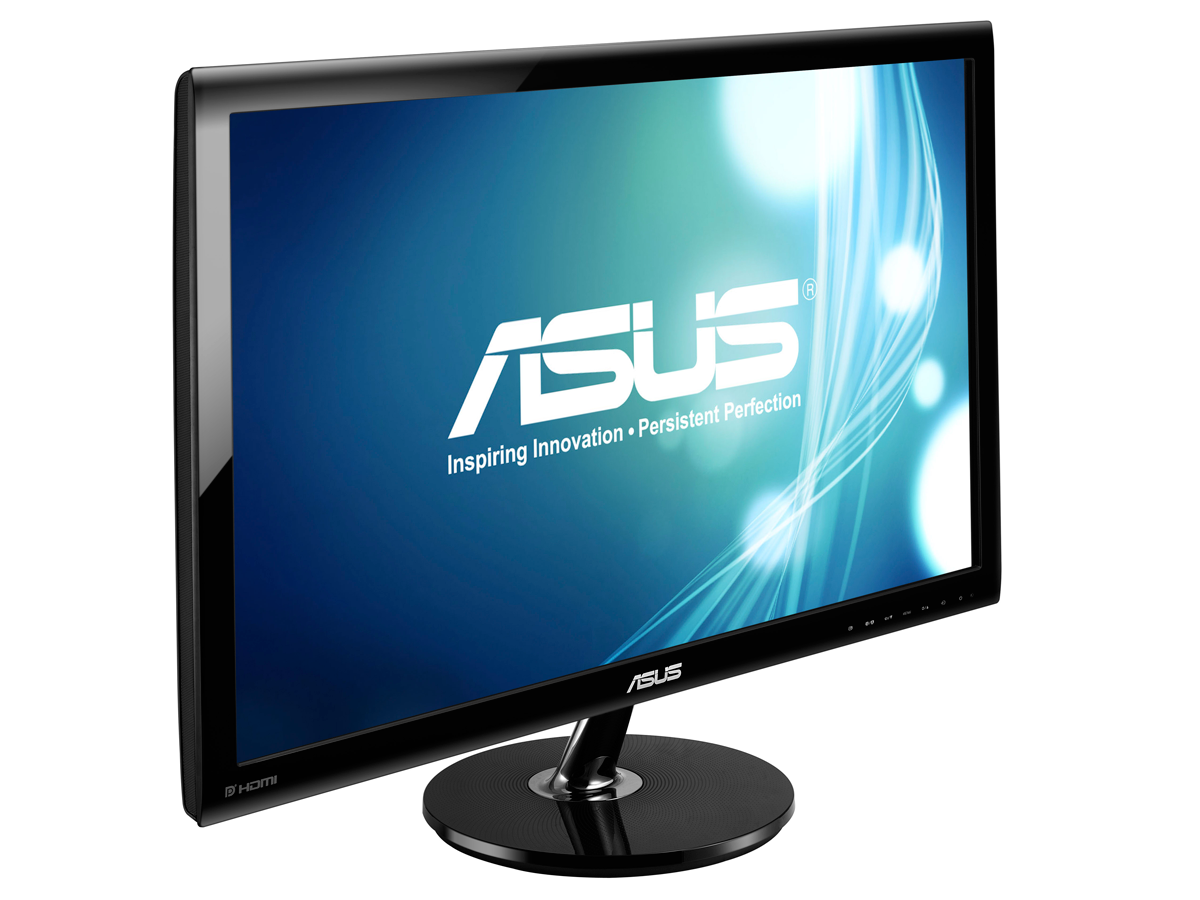
Asus VS278Q / £200: This 27in monitor’s 1080p resolution provides plenty of bright, punchy detail. If you want more, look to the BenQ GW2765HT, which is a 27in, 1440p panel.
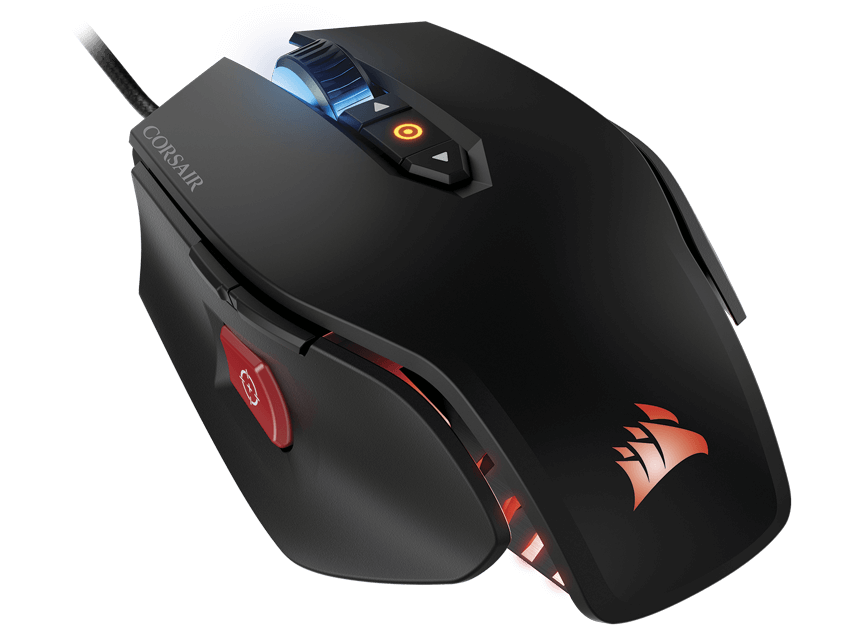
Corsair M65 RGB Black / £57: No gamer’s setup is complete without a high-quality rodent. This Corsair mouse pairs fast, accurate movement with DPI tweaking and weight adjustment.
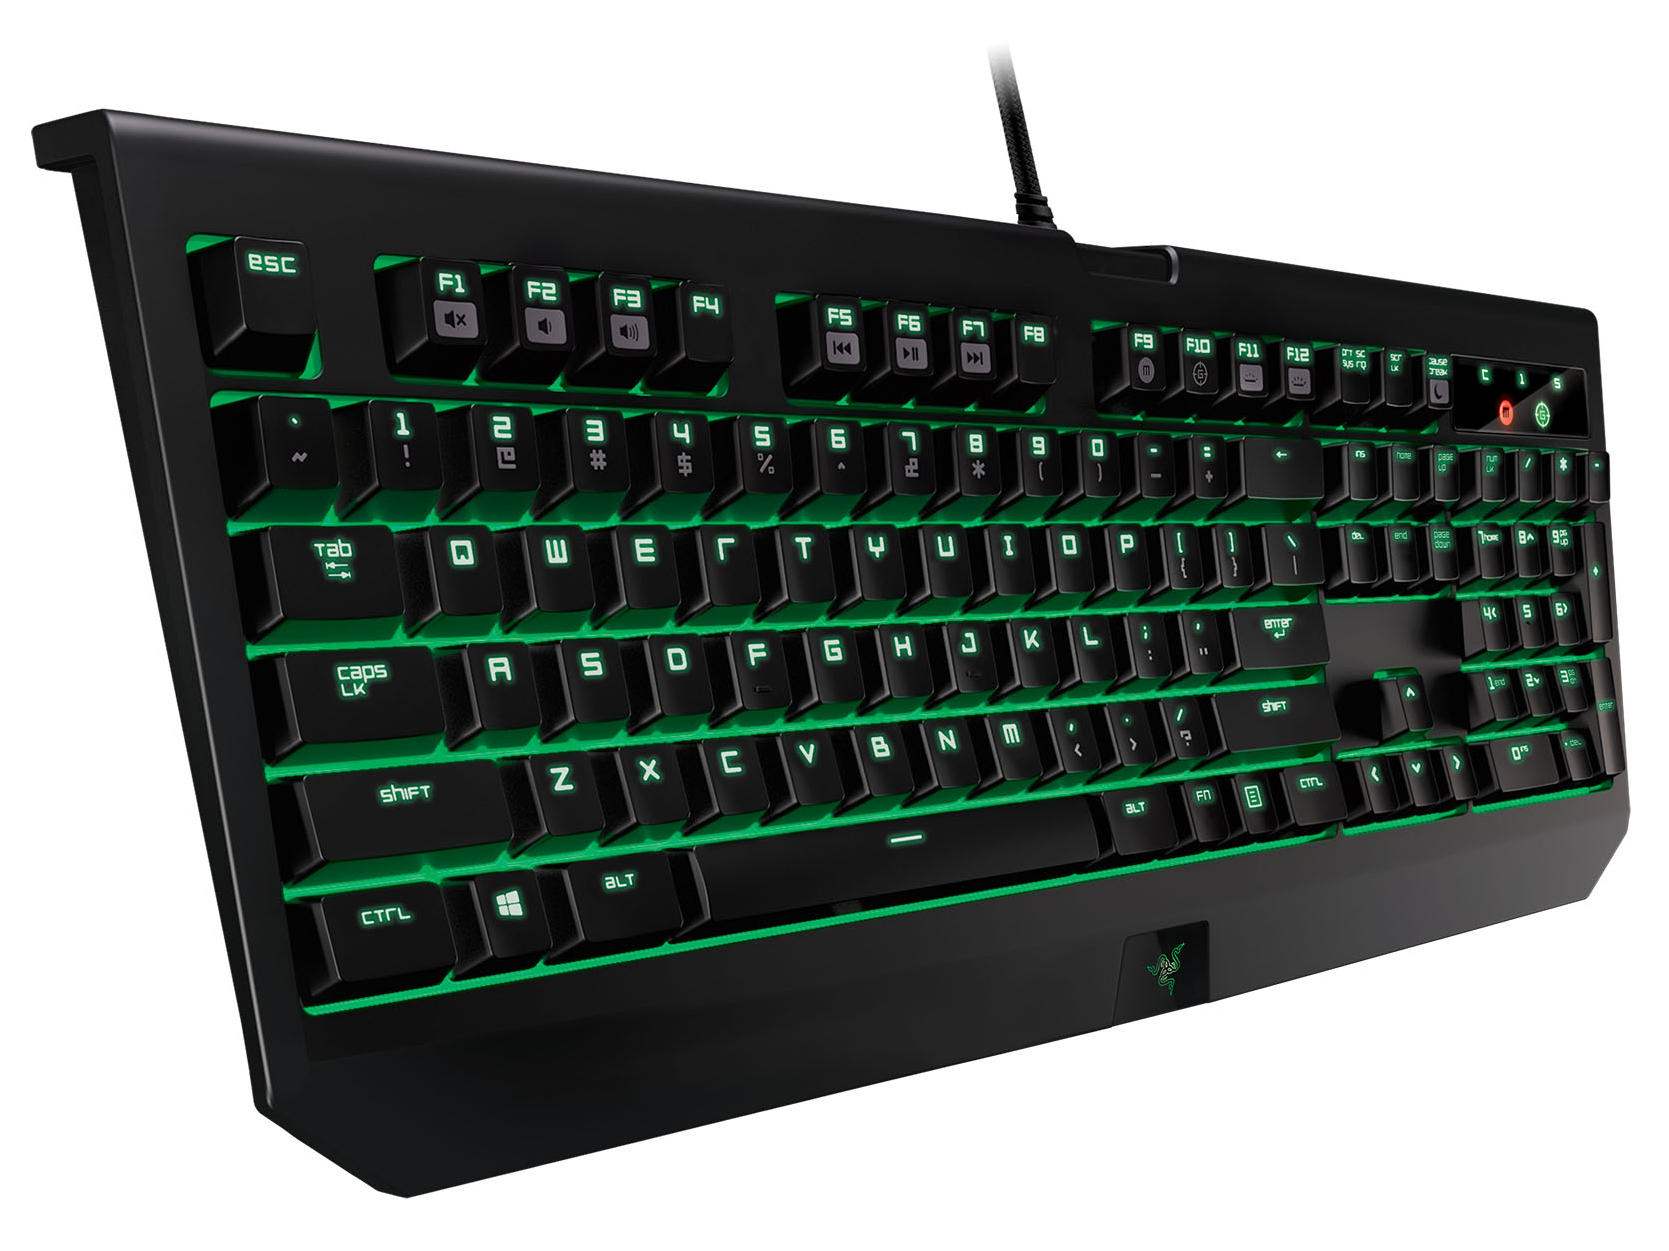
Razer Blackwidow Ultimate 2016 / £100: These rock-solid keys hammer down with speed. For features like wrist rests check out the Corsair K70
Buy it here
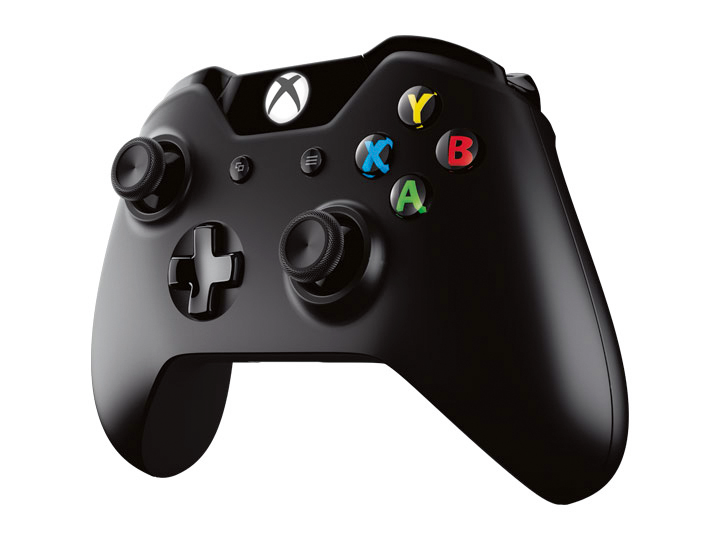
Microsoft Xbox One wired controller / £37: Few gamepads are better than this one. If you’d prefer a wireless version, it needs to be paired with a £20 adaptor.
 Stuff Staff