How to create the ultimate media centre
Transform your living room into full-on digital media hub for movies, TV shows, music and photos
Looking for an affordable way to turn your living room into a festival of music, movies and TV shows? We have you covered – and all you need to buy are an Apple TV and a NAS.
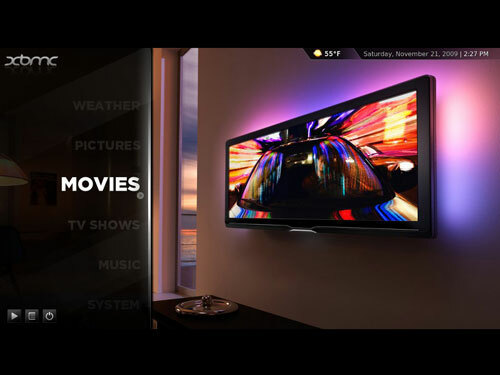
Jailbreak your Apple TV and install XBMC
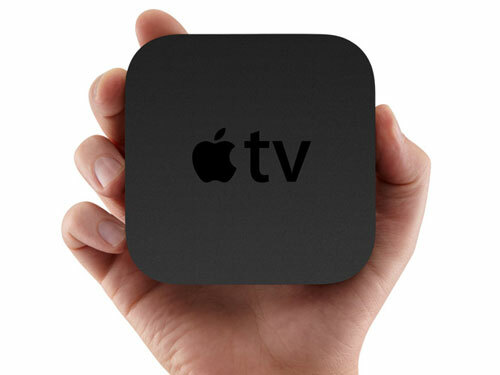
First, you need a second generation Apple TV, as it’s going to be the hub for your new system. It’s not going to be running Apple’s software though – instead you’re going to install the far less fussy – and totally free – XBMC Media Center, which doesn’t force you into using iTunes.
In order to do that, you have to jailbreak the Apple TV. The current third gen Apple TV cannot be jailbroken at the time of writing, so you’re going to have to find a second gen model on eBay, Craigslist or in your local Oxfam. If you’re lucky, it may already be jailbroken, but if not the process is very nearly idiot-proof – as long as you have access to a computer. Download the free app Seas0nPass, then follow the instructions here.
To install XBMC, follow the step-by-step here.
Storage
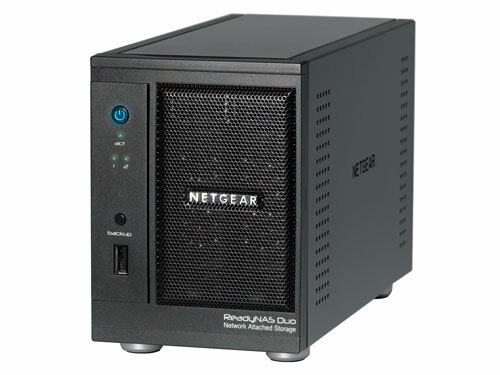
The Apple TV doesn’t support external hard drives, so you’re going to have to use a Network Attached Storage (NAS) as the place to keep all your media content. Any should work fine, but let’s assume you’re using a Netgear ReadyNAS – you can buy a 1TB version for around £220, giving you plenty of space. Cheaper alternatives are available.
Get the NAS connected to your router and it’ll become accessible by anything on your home network, including your freshly jailbroken Apple TV. So get the NAS loaded with all your media content (it’s easiest to do this using your computer).
You’ll want to keep the media organised properly to avoid confusion and make it easier to find a particular episode, film or song. XBMC uses ID3 tags, so if your media isn’t already tagged, you should remedy that, either manually or using a program like MediaMonkey (free!). Also, put your files into folders named Movies, Music, TV (with subfolders for different shows) and Pictures.
Finishing touches

Hook the Apple TV up to your living room TV (and speaker system, assuming you have one), and you’re ready to go. Welcome to your new world of HD movies and TV shows, crisp hi-res digital photo slideshows and MP3 jukeboxin’!
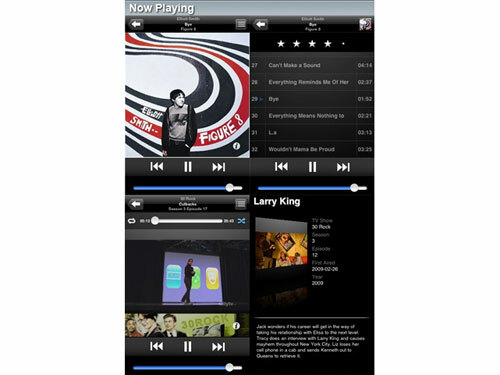
First, if you use an iOS device you can use it as the remote control for XBMC. Buy XBMC Remote (£1.99 from the App Store) and you can play, queue and shuffle media using your phone, browse through cover art and album reviews and control playback using old-fashioned touch buttons or, if you’re fancy, gestures.
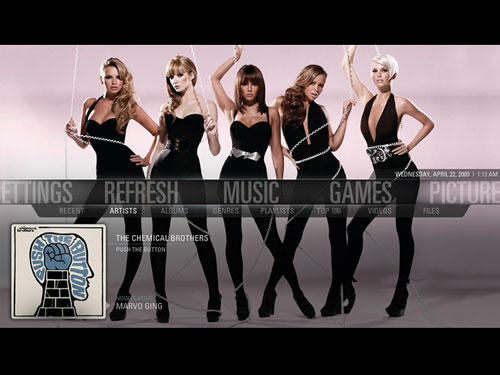
You can also customise the look of your media centre using the many different “skins” available for XBMC. Take a gander at some here.
Aliens: Colonial Marines gets new trailer
Sonic’s the secret star of Nike ad
Panasonic unveils new Lumix G lens
 Dan Grabham
Editor-in-Chief
Dan Grabham
Editor-in-Chief