How to master: Snapseed
Make your snaps picture perfect with Google’s brilliant and free photo editor for Android and iOS
The best camera is the one you have with you at all times. You’ve heard it all before. The thing is, it’s true; but then so is this: the best photo editor is the one you have with you as well.
Your phone’s photos app likely lets you do the odd bit of cropping, but what you really want is Snapseed, available for Android or iOS. Although Snapseed is entirely free, it’s jam-packed with superb tools for bringing out the very best in your photos – or transforming them into anything from heavily filtered art to viral meme by way of a range of versatile creative features.
So now let’s delve into the app’s best bits…
The basics
Choose your tab
The Snapseed interface is split between three tabs: Looks (or: rainbow icon); Tools (pencil) and Export (share arrow). At the top of the screen, you’ll also see several buttons. Open is used to open a new image. To the right, there’s a square with an arrow over it, for accessing undo/redo/revert and your edit history. Next to that is the image details button (i) and the ⋮ menu for tutorials, help and settings.
Try some tools
Snapseed’s interface is context-sensitive, and changes with the selected tool. However, there are commonalities, such as being able to cancel (x button) or confirm (tick) edits. Tools with presets have them appear above the bottom toolbar. Those where you can fine-tune parameters have a slider button. Tap it or just drag up/down on the image to choose a parameter, and then drag left/right to assign it a new value.
Crop and rotate
With the Crop tool, you can omit bits of an image you don’t want to see. The grid helps you compose your snap using the rule of thirds. Tap the ratios button (rectangle) for presets if you don’t want to go freeform. Elsewhere, the Rotate tool initially attempts to automatically straighten your photo. If you don’t like the results, drag to adjust. You can also flip and rotate your shot using the toolbar buttons.
Add text and frames
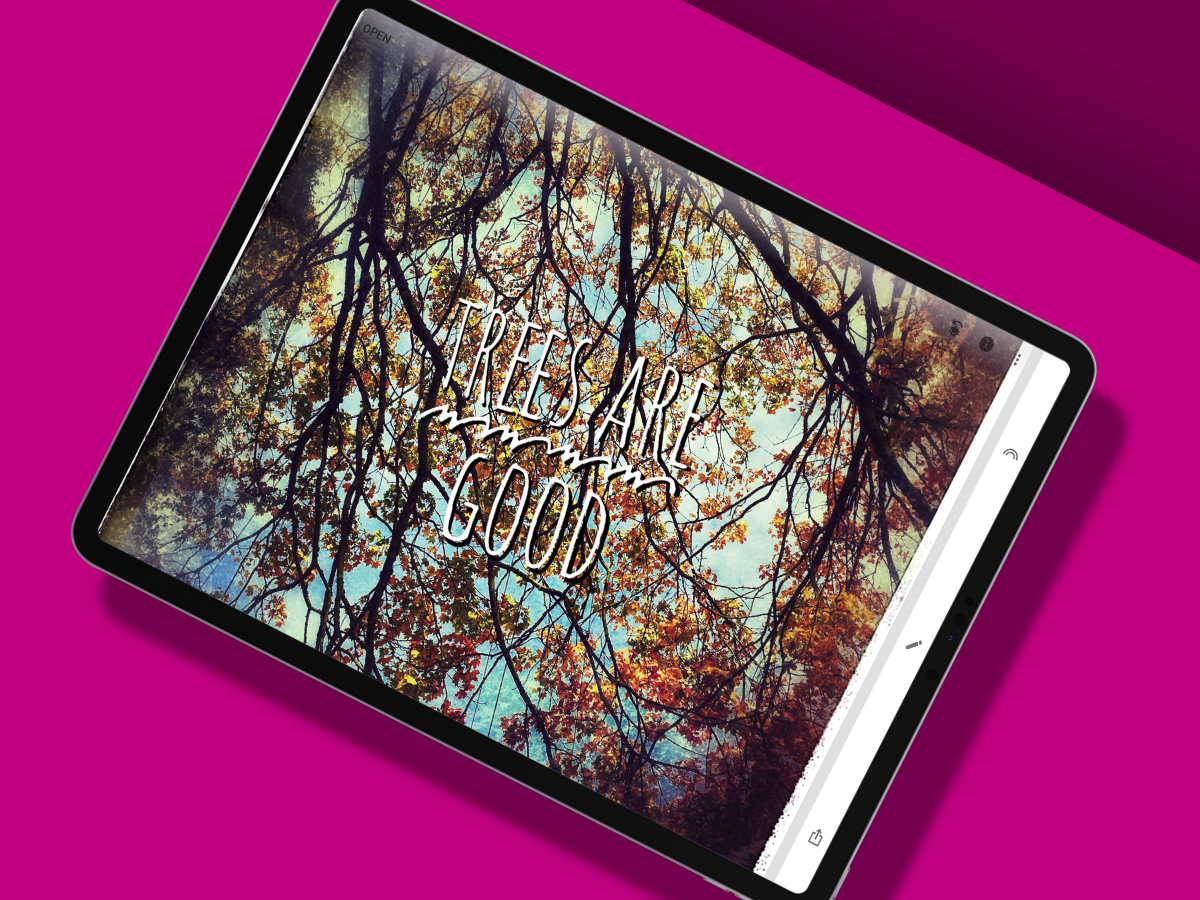
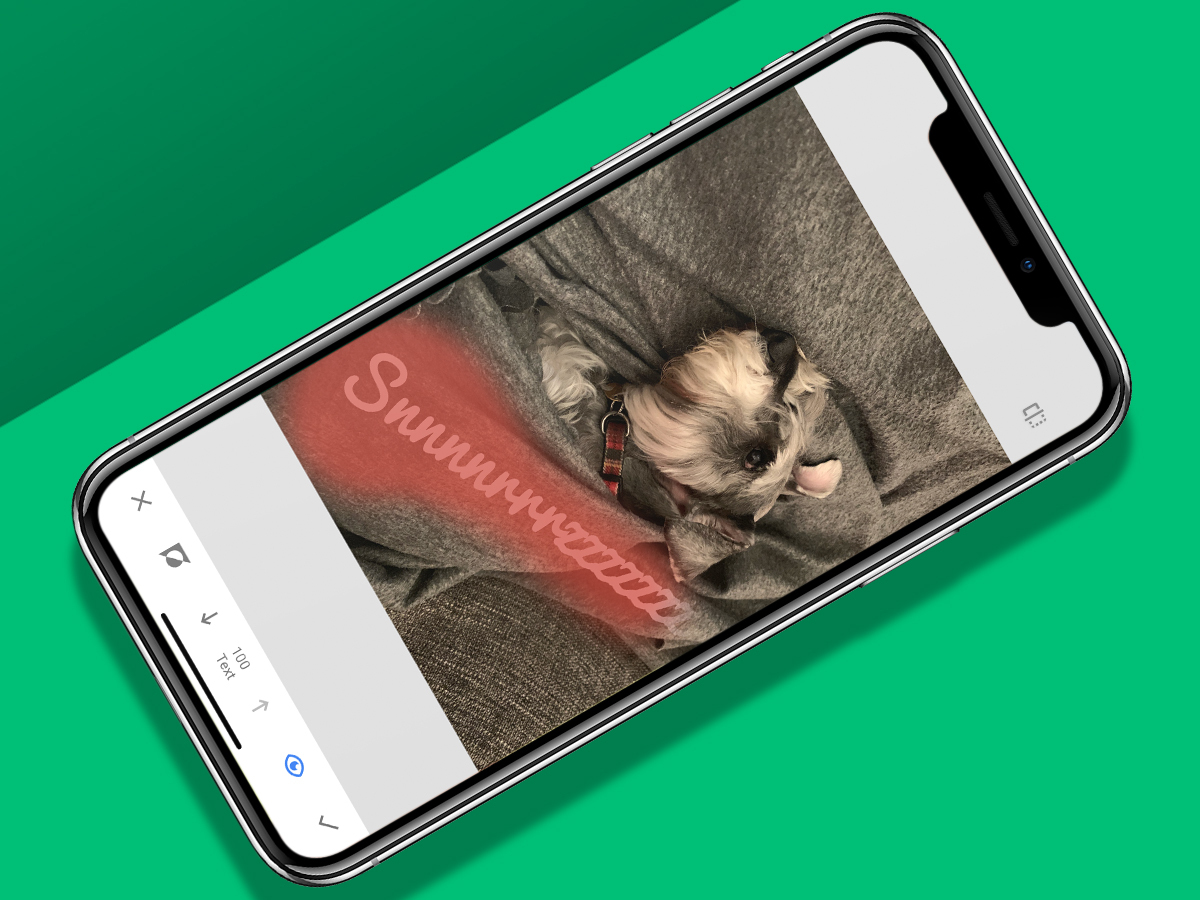
Snapseed is primarily an app for retouching and adding filters, so you don’t get freeform drawing brushes for scribbling all over your photos. However, there are text and frames tools. Note that you can use the Text tool multiple times, in order to add several separate and individually styled (size; angle; font; colour; opacity) pieces of text. Just confirm one text edit, and then reselect Text from the Tools menu.
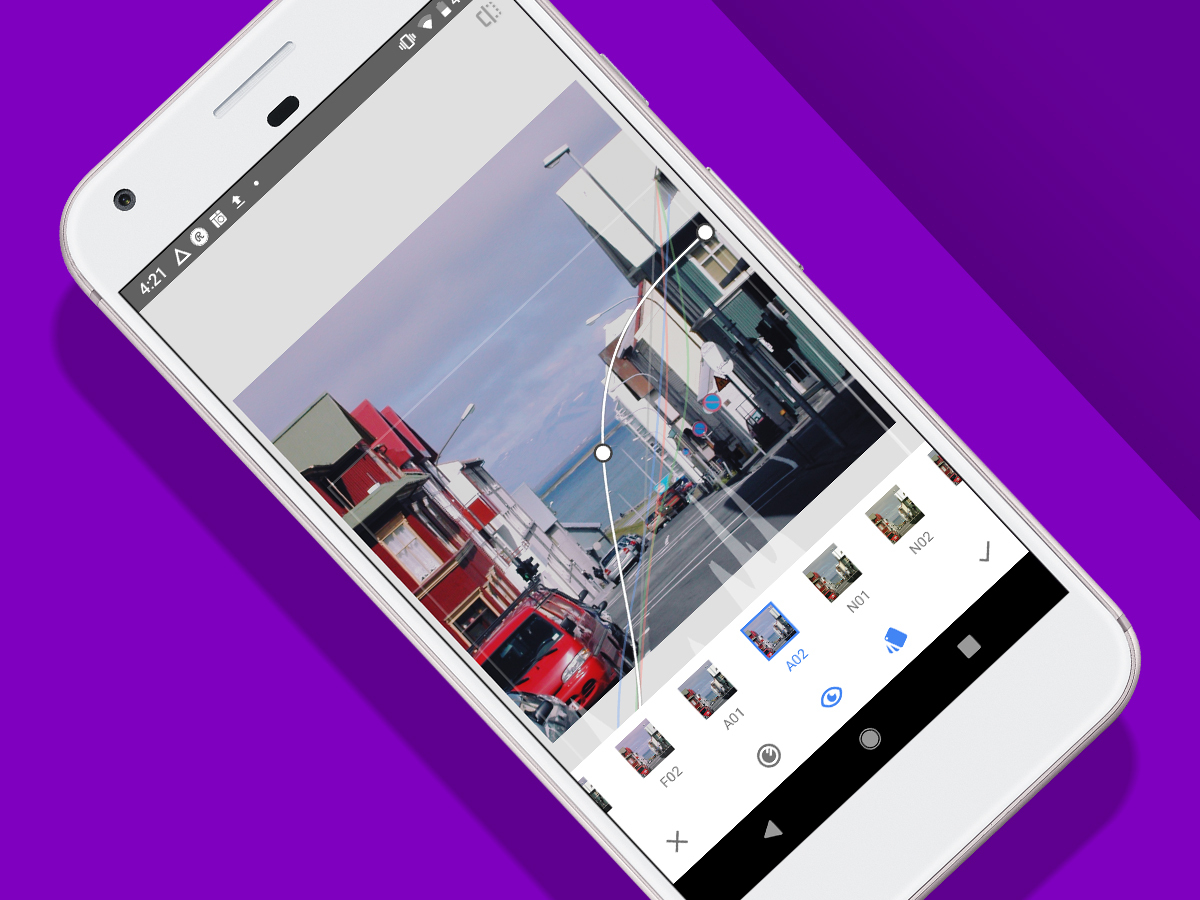
Zoom and navigate
By default, Snapseed will display your entire image within the confines of your device’s screen, even if it’s massive (your image, that is – not your device). Use the usual two-finger gesture to zoom in. Snapseed’s navigator will then denote which bit of your image you’re looking at by marking it in blue; you can drag this section around to more easily navigate your image – useful when working on fine details.
Remove blemishes
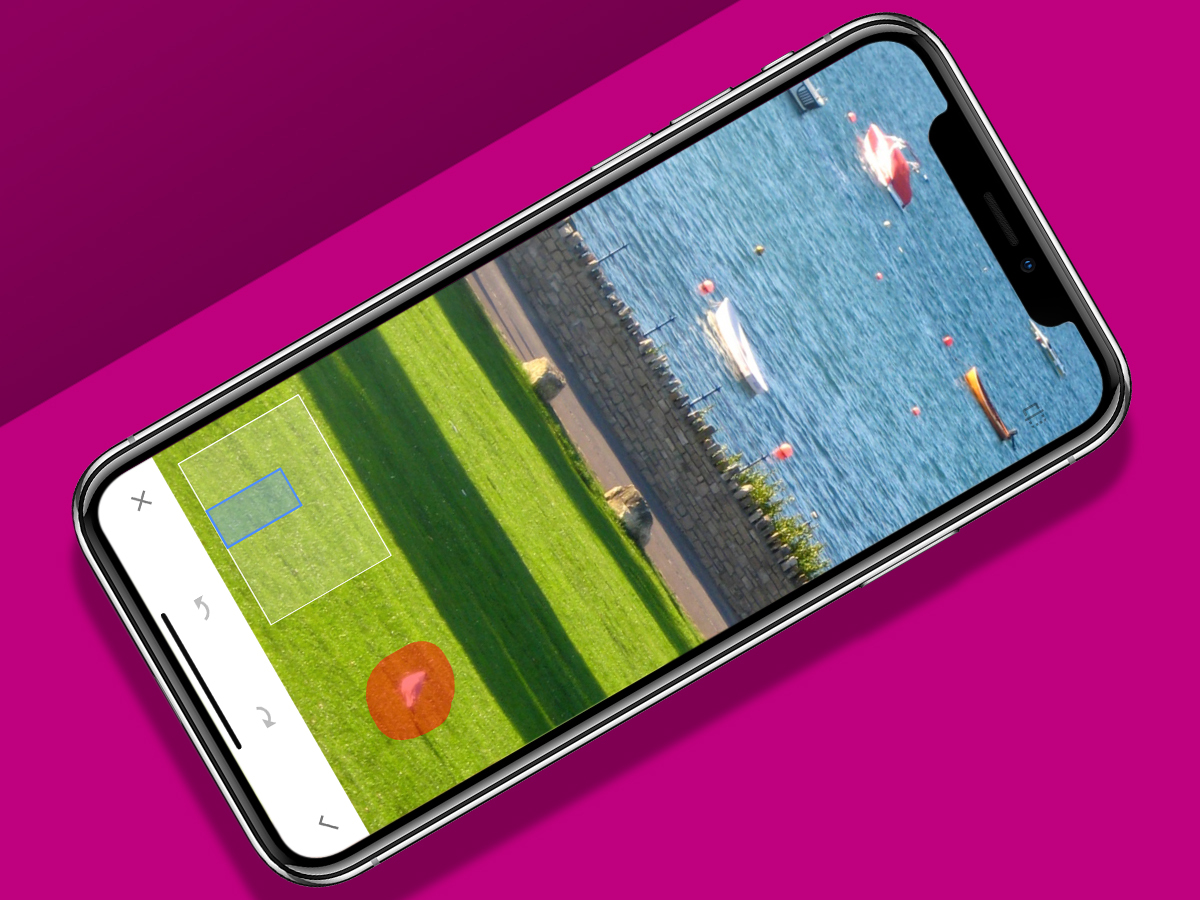
Use the Healing tool to banish clouds from the sky and pimples from your nose. Just draw over the blemish you want gone and Snapseed will remove it. Zoom in for best results, because otherwise your sausage thumbs might transform your intended masterpiece into a surreal mess rather than a perfectly fixed snap.
Picture perfect
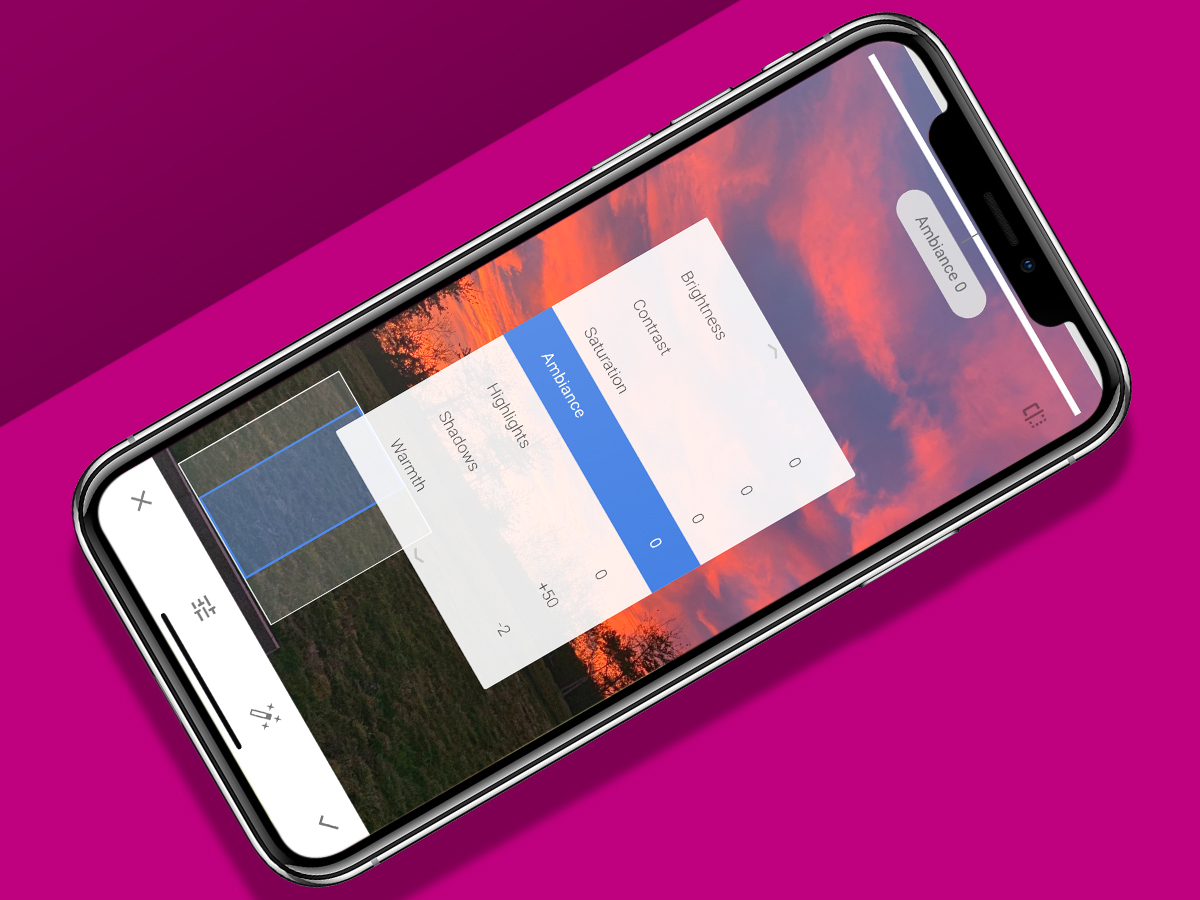
Tune your image
If you want a quick fix for an image where the colour and lighting don’t look quite right, use Tune Image and tap the wand. For a more manual touch, tap the sliders button to see the seven parameters you can individually adjust; fiddle until your picture’s how you want it.
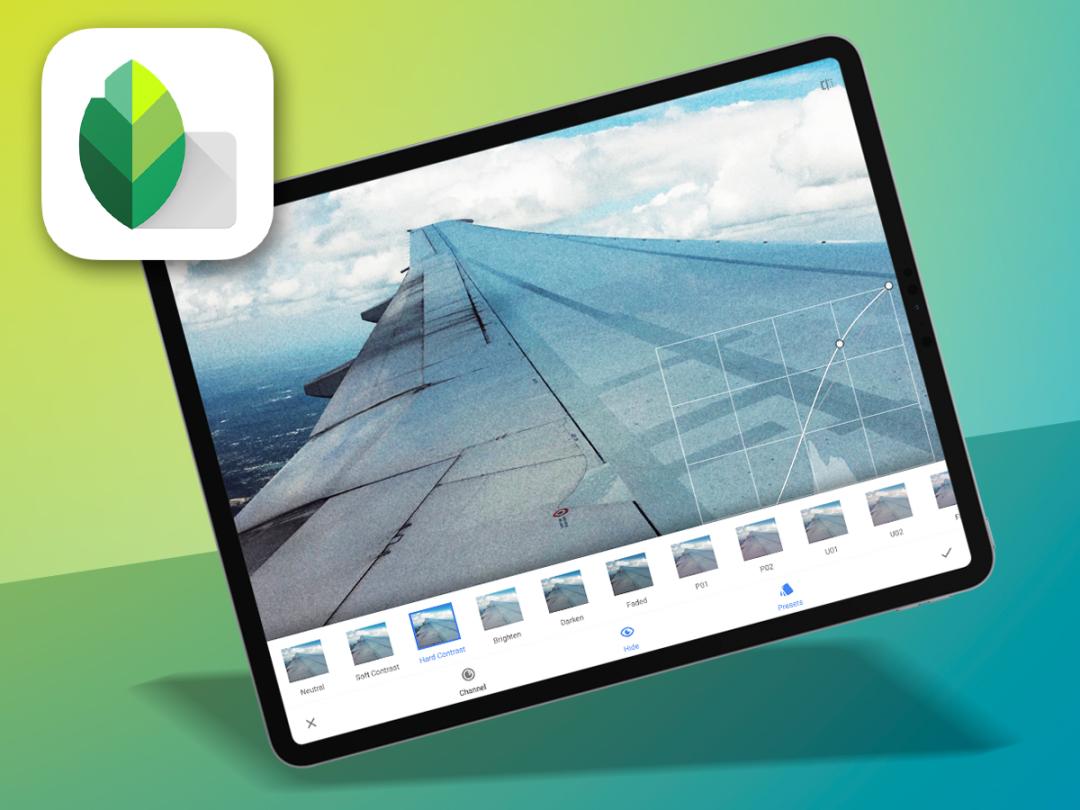
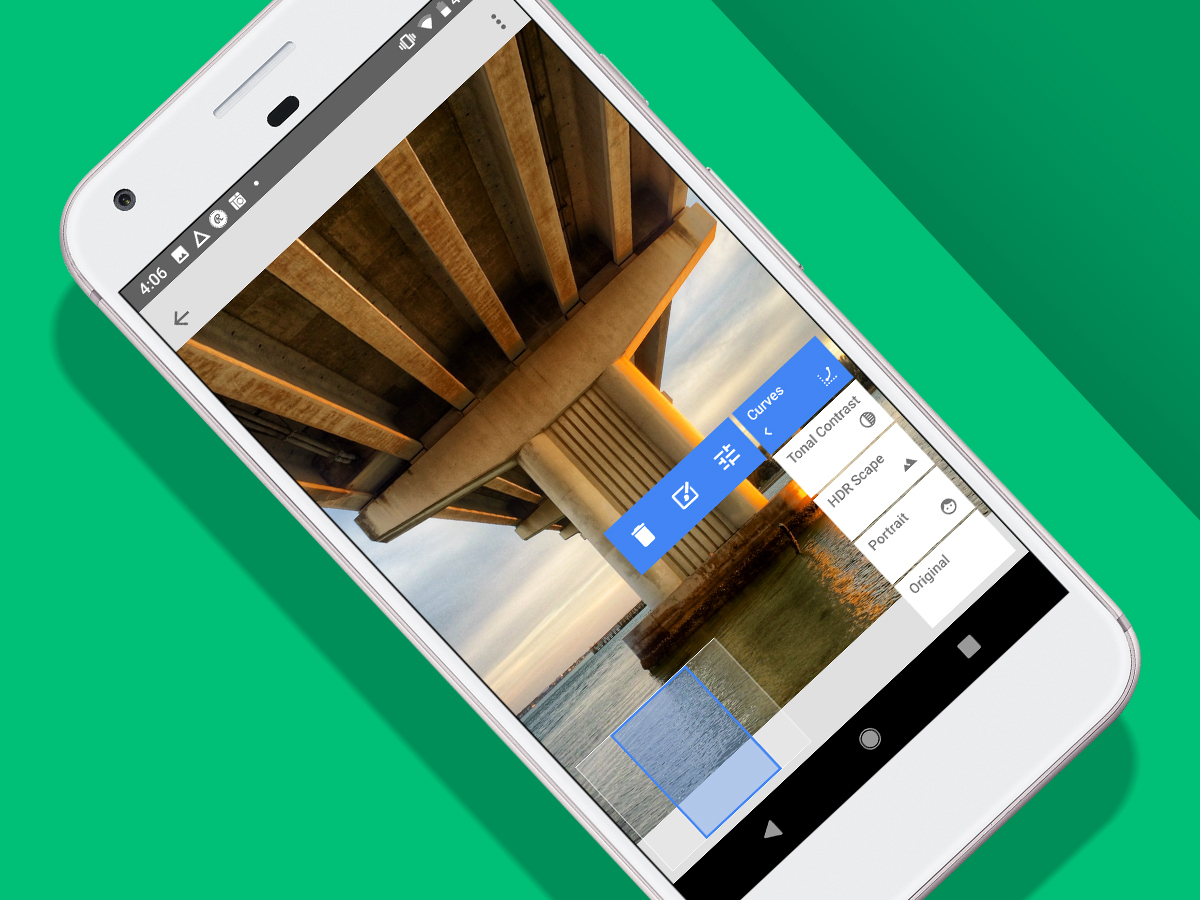
Adjust curves
The Curves tool used to be the preserve of Photoshop, but Snapseed has one – and a bunch of presets behind the card button. Select one and edit it by tapping the curve to add an edit point and then dragging it. Use the button next to x to limit changes to specific colours and/or luminance.
You’ve got the look
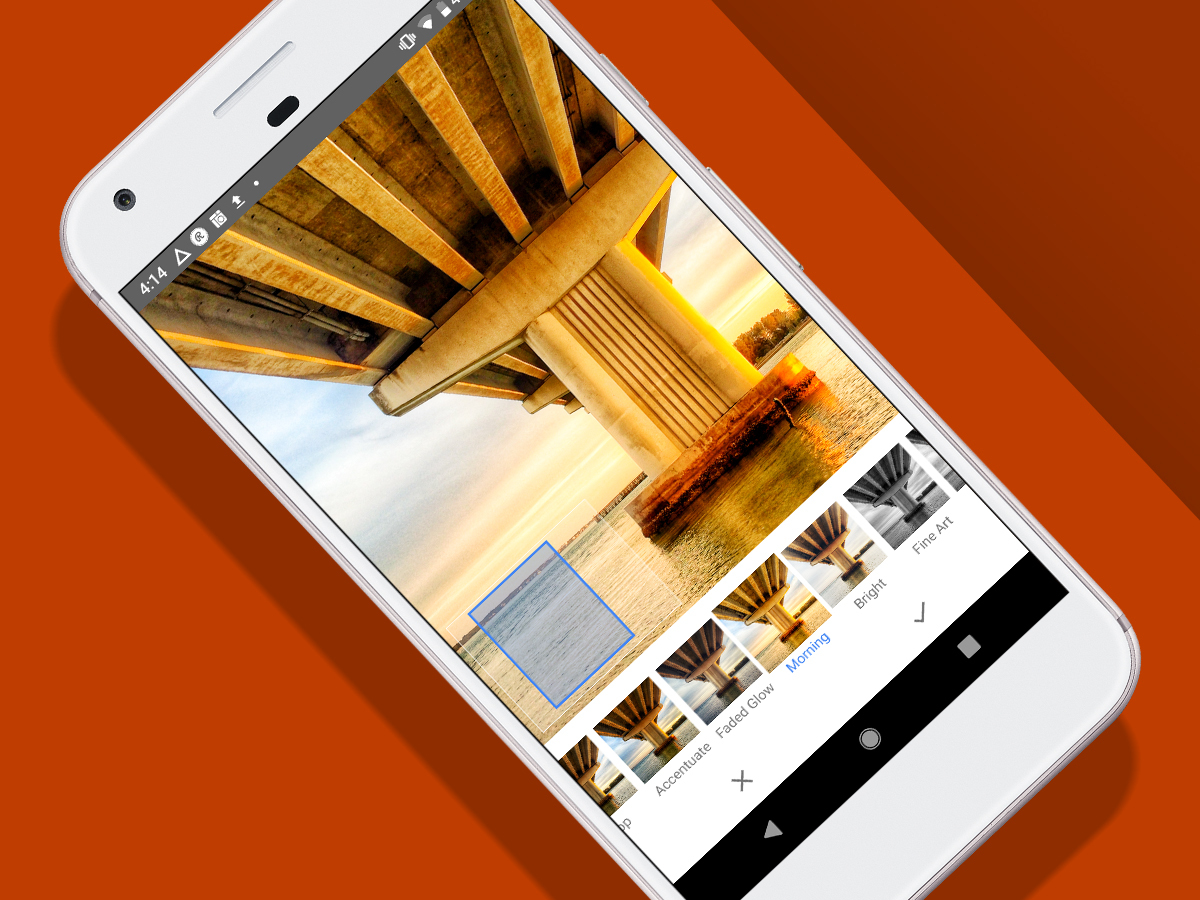
Check out Looks
Looks are Snapseed at its most accessible. Tap one to change your photo’s appearance. Easy! Now select View edits from the undo/edits menu. You’ll see the tools/edits used to construct the Look. Tap one for a flyout menu; there, you can trash, mask or adjust the edit.
Save a Look
If you edit a Look (or have worked up some edits from scratch) and like what you’ve ended up with, head to the Looks tab, scroll to the end of the list, and tap +. Name your Look and it’s now stored in Snapseed, ready to apply to as many other images as you wish.
All in the edit
Edit without fear
Unlike in most free photo editors, edits you make in Snapseed are non-destructive. This means they aren’t burned into the image when you confirm them, and can be removed or adjusted at any time. The only time they’re effectively fixed for good is during export.
Add a mask
Tap the mask (pencil) button from an edit menu (see ‘Check out Looks’). That ‘layer’ will be masked out. Draw across it and areas marked in red will become visible again. To erase part of your mask, tap the down arrow to set the tool value to zero and paint over red bits.
Disable layers
Snapseed doesn’t enable you to turn off individual ‘layers’ within the edit stack. But on tapping an edit, you temporarily disable everything above it. So tap Original and the topmost edit to switch between your original image and what you’ve subsequently done to it.
Get it out

Set export options
Access Snapseed’s settings in the ⋮ menu. Under Image Sizing, you can optionally define a maximum length for images. Format and quality is by default set to 95% [quality] JPEG. Tap for other options – 100% will mean no quality loss, but larger files.
Export your images
Tap Export (or the share button in iOS on landscape) to send your saved image elsewhere. Options here align with OS features – so only on Android can you export to specific folders; but on iOS, you can save an image with changes you can later undo.
Alternatively…
Affinity Photo
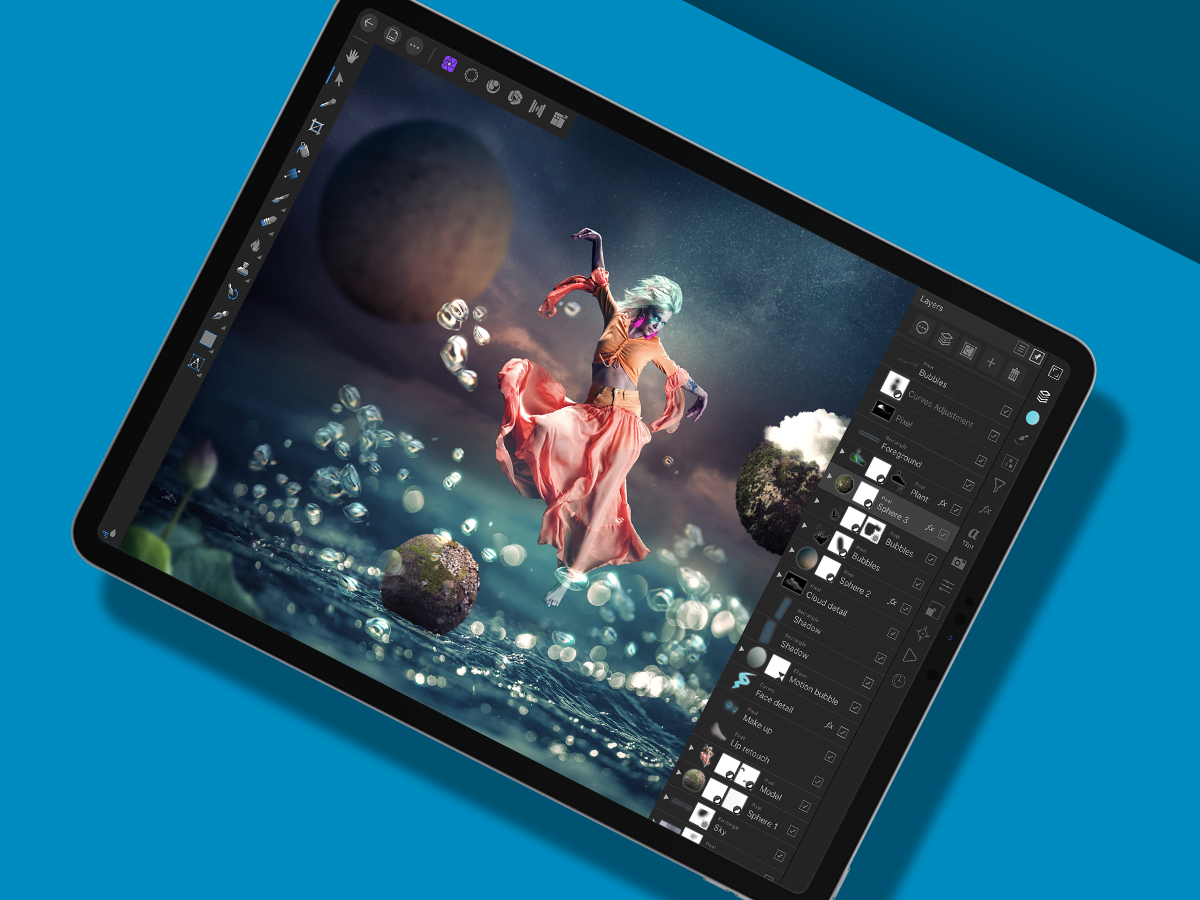
When the new iPad Pro debuted, people got all excited about Adobe’s forthcoming Photoshop. Meanwhile, Serif made loud HARRUMPH noises, noting Photoshop equal Affinity Photo has been making iPad owners emit happy cooing noises since the summer of 2017. For high-end editing larks on mobile, it can’t be beaten.
Pixelmator
If you want a step up from Snapseed on a phone, Pixelmator’s the best bet – assuming your phone’s Apple flavoured. It’s packed full of Photoshop-like features, includes a comprehensive layers system, has some lovely tactile effects, and also lets you fingerpaint all over your snaps, like a deranged Picasso.
Adobe Photoshop Fix
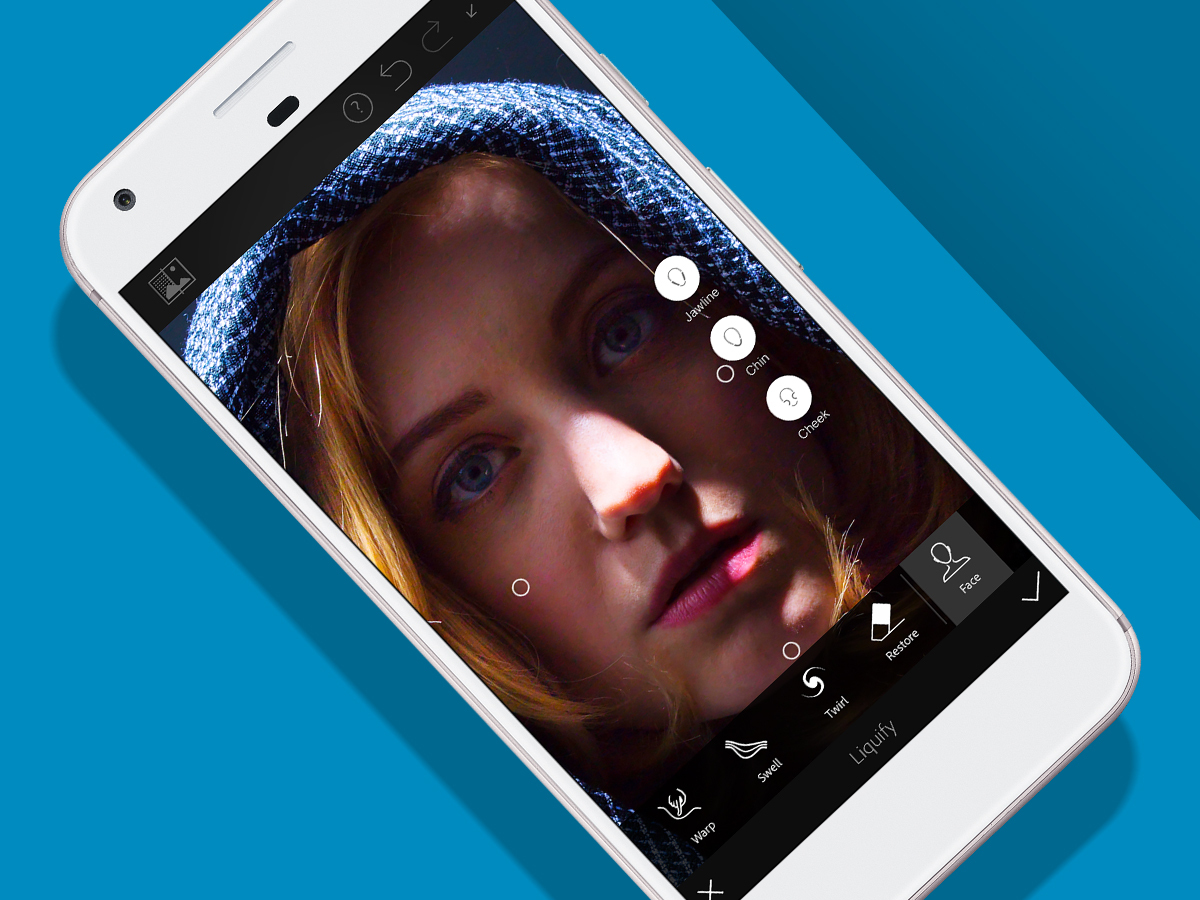
If you want to squirt Adobe goodness into your device, full-fat Photoshop doesn’t exist, but smaller apps that carve off bits of its functionality do. Fix is a decent option – a focussed app for quickly retouching images. It’s especially good for improving selfies, if you’re a bit on the vain side.
 Craig Grannell
Contributor
Craig Grannell
Contributor