Stuff’s Guide to Photography: how to master astrophotography
Because nothing would make Brian Cox happier...
Still buzzing from a weekend of snapping the Perseids Meteor Shower?
Don’t worry, we were too distracted by the Olympics too, which is why we’re even more determined to brush up on our skills for their next visit, along with other meteor showers like the Taurids.
To get us prepped we asked expert astrophotographer Will Gater for his most celestial astrophotography tips. Here’s how to photograph the heavens without getting starry-eyed…
The Basics
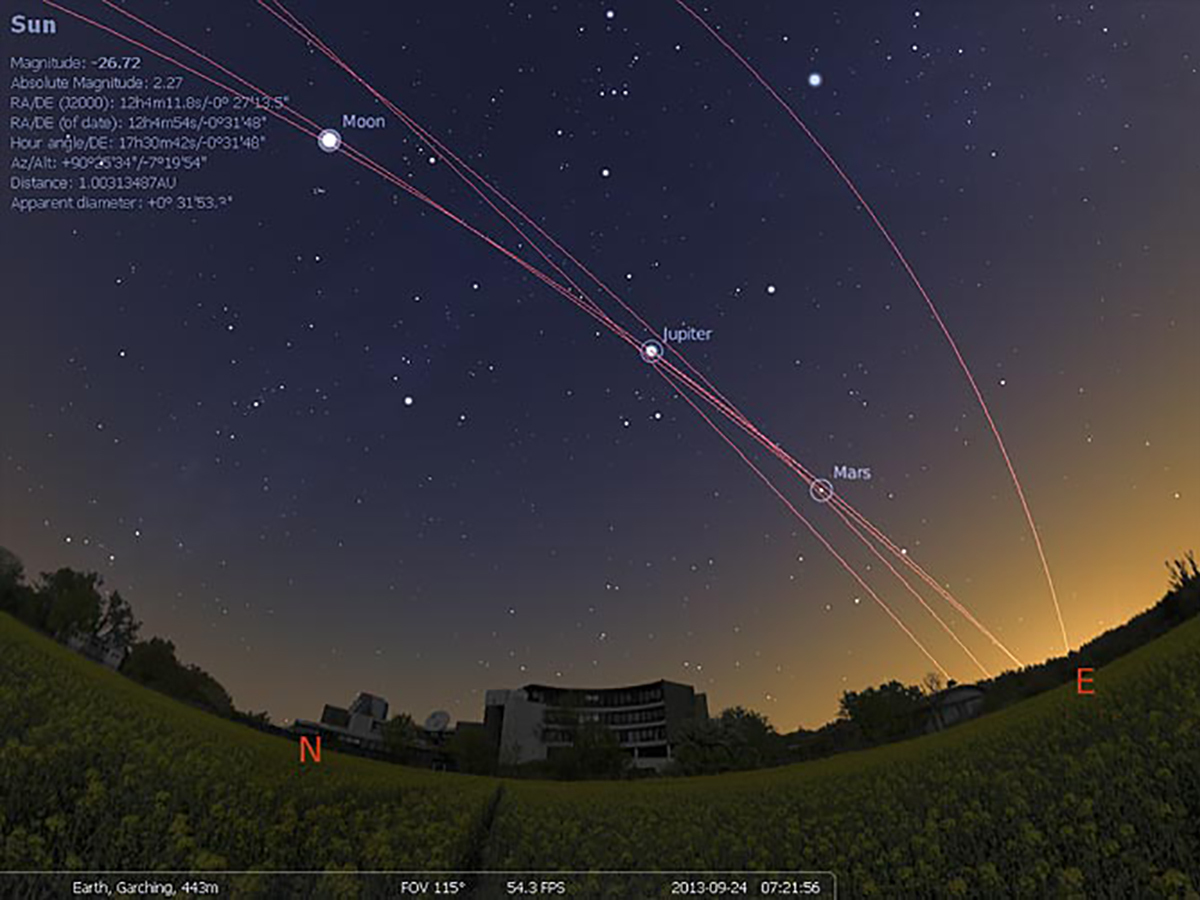
Plan your trips. Planetarium software such as Stellarium or websites like Heavens Above will help you find out what celestial objects and constellations you can see, at a given time, wherever you live.
Get kitted out. Some point-and-shoot cameras allow you to take 30-60 second exposures, which can be useful for astro imaging. But the best setup for general astrophotography is a DSLR with manual controls with a decent lens, preferably either a telephoto or a 12mm for going wide.
A solid start. A sturdy tripod is a must if you want to take sharp shots of the night sky. Astronomical exposures typically last many seconds, so a tripod will keep your shots blur-free.
Use a remote release. A good tripod will hold your camera rock steady, but you also don’t want to nudge the whole setup when pressing the shutter button. A remote release switch is the way to go. If you don’t have one, try using your camera’s self-timer to keep shake to a minimum.
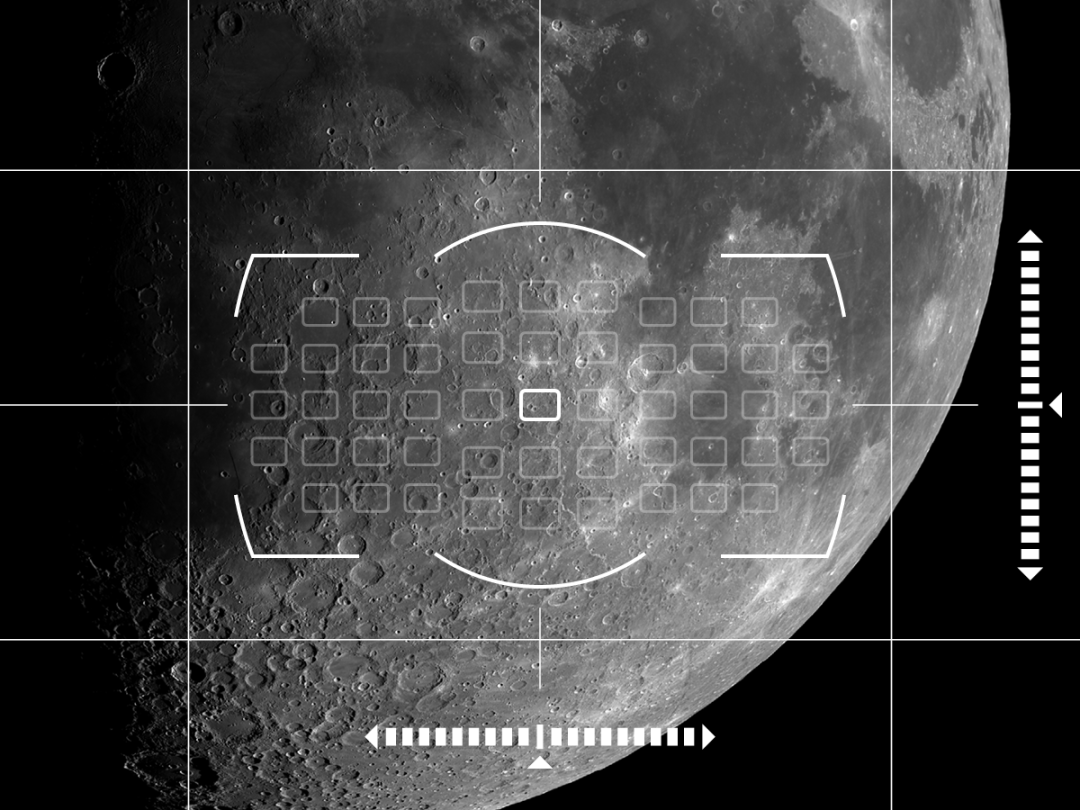
Choose a target. To begin, try photographing bright targets, like the Moon and planets over a horizon. This is a good way to learn how to focus on celestial objects and judge the correct exposure length.
See red. To preserve your night vision, use a red light headtorch. Several models are available with built in red filters, but you can also just modify an existing one with some red sweet wrapper.
First Steps
Avoid light pollution. To capture the night sky in all its glory, try to get out to a dark-sky site to take pictures. There are many locations all over the UK with wonderful dark night skies, such as Galloway, Exmoor, Mid-Wales and Dartmoor.
Timing is everything. There’s lots to photograph in the night sky all year round, but from the UK the short nights of summer are a particularly good time to snap the Milky Way, while the winter skies are full of bright constellations.
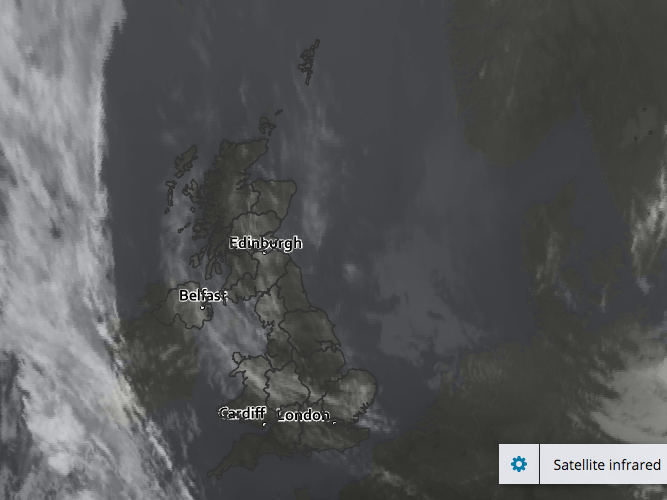
Watch the weather. You’ll obviously get your best shots when the sky is cloud and haze free. You can use the latest infrared weather satellite images, like those found on the Met Office website (see above), to monitor where and when the clear skies will appear.
Exercise: capture the Milky Way
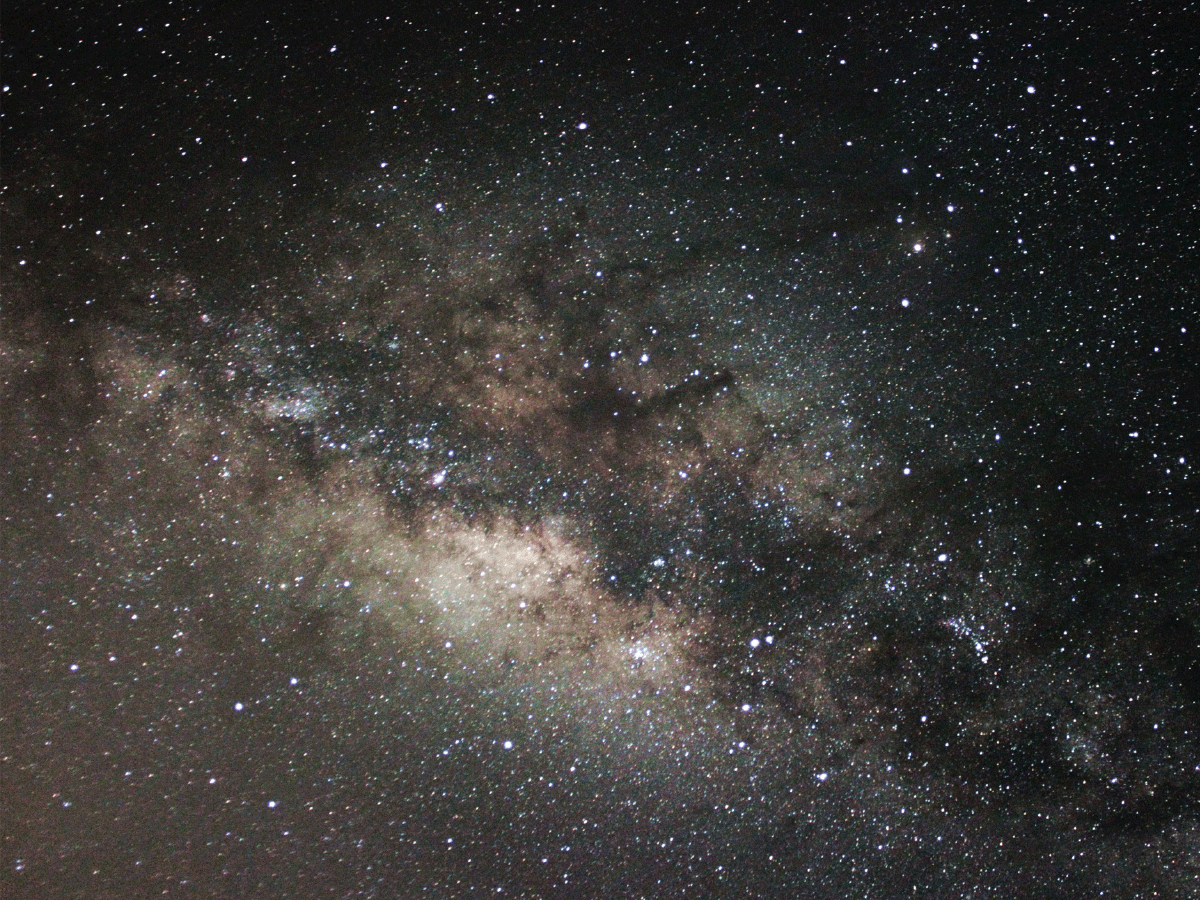
1. Set up and focus. To photograph the Milky Way you’ll need a DSLR, a wide-angle lens and a tripod. Put the camera into its fully manual mode and focus on a bright star – DSLRs with a live-view function come in really handy when doing this.
2. Exposure and ISO. With the camera focused and pointing at the Milky Way, set the exposure length to around 30 seconds. Try an ISO setting of between 1600 and 3200 to begin with and reduce it if the image is too bright or noisy.
3. Capture multiple exposures. Take some test shots to check framing, and when you’re happy with it capture around 5-10 images in quick succession. Then take some dark frames (see ‘Processing’). You can then process these all together to create a detailed final image.
Other Celestial Challenges
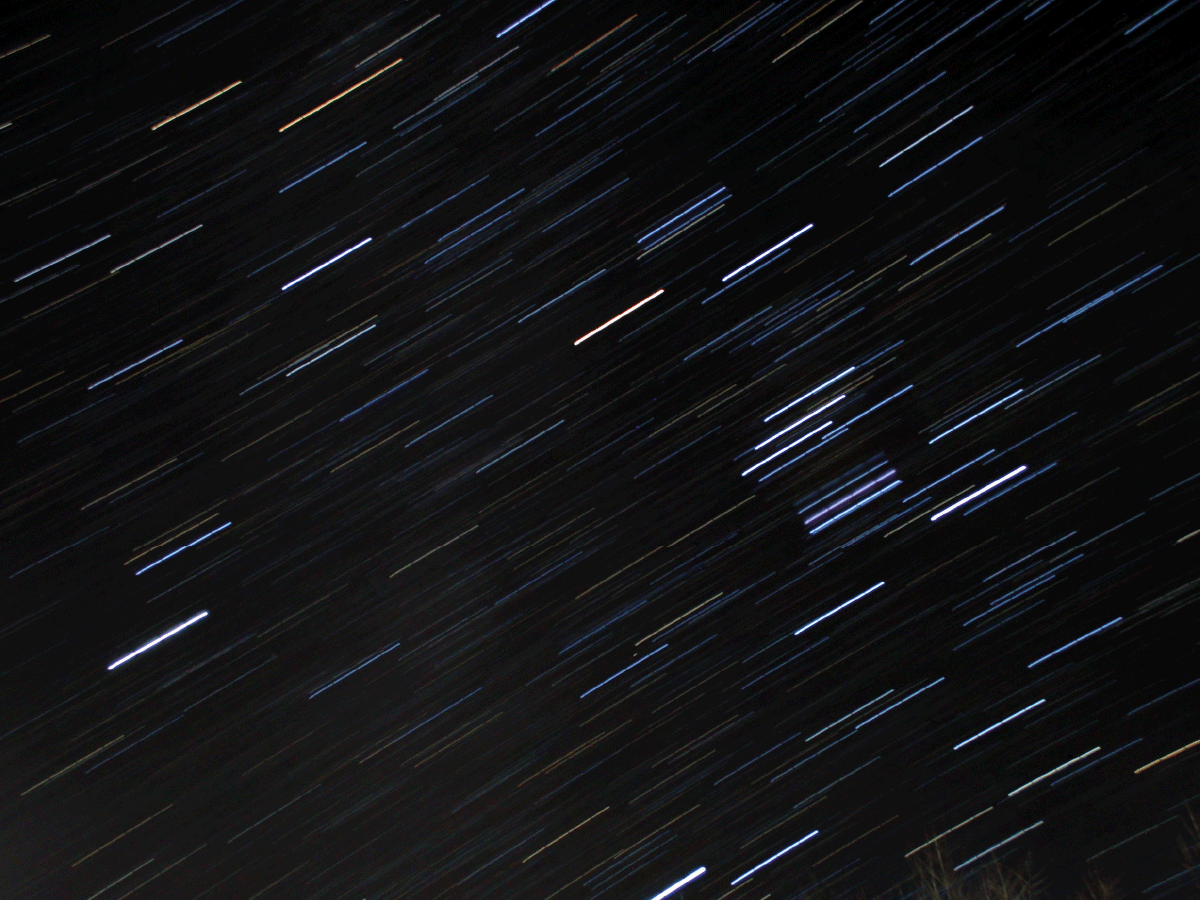
Startrails. With an exposure length of 30 to 60 seconds you’ll notice the stars create little arcs as the Earth rotates. If you add consecutive exposures like this together, with software such as Startrails, you can create beautiful star trail shots.
Afocal photography. If you own a small telescope you can point a regular digital camera or DSLR through the eyepiece to take pictures. This simple but effective method is called ‘afocal’ astrophotography and works best on the Moon and bright planets.
Catch a shooting star. Meteors are tricky to photograph but you only need a DSLR continually clicking away on a tripod and a decent meteor shower. Use a wide lens with the aperture fully open and a high ISO setting and you may catch one.
For some finer details how to photograph a meteor shower like the Perseids, head over to our in-depth guide.
Processing…
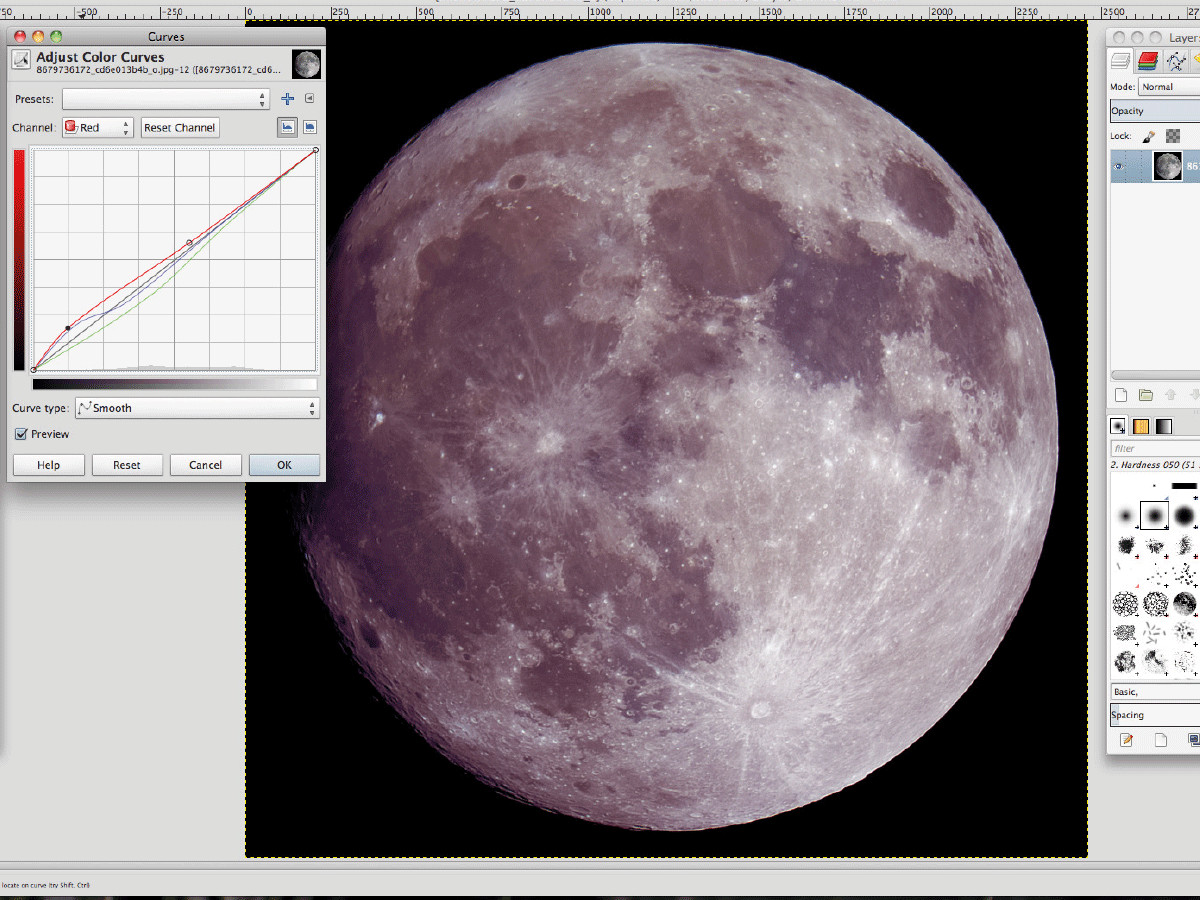
Final tweaks. Once you’ve downloaded your pictures, you can then process them to bring out more detail using software such as GIMP, Photoshop or Photoshop Elements. You can do this by making careful adjustments with the ‘levels’ and or ‘curves’ tools.
Stack your exposures. If you’ve taken several exposures of the same object, as like in the Milky Way exercise, you can stack them together into one image and process it in the free software DeepSkyStacker. This procedure helps enhance faint details.
Banish blotchy noise. To reduce noise in your astroimages take a few exposures, right after you’ve captured the main shots, with the lens cap on the camera. You can subtract these ‘dark frames’ from your regular exposures using DeepSkyStacker, creating a smoother final picture.
Level Up With…

The Planetarium Program
Stellarium £free (Windows, Mac, Linux)
For planning your astrophotography and just generally seeing what’s visible in the night sky from your location the free software Stellarium is an invaluable tool. It includes plug-ins that will overlay the field of view of your camera and lens on the sky, allowing you to plan exactly what you’re going to shoot.
The Website
When it comes to incredible nightscape astrophotography you won’t find a better set of galleries than this. This superb site collects together hundreds of pictures and timelapse videos from top astrophotographers located all over the globe. If you’re looking for a bit of creative inspiration you’re bound to find it here.
The Competition
Astronomy Photographer of the Year
Captured a spectacular shot of the night sky? Then don’t forget to submit it to the world’s premiere astrophotography competition, run by the Royal Observatory Greenwich. Will is one of the judges on the annual competition, alongside a panel of other experts including The Sky at Night presenter Pete Lawrence.
This year’s competition is now closed but you’ll be able to see the winners at the Royal Observatory from 17 September.
Image: Royal Observatory Greenwich/Mark Gee
 Mark Wilson
Features editor
Mark Wilson
Features editor