Beta Yourself: iPad Art
You don’t have to own an easel and loft studio to be an artist these days. Wacom illustrator Kyle Lambert shares his tips for whipping up an iPad masterpiece
The iPad has swiftly become an important tool in the digital artist’s arsenal.
When teamed with an app or two and a clever stylus, it’s capable of producing outstanding results of the kind that were previously only achievable with a credit card-maxing graphics tablet and high-end PC.
Unfortunately, having the kit on its own isn’t enough: a bit of talent is also a must. Still, practice makes perfect and if you follow these tips from illustrator Kyle Lambert you’ll be well on your way to becoming a digital Da Vinci.
The Basics
● Each art app has its own set of tools and features. ArtRage (£3.99) will give your artwork the appearance of a real painting, whereas Autodesk SketchBook Pro (£2.99) will have a more digital quality.
● Explore your app’s features and find out things such as what canvas sizes are available? Can you record videos as you paint? If you find finger-painting a challenge, how about a stylus? Rubber-nib options include the Bluetooth-equipped Wacom Intuos Creative Stylus (£19.99), while others such as the Nomad Flex Brush (from £22.99) have real bristles.
● Rather than attempting a masterpiece right away, make sure you experiment with your app. Spend the first few days doodling and trying out different brushes and tools. This will help improve your technique and prepare you for creating more complicated artwork.
● Try to identify a method of working that consistently delivers good results. Don’t be afraid to switch between apps if they are better suited to certain tasks – for example, sketching in one app then adding colour in another.
● Most art apps have built-in sharing capabilities for exporting to social network sites, so make sure to share your work. Apps such as Procreate (£4.49) also record your painting process as a video, which can then be uploaded to sites such as YouTube.
The Tools
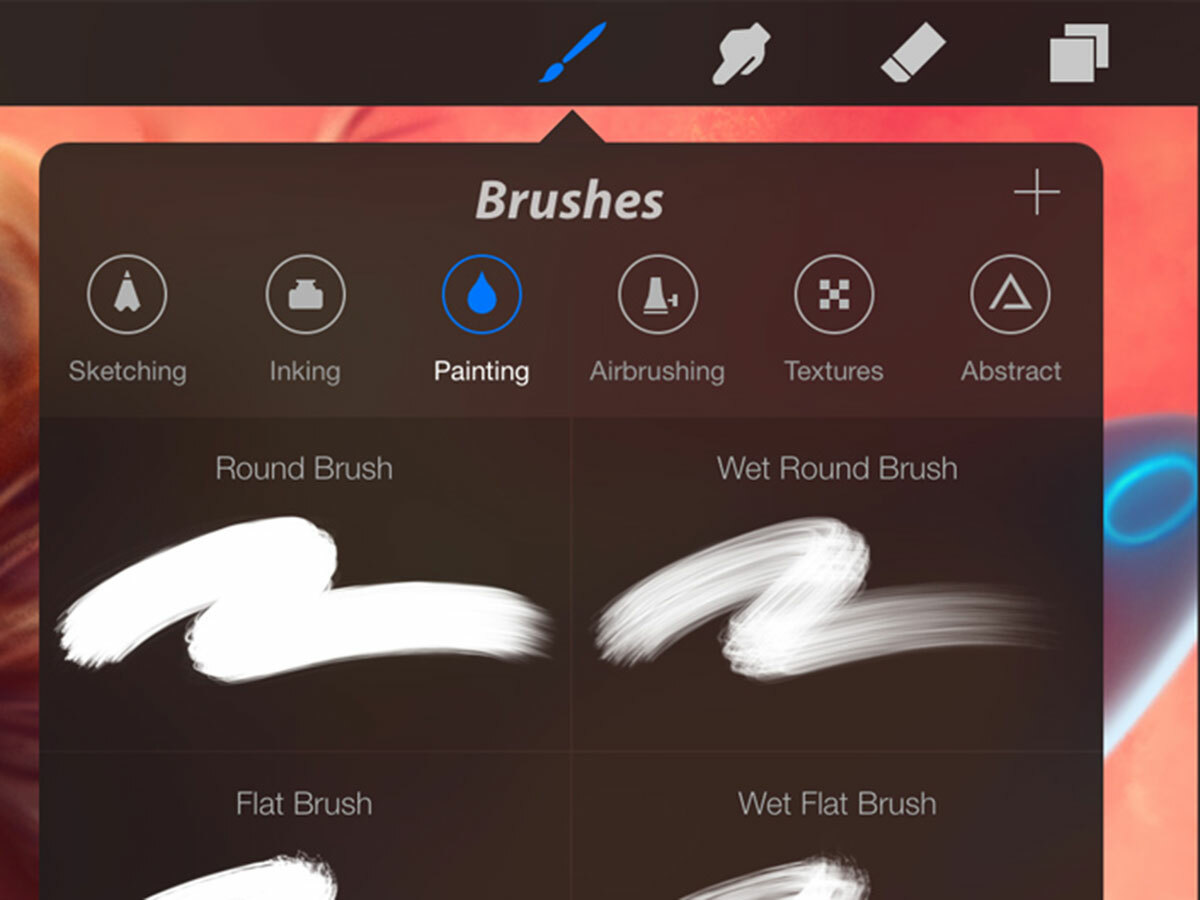
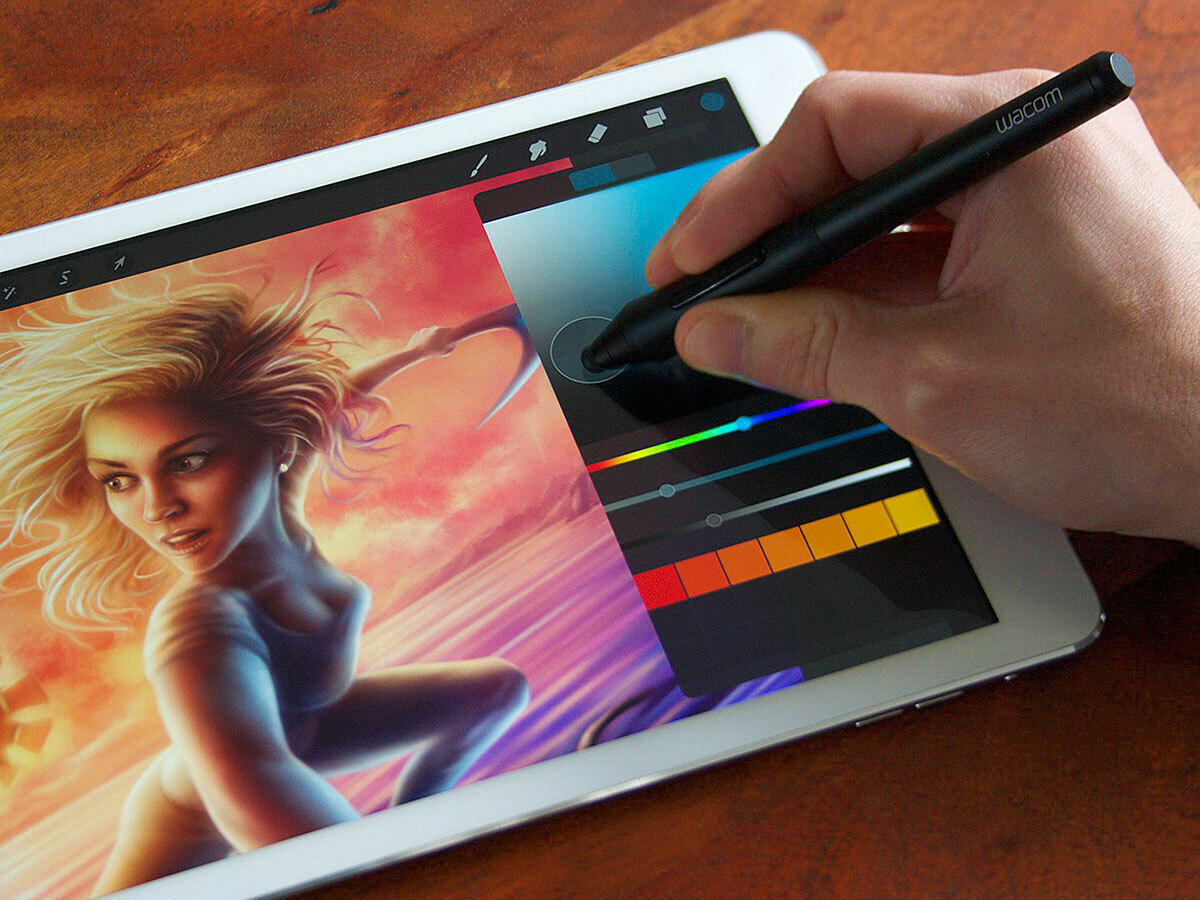
● Open the settings menu for each brush to adjust size, opacity, spacing and (if you’re using a Bluetooth stylus) pressure sensitivity.
● Select a colour ‘hue’ from the spectrum and use the ‘saturation’ slider for intensity. Finally, decide how dark or light it should be using the ‘brightness’ slider.
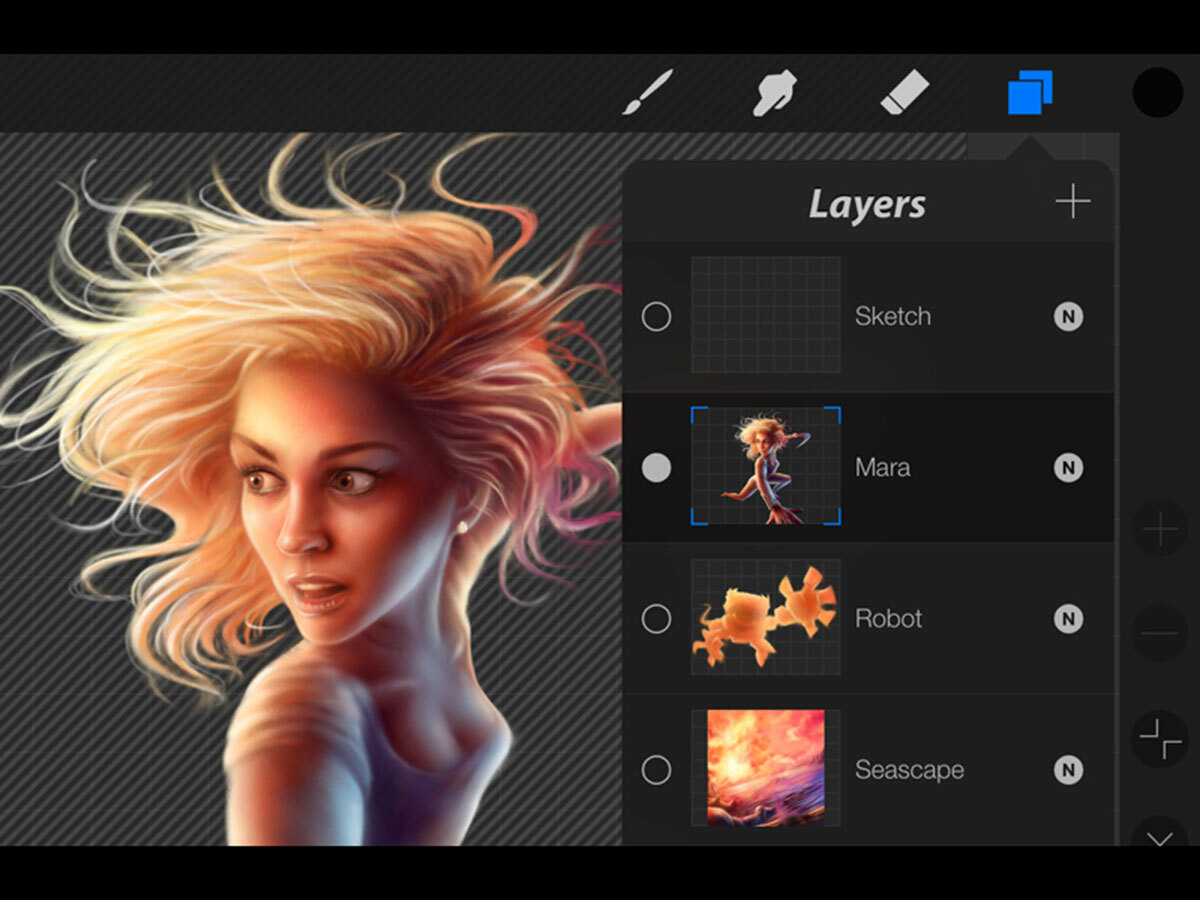
● Use layers to keep different elements or stages separate. So, you might paint a flower on one layer and a sky on another. If you make changes to the sky, the flower will stay put.
The Tricks
● Blending colours can be a big challenge in digital art. Look for special ‘wet’ brushes that automatically blend as you paint. The smudge tool also smooths applied hues.
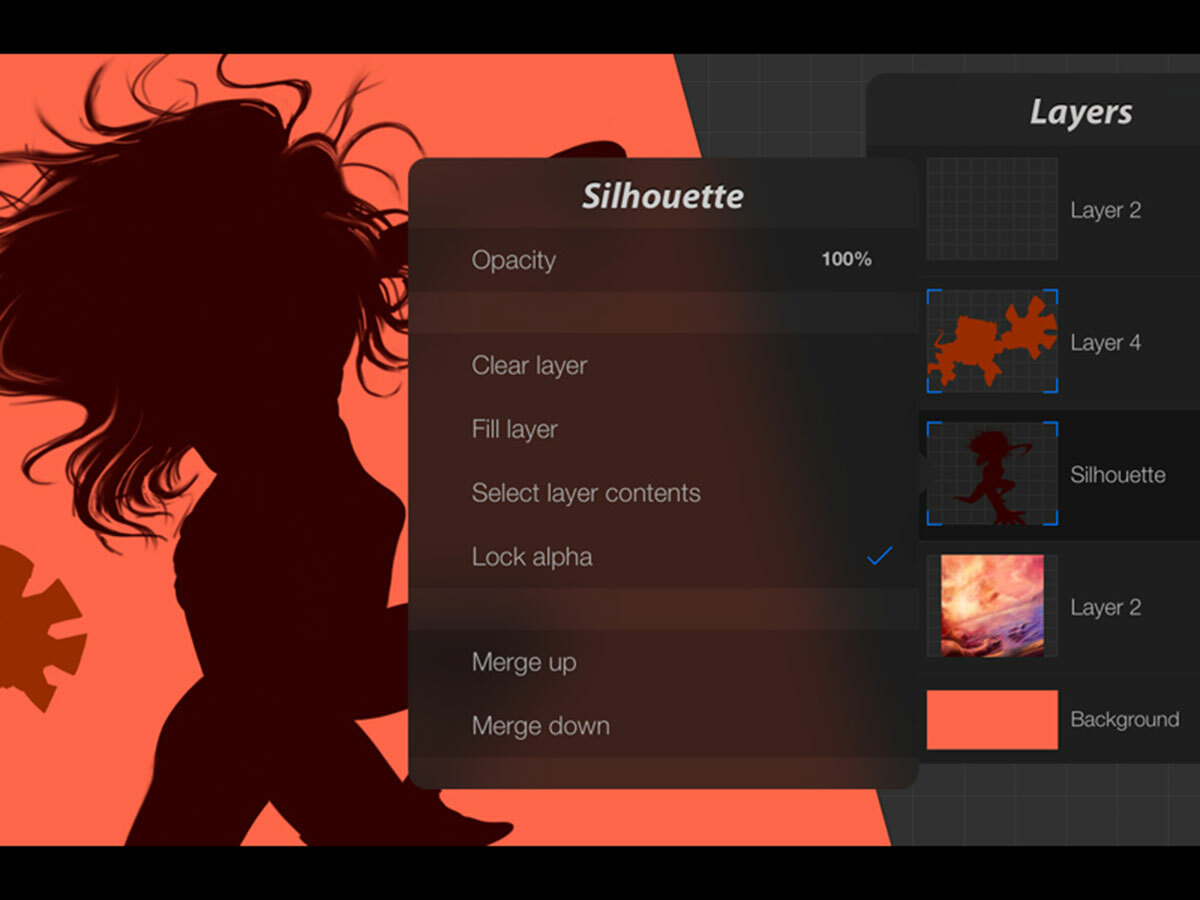
● The opacity lock helps to maintain sharp edges. Paint the silhouettes on to a new layer and then select the ‘opacity lock’ option. This will only allow you to paint within the lines.
● Sample colours by tapping and dragging colours you have mixed into the ‘swatches’ panel to use again. Or you can tap and hold anywhere to find one again.
Exercise
1 Sketch a scene loosely using a pencil brush. Reduce the layer opacity then draw over the top of it on a new layer. This will allow you to refine your sketch each time until you’re happy.
2 Block colour layers by creating a layer per object. With the opacity lock enabled, begin blocking in the basic colours of each object with a large brush.
3 Paint details once the key colours are established. Hide the sketch layer and add details with a small brush. You can use photos for reference to help make realistic touches.
Masterclass
● Select and transform areas of your painting by using the selection tool available in some apps to isolate, transform or delete. Use this to reposition, resize or scale sections.
● ‘Blend’ modes such as ‘multiply’, ‘screen’ and ‘overlay’ will blend layers in interesting ways, changing the luminosity and vibrancy of your painting.
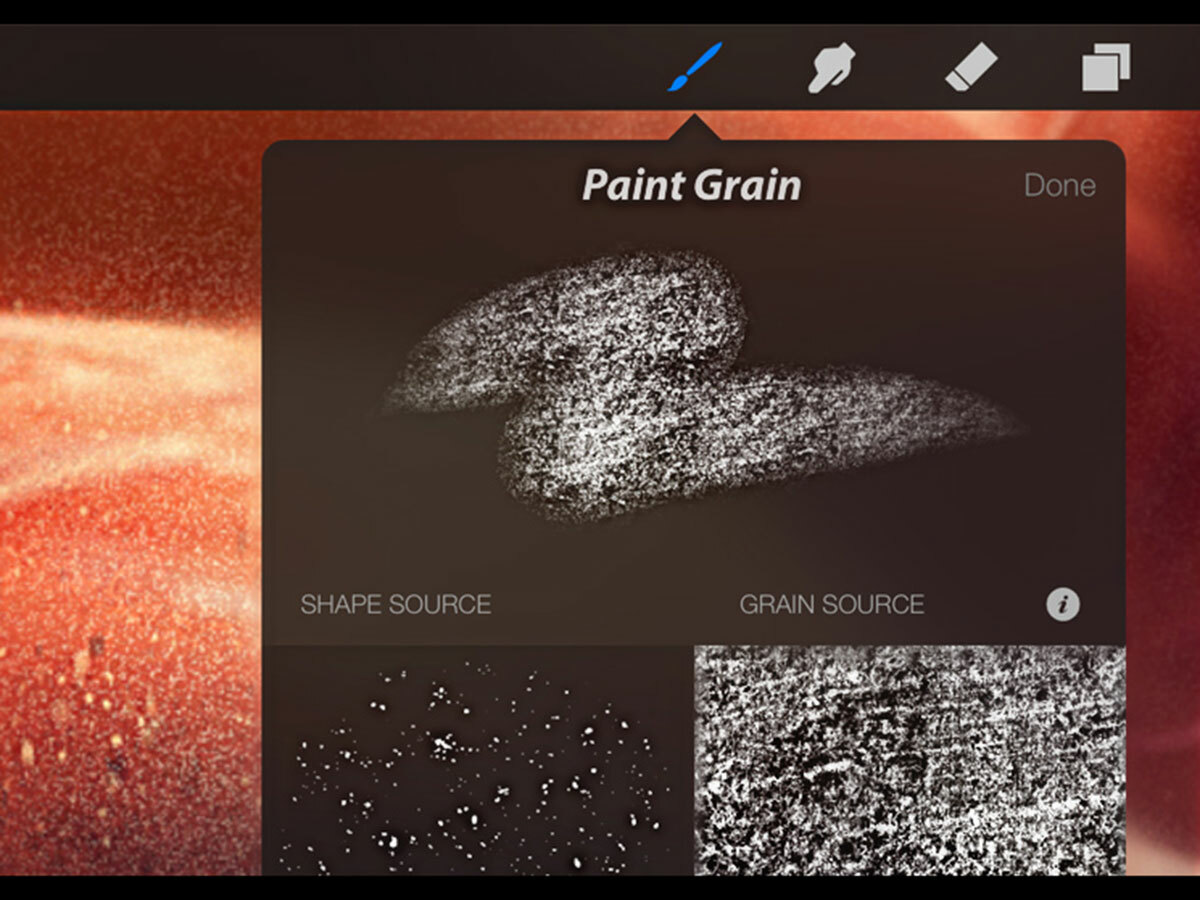
● Create brushes in the Procreate app, selecting from a range of textures and grains. These can be big time-savers when you’re painting textured surfaces such as rocks.
Level Up With….
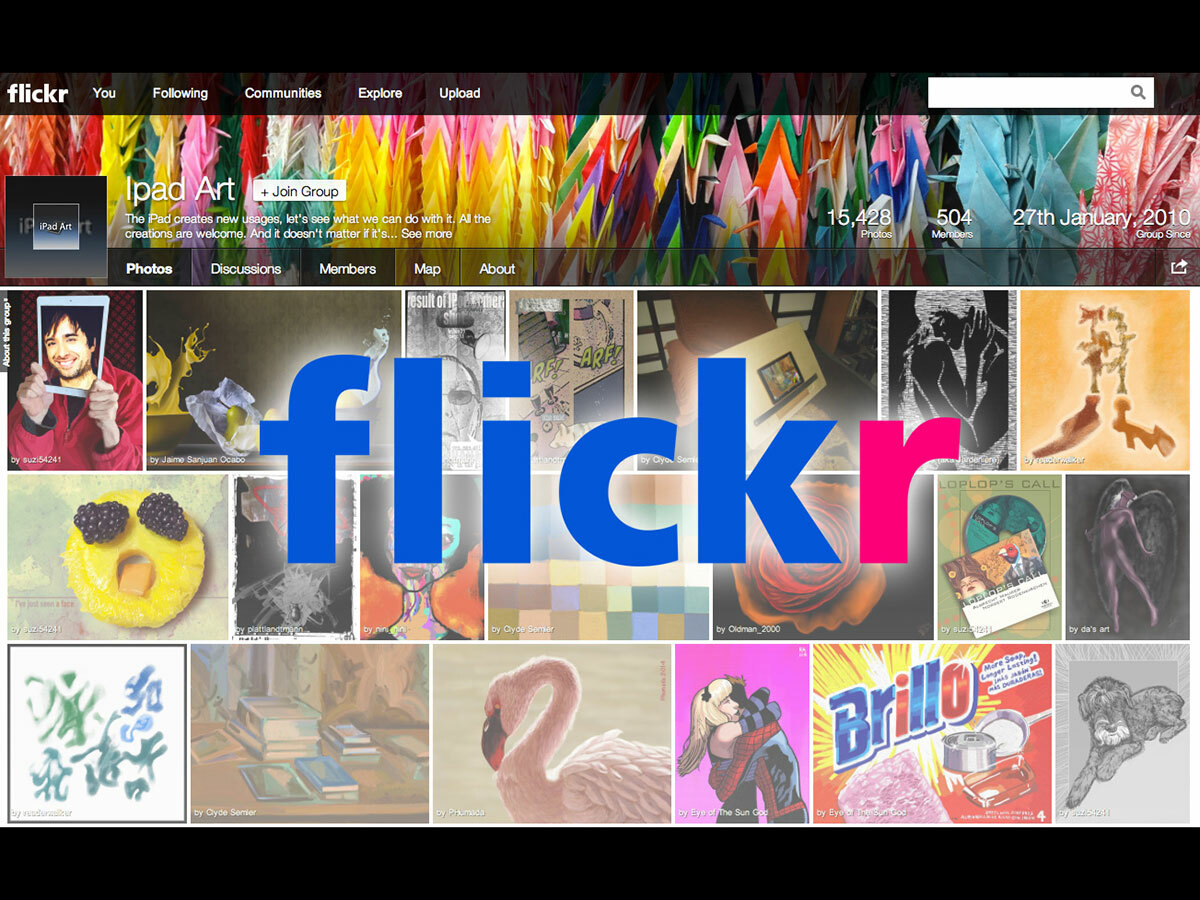
The Brutal Truth: Flickr iPad Art Pool
For some daily iPad ‘artspiration’, head to this Flickr collective. The group features creations from some of the biggest names in digital art (plus plenty from less well-known ones). Head to the discussions section for extra tips, and post your own work for confidence-boosting praise or helpfully ‘honest’ appraisals.
The Blog: iPad Creative
This blog weaves together the best art, videos and music projects to have been created exclusively on iPads. A great place to get inspired (or see how much you’ve got to learn), it reviews cool new accessories and profiles exciting arty apps. Sadly, there’s still no app for making virtual formaldehyde sculptures.
The Book: Procreate Artists’ Handbook
This free iBook is essential reading for any artist looking to get the most out of the excellent Procreate app. Made by the developers themselves, it has over 100 pages of tips and in-depth explanations of the app’s features. It also includes a gallery of amazing paintings created with Procreate – just in case you were getting over-confident.
YOU MIGHT ALSO LIKE › Beta yourself: Hi-fi
 Stuff Staff