You can now try Apple’s all-new Siri AI yourself on your iPhone, iPad or Mac – here’s how
Here's how to install the iOS 27, iPadOS 27 and macOS 27 public beta software

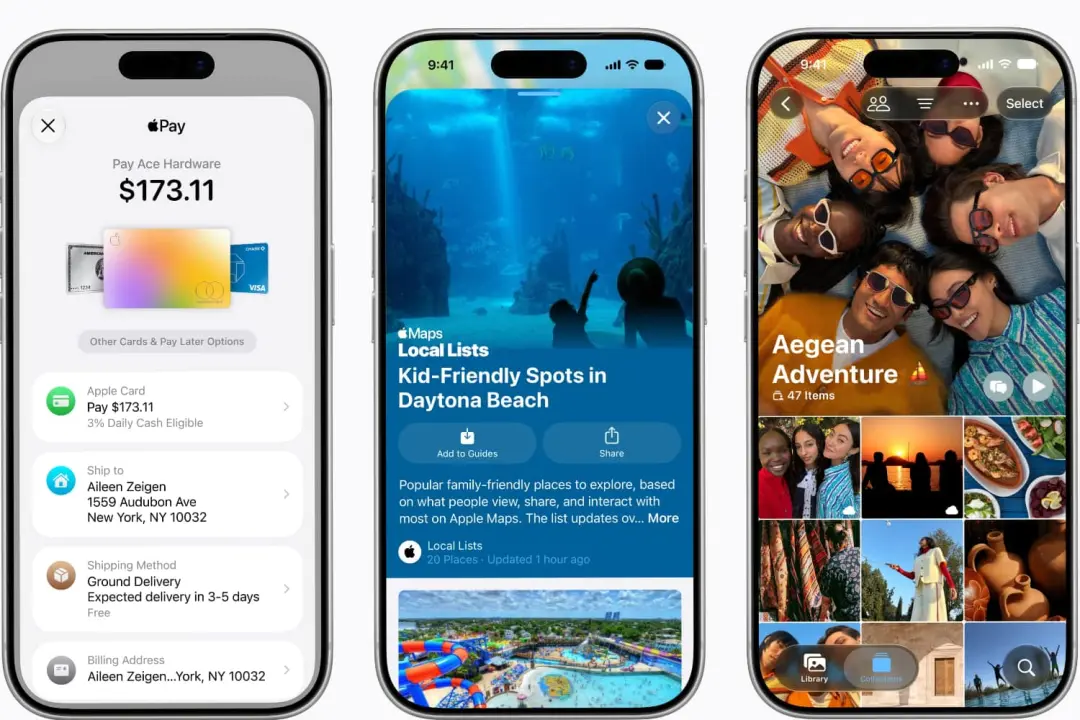
If you’ve been waiting to try Apple’s brand-new, AI-infused Siri, you’re now able to. There’s a caveat though – and that is you need to install the public beta version of iOS 27 for your iPhone, iPadOS 27 for your iPad or macOS 27 Golden Gate for your Mac, thanks to the Apple Beta Software Program.
We strongly recommend you don’t install any kind of pre-release (beta) software on an iPhone or iPad you use every day and especially not if it’s something you rely on. Remember to always back up your data first. In other words, use a spare device if you possibly can. In my experience of using the developer beta, things are relatively stable this time around since the software is a refined version of last year’s in terms of the Liquid Glass design rather than a revolution.
All the instructions to update to the latest 2027 version of iOS/iPadOS and macOS are below. If you want access to the new Siri, you’ll need to ensure Apple Intelligence is turned on, wait for the AI models to download (which can take a while) and then join the Siri waitlist. All the information is below.
Which devices are compatible with the new software – and with Siri AI?
If your device fits into one of these categories, then you can both update the software to the newer 2027 version AND use Apple Intelligence and Siri AI.
- An iPhone 15 Pro, iPhone 15 Pro Max or any iPhone 16 or newer model.
- An iPad with an M1 chip or newer, as well as the latest A17 Pro version of the iPad mini (7th gen).
- Any Mac with Apple Silicon – so M1 or later including the A18 Pro inside the MacBook Neo.
If your device doesn’t fit into the above categories, you may be able to install iOS 27/iPadOS 27/macOS 27 on it but you can’t use Apple Intelligence and Siri AI. Check out these articles for full info on compatibility:
- iOS 27 system requirements: will Apple’s upcoming software run on your existing iPhone?
- iPadOS 27 system requirements: will it run on your older Apple iPad?
- macOS 27 Golden Gate system requirements: will it run on your Apple Mac?
How to install iOS 27/iPadOS 27 on your iPhone or iPad
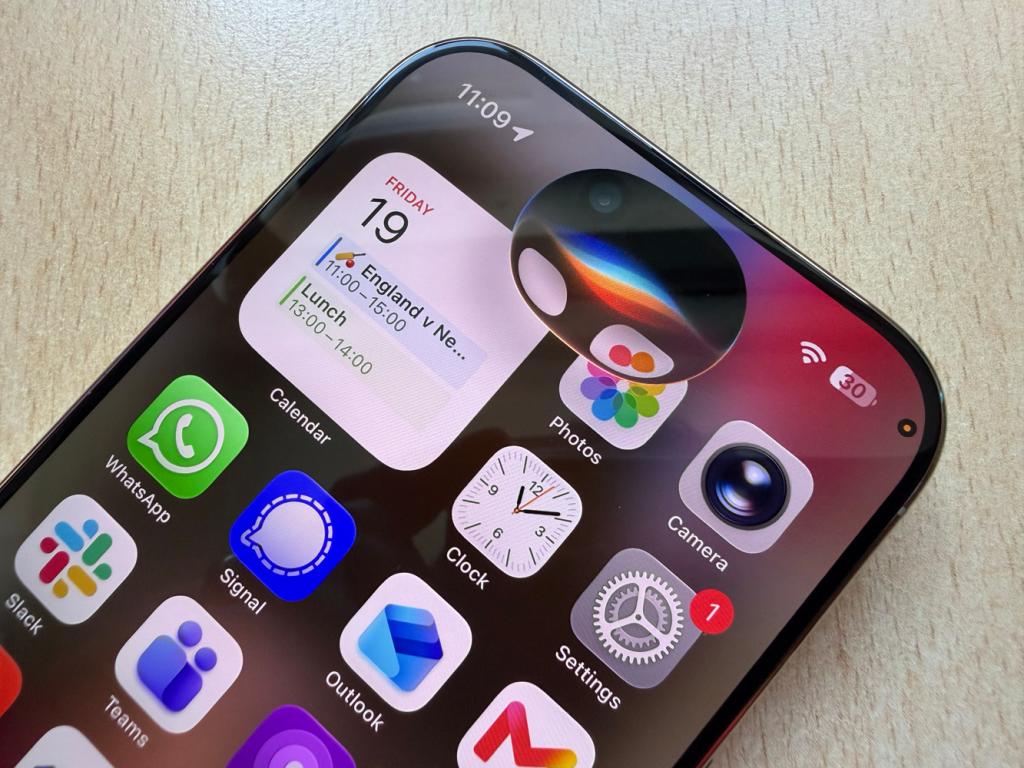
1. Make sure your device is compatible. iOS 27 will run on anything later than the iPhone SE (2nd gen) and iPhone 11 series from 2019/2020. Unusually no devices have been dropped from the list this year, so the compatibility is the same as iOS 26. iPadOS 27 requires any of the following iPads: Pro (2nd gen or later); iPad 6th-gen or newer; iPad mini 5th-gen or later; iPad Air 3rd gen or later. iPadOS 27 drops support for a slew of devices with an Apple A12 or Apple A12X chip, including the 8th gen iPad, 5th gen iPad mini, 3rd gen iPad Air, 1st gen 11-inch iPad Pro, and 3rd gen 12.9-inch iPad Pro.
2. Back up the device you intend to install the beta on to, in case of disaster. Betas can be buggy. As we said above, we strongly recommend you don’t install any kind of pre-release (beta) software on an iPhone or iPad you use every day and especially not if it’s something you rely on. Remember to always back up your data first.
3. Go to Settings > General > Software Update > Beta Updates and choose the iOS 27 Public beta (we don’t recommend you choose the Developer beta unless you really know what you’re doing).
5. Once you’ve done so, go to Settings > General > Software Update and you’ll see the current beta available for download. This is it: your last chance to back out.
6. Ensure your device is connected to a power source. Tap Download and Install, Agree, and – once the whopping installer’s downloaded – Install Now. Depending on your Wi-Fi speed and how many lucky stars are stashed about your person, you should be rocking iOS 27 or iPadOS 27 within half an hour or so
If you decide you’ve made a terrible error, plug your device into your PC or Mac. Then you can restore it from the backup you took (you… did do that, right?). Be mindful that any non-cloud data added to your device since that point will be lost.
If you’re happy with the beta, but want to get off the pre-release software train when the final versions are launched in September (a very good idea), you can do so. Install the final release of iOS 27/iPadOS 27 by going to Settings > General > Software Update > Beta Updates and turn them off.
7. The other thing is that you’ll need to do is to join the Siri AI waitlist, Make sure Apple Intelligence is turned on in Settings > Apple Intelligence & Siri > Turn on Apple Intelligence. If it wasn’t, you’ll need to wait a bit while AI info is downloaded in the background – this can take a while as it can be upwards of 15GB depending on your device. Then go to Settings > Apple Intelligence & Siri > Join Waitlist. Your device will let you know when it’s available.
How to install macOS Golden Gate onto your Mac
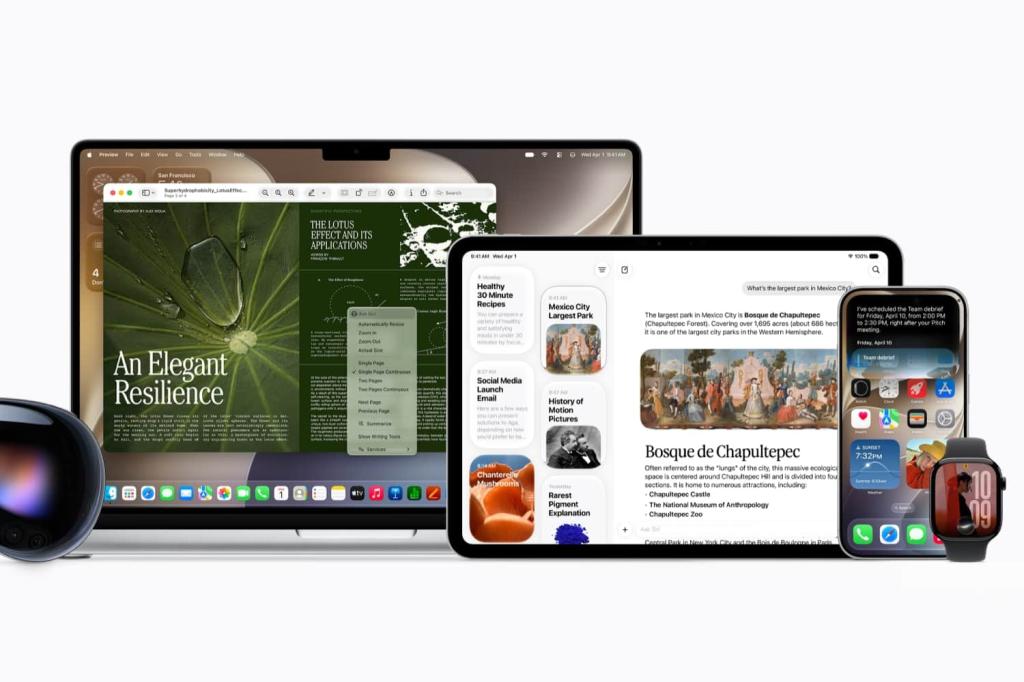
Although Macs remain very different from mobile devices, many of the same caveats apply when it comes to betas, notably that you’d need to have a few brain cells missing to run beta software on a work-critical Mac. At the very least, make a back-up to safeguard your data. We strongly recommend you don’t install any kind of pre-release (beta) software on a Mac you use every day and especially not if it’s something you rely on. Remember to always back up your data first.
1. Go to System Settings > General > Software Update, then click the button next to Beta updates. Then select the macOS 27 Public beta. We don’t recommend choosing a Developer version unless you know what you’re doing.
2. One more technical option is that you can install macOS in a separate APFS volume on your hard drive, so your existing macOS install won’t receive updates. Partitioning your drive is a smart move if you have the capacity. Apple outlines the process on its support site. You’ll need to use the APFS format and allow the new partition over 20GB of free space to be safe. Install the macOS Golden Gate beta to that partition and then switch disks in System Preferences > Startup Disk or hold Option during start-up to select which OS to boot.
3. Once you’ve installed macOS 27 Golden Gate you’ll need to join the Siri AI waitlist. Make sure Apple Intelligence is turned on in Settings > Apple Intelligence & Siri > Turn on Apple Intelligence. As with the iPhone/iPad. you’ll need to wait a bit while AI info is downloaded in the background – this can take a while as it can be upwards of 15GB depending on your Mac. As we said above, Apple Intelligence is for Apple Silicon Macs only.


 Dan Grabham
Editor-in-Chief
Dan Grabham
Editor-in-Chief