How to take great smartphone snaps in low light
Hello darkness, your new photographic friend...
How to take great smartphone snaps in low light
We’ve all taken blurry birthday cake shots and rabbit-in-the-headlights flash photos. It’s not all our fault – smartphones have comparatively diddy sensors and still often struggle in low light. But they are also flexible enough to let you tweak their settings and help them thrive in the gloom. Try these top tips and you’ll be able to capture life long after the sun sets.
1) THE DARKNESS IS YOUR FRIEND…
So turn that bloomin’ flash off! Not only does a flash flatten your images and reflect off shiny surfaces, it also changes the way the people in your picture act. If they know they’re being photographed, they’ll pose unnaturally, and if they don’t, you’ll just have a picture of somebody being annoyed by a big white searchlight. Try to exploit interesting light sources instead – use the setting sun to make dramatic silhouettes, catch the pools of light created by street lamps, or exploit softer sources like candles. If you have to use the flash, try deflecting or dissuing the light with a piece of paper or a napkin to create a more natural feel.
2) SLOW AND STEADY WINS THE RACE
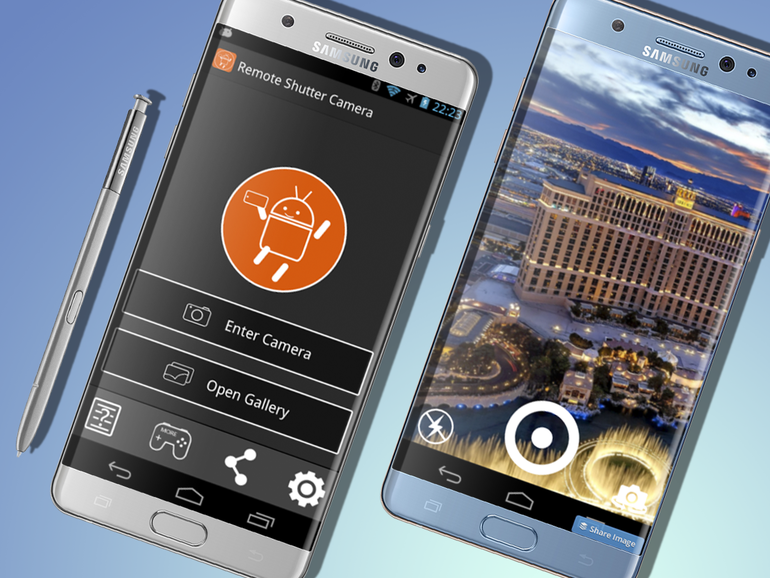
With the flash off, your phone will expose the sensor for longer in order to get enough light. This means your pictures will blur more easily if you’re moving, so hold steady or, better yet, prop your phone on something and use the self-timer for a rock-solid hands-free shot. If you have a pair of headphones with a remote, it’s possible to use them as a remote shutter button (often with the help of an app such as Remote Camera Shutter). This is also one of the most useful features of Android Wear watches and the Apple Watch.

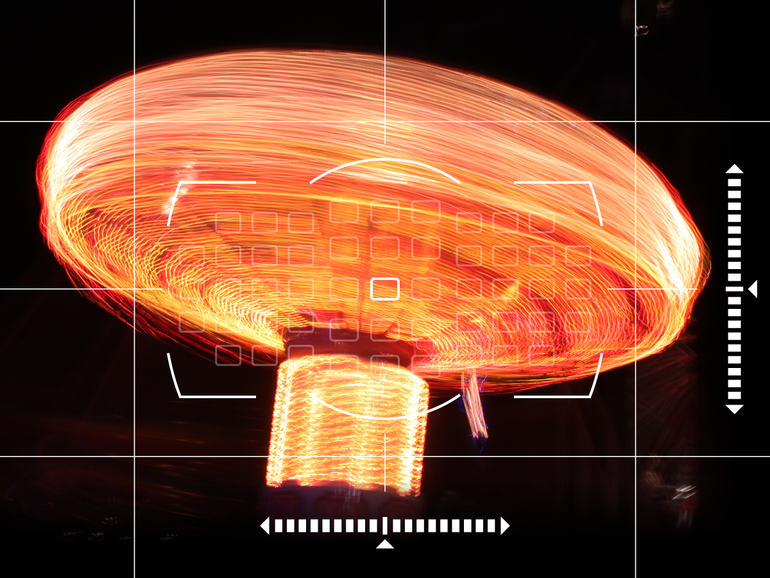
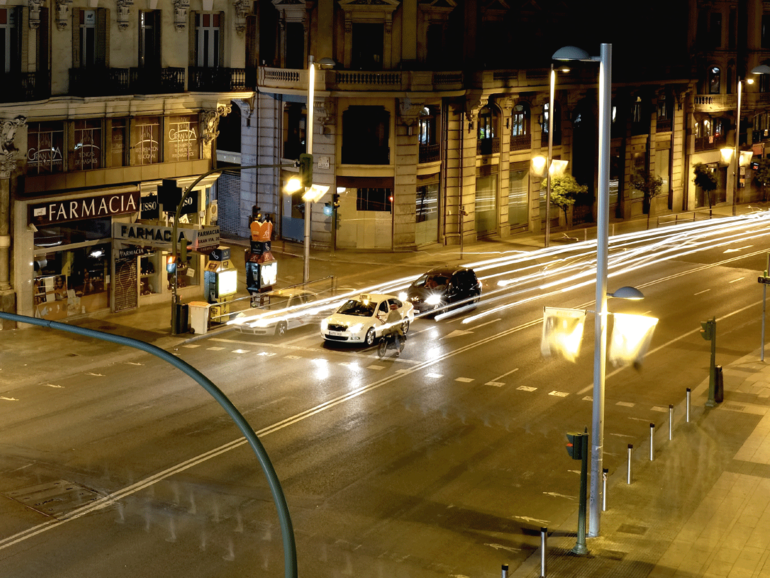
3) GO LONG
The next step is to embrace the blur with long exposures – those blurry light-paintings you see of fireworks or streams of traffic. For these you’ll need an app – we recommend LongExpo or Camera FV-5. Both apps use your phone’s video capabilities – they basically knit together video frames – to create the effect of holding the camera’s shutter open for several seconds. Try them out on moving lights, which will turn into streaks of colour. At traffic lights you can get both the stationary cars and the light-streaks of them moving.
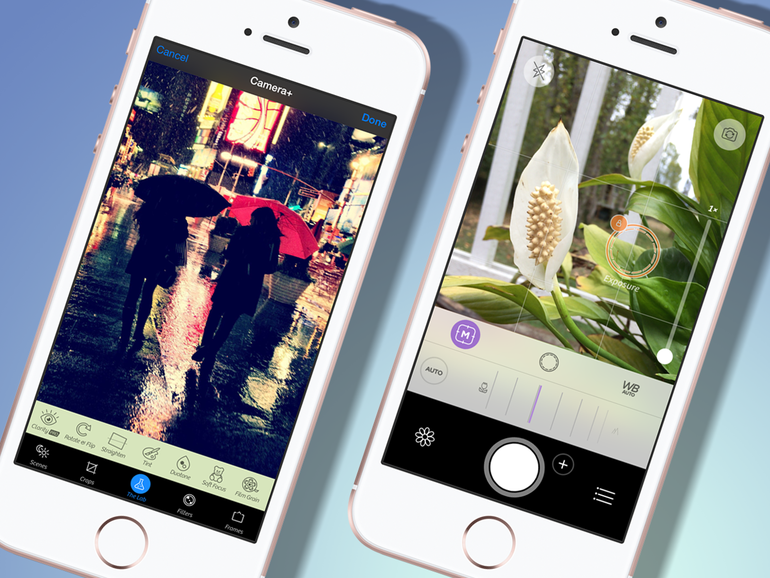
4) THERE’S MORE IF YOU RAW
For dark environments, try shooting uncompressed RAW files. Because these contain a lot more info, you’ll then be able to change the exposure and lighten the picture using editing software later on. Again, you’ll need specific camera apps – Camera+ lets you shoot lossless TIFF files, while Camera FV-5 will let you shoot full-size DNG files (but only on certain devices – see their website for details). Both will be a lot more forgiving when you come to edit them.
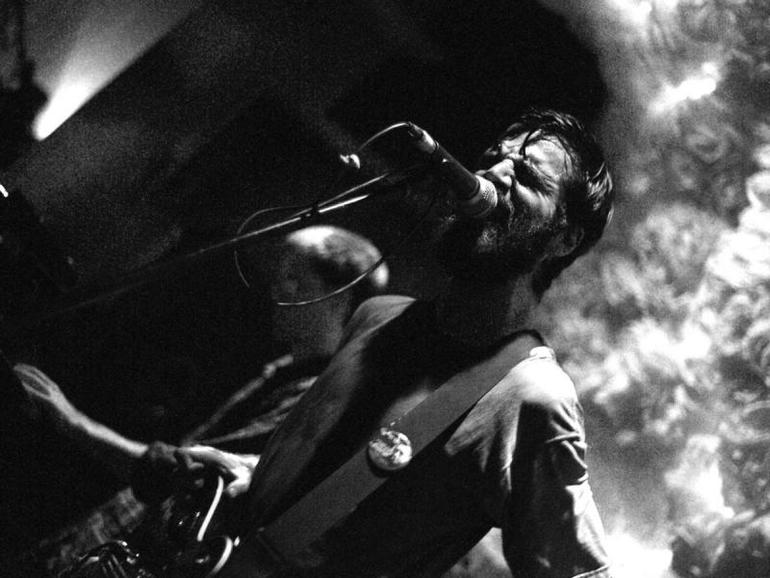
5) GO WITH THE GRAIN
In low light, you can get sharper pictures by adjusting your camera’s sensitivity (marked ‘ISO’ in your app/camera settings), though this can make your pictures grainy. That’s not necessarily a problem though – use a coloured filter, or switch to black and white, and that grainy effect can start to look really nice. See, you meant to do that.