How to back up your iPhone and iPad before you install iOS 12
Apple’s new mobile OS is now here. Back-up your devices prior to upgrading, in case of disaster
BETTER SAFE THAN SORRY
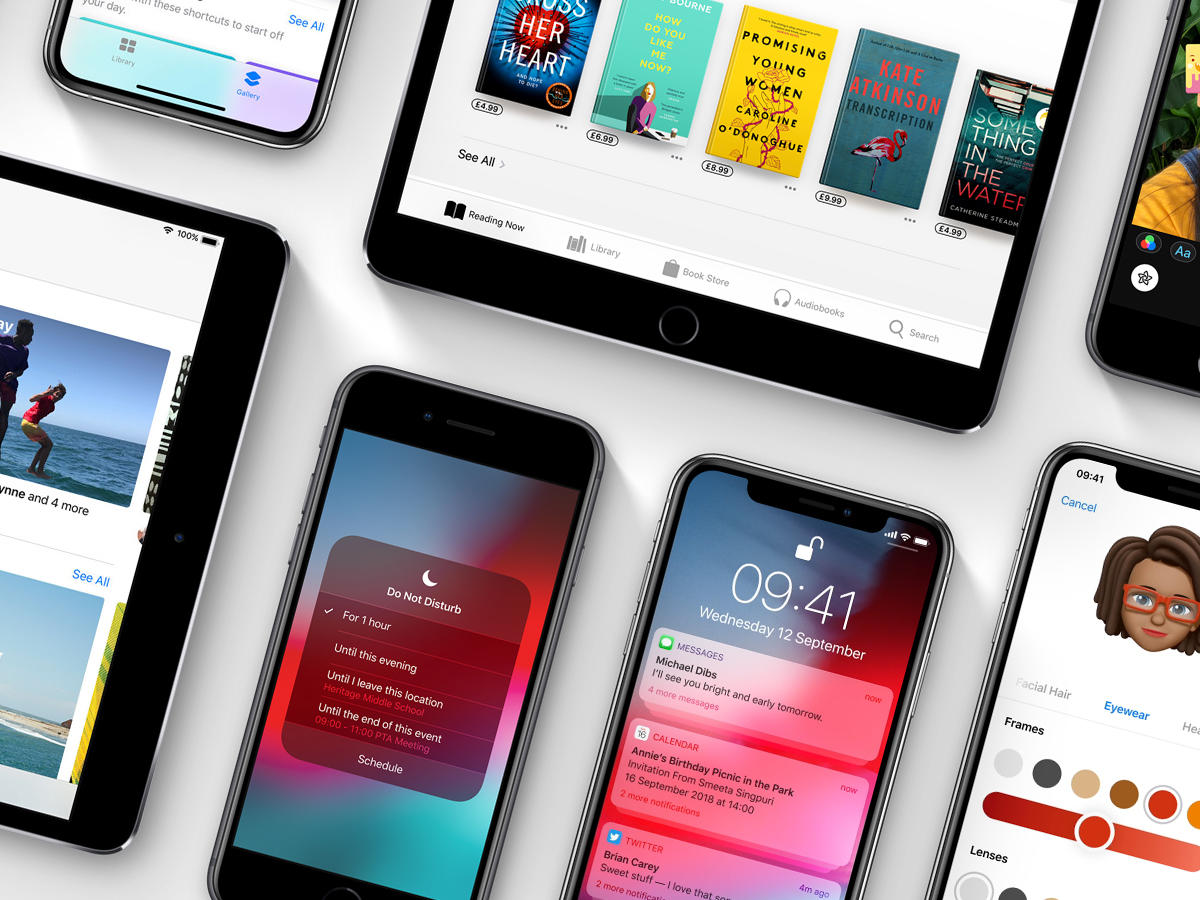
There’s loads of great stuff in iOS 12, but if you mash that install button without first protecting your data, don’t be surprised if your enthusiasm returns to smack you in the face. As the famous saying goes: smart people back-up. OK, we just made that up, but it should be a famous saying, and it’s very much the right thing to do. So before blindly forging ahead, desperate to shorten the time until you can create endless Memojis, back-up your iOS data. Twice.
BACK-UP TO ICLOUD
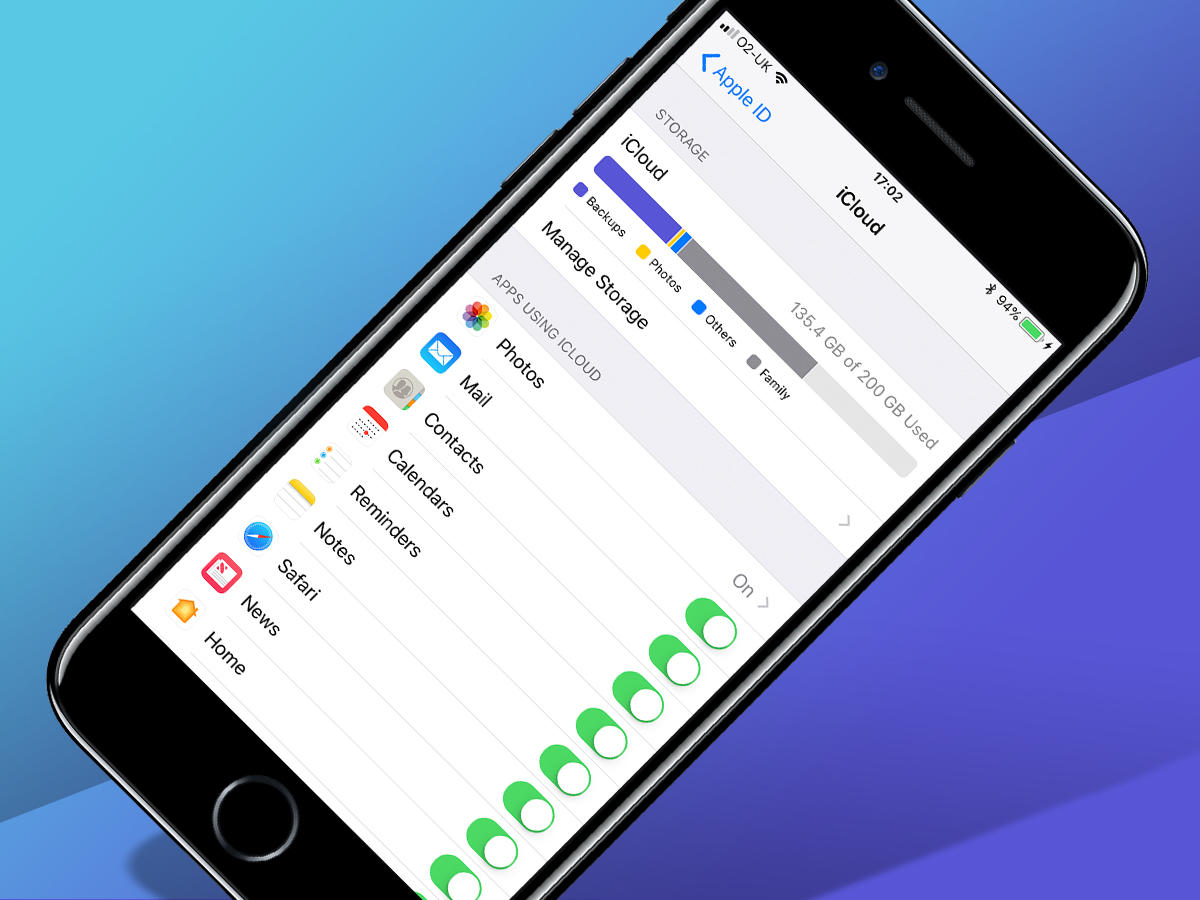
Head to Settings > [your name] > iCloud. Turn on relevant options that aren’t activated, to keep important data safe, such as calendars, reminders, and browser bookmarks. This will now be synced to iCloud. Even if iOS 12 turns your iPhone into a pretty brick, you can download this data to another device (and access it at icloud.com in the meantime). Next, head to iCloud Backup, tap Back Up Now, and enter your password. If you don’t use your device much, it’ll start backing up. (Be on Wi-Fi, unless you hate yourself.) If you’ve loads of apps that store a ton of data locally, you’ll have to buy more iCloud space, because Tim Cook needs a new yacht and only gives you a miserly 5GB for free.
BACK-UP TO ITUNES
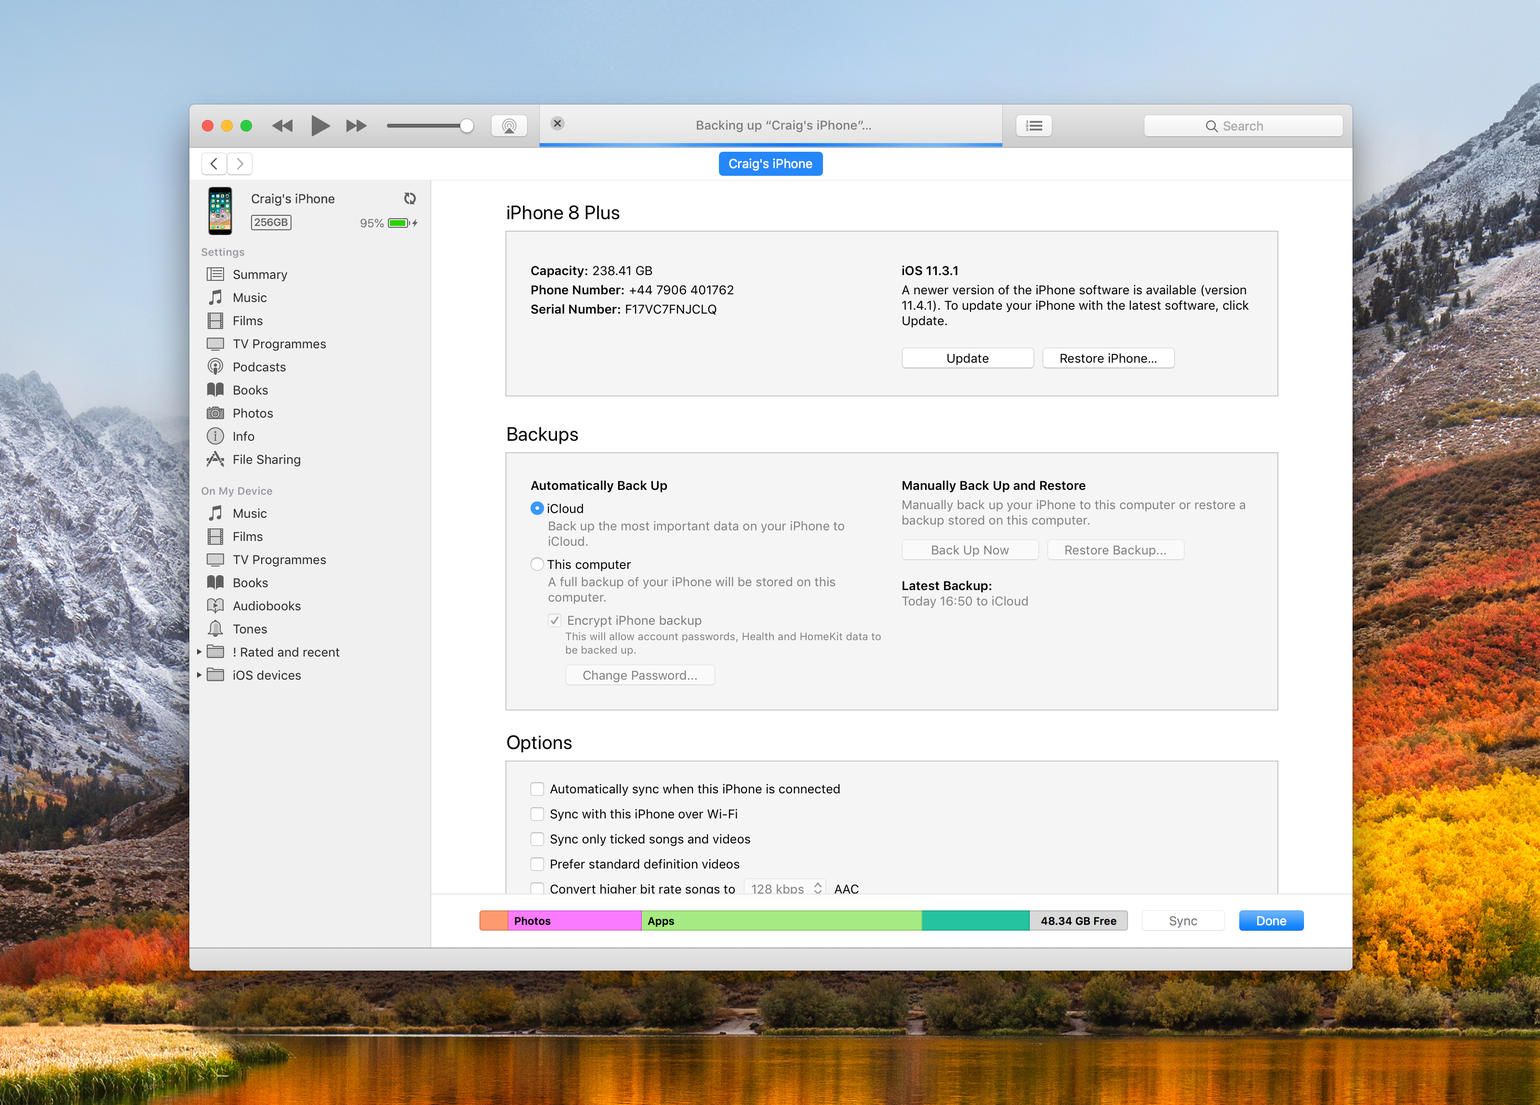
Yes, we know: you hate iTunes. Too bad. Connect your device to your PC or Mac, select it in the iTunes toolbar, and select Summary from the sidebar that then appears. Under the Backups section, you’ll see when you last backed up, and where that back-up went. Unless you don’t back-up, in which case hang your head in shame. Once you’re done looking gloomy, click Back Up Now under Manually Back Up and Restore. This backs up your iOS device data to your computer, and you can later recover from this back-up, in the event of disaster. Again, the process isn’t swift, but it is necessary. Relying solely on a single iCloud back-up as a disaster recovery system is brave (a.k.a. bonkers).
SAFEGUARD PHOTOS AND VIDEOS
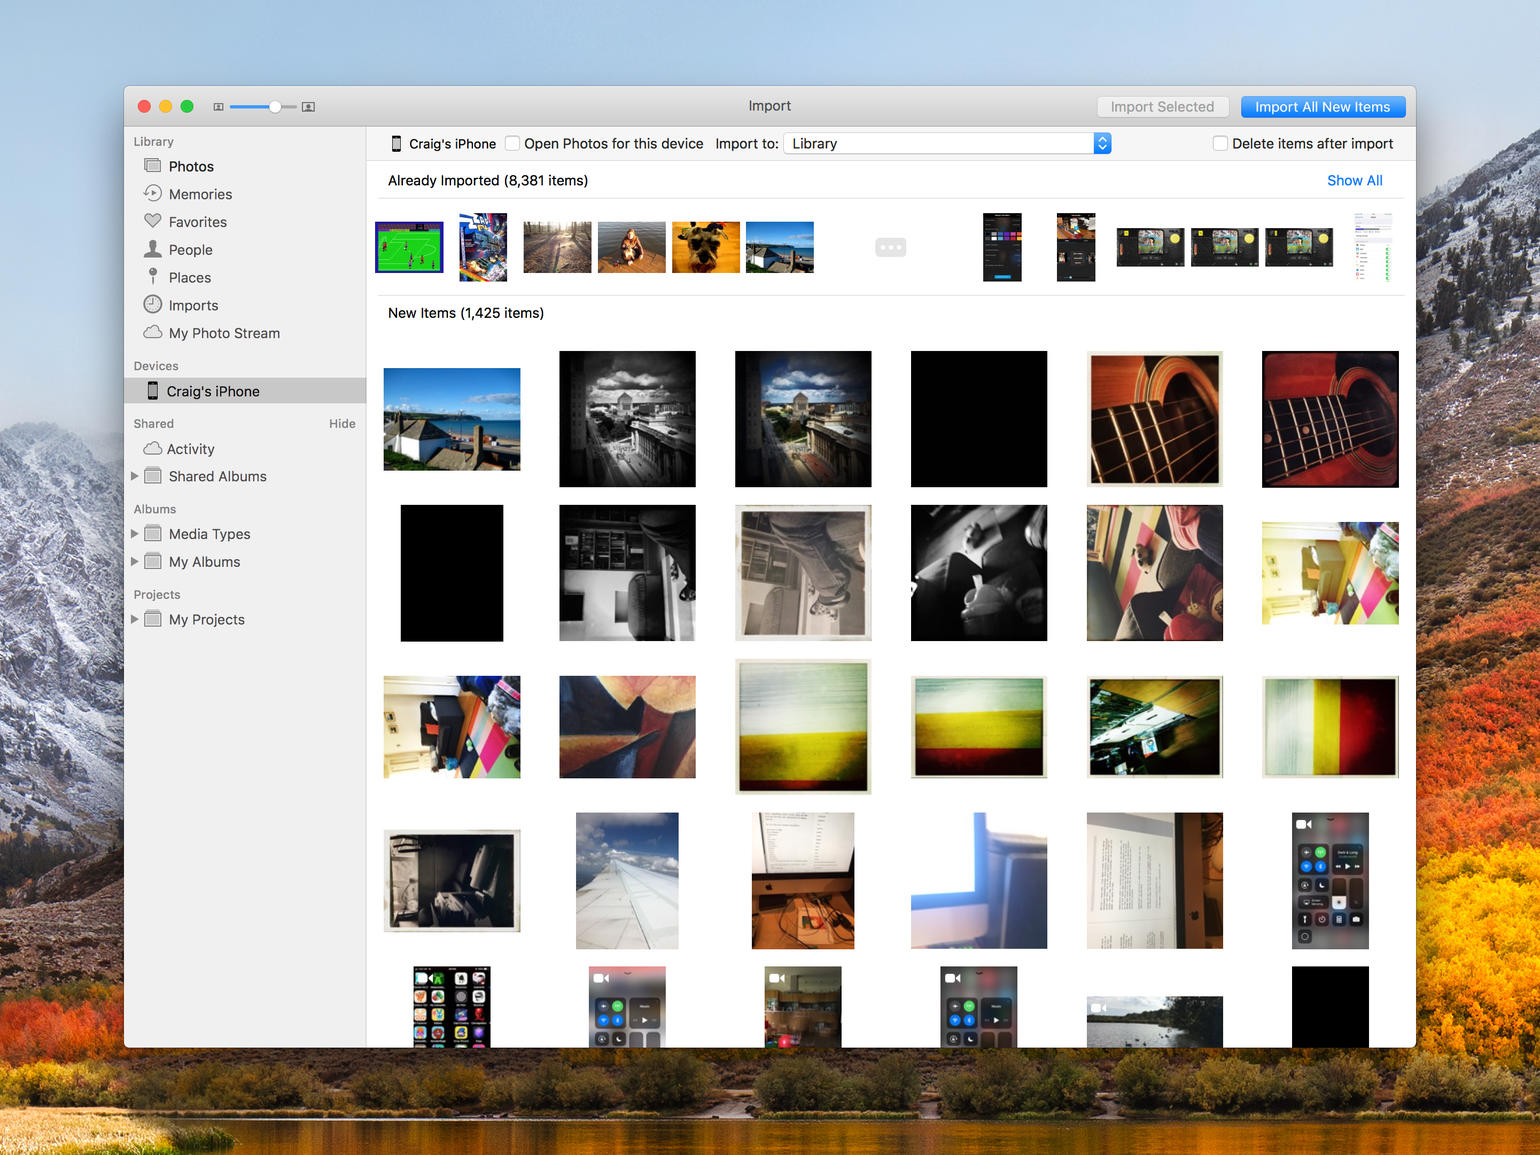
Apple provides a couple of options for keeping pics and videos safe, although they’re not all created equally. Photo Stream doesn’t count towards your iCloud storage limit, but also only holds shots from the previous 30 days. This means you need to periodically import images (manually on Windows or by launching Photos on Mac to download Photo Stream). Your other option is iCloud Photos, which syncs your entire photo library to iCloud, though you’ll need enough iCloud storage for everything you’ve shot. Also, iCloud syncs don’t always work, so consider going old-school again as well. Plug your device into your computer. If you’re using a Mac, use Photos to import copies of your photos and videos. If you’re using a PC, select your device from the Portable Devices section, right-click, select “Import pictures and videos”, and follow the wizard.

OR JUST IGNORE US ENTIRELY
Actually, don’t. Back-up your devices today, and keep doing so – automatically to iCloud and regularly to iTunes. Many devices fail every day – often without warning. Don’t let your data be consigned to oblivion when there’s really no need, unless you want a reason to hate Apple. And, let’s face it, you’ve got the new location for Control Centre for that.