Now this is podracing: how to build a race-ready drone for under £300
Your weekend project has just landed in the form of an awesome FPV drone kit...
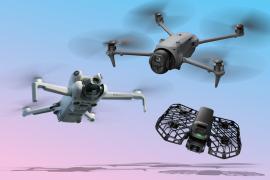
Weekend projects don’t get much more sci-fi than building your own FPV (first-person view) racing drone.
Not only is it now pretty easy to knock together an RC podracer in a few hours, today’s kits cost about the same as a vintage Tamiya buggy.
The project below comes in at under £300 in total, and that’s including a VR headset for steering your creation through the trees or around the courses of the growing number of UK drone races.
To help fly you through the build process we’ve enlisted the help of engineer Alex Elliott, author of the Haynes Build Your Own Drone Manual, who kindly let us film him assembling and flying the drone in the video below. Time to grab that soldering iron and get building…
The Basics
Before you get cracking on emulating the video above (for full step-by-step instructions can be found here), here’s a few pointers.
If you’ve never flown a drone a drone before, it’s worth practicing on something much cheaper. The best place to start is one of those budget mini quadcopters you can find for around a tenner. You’ll learn the basics of flying quickly and you won’t have to worry about costly crashes.
It’s also worth sticking your virtual head around the door of online forums like DroneTrest and RCGroups, so you can talk to knowledgeable people about your project. They’re a friendly bunch, but don’t expect them to do all the work for you. Come armed with specific questions and make sure you’ve rolled up your sleeves and had a tinker first.
Ready to get cracking? Read on for instructions to our basic build. The great thing about basic FPV racers is that they’re at the cheaper end of the drone scale – as you get more confident you can add more advanced things like GPS and a sonar sensor, or even delve into the firmware code to add custom functions. But first things first…
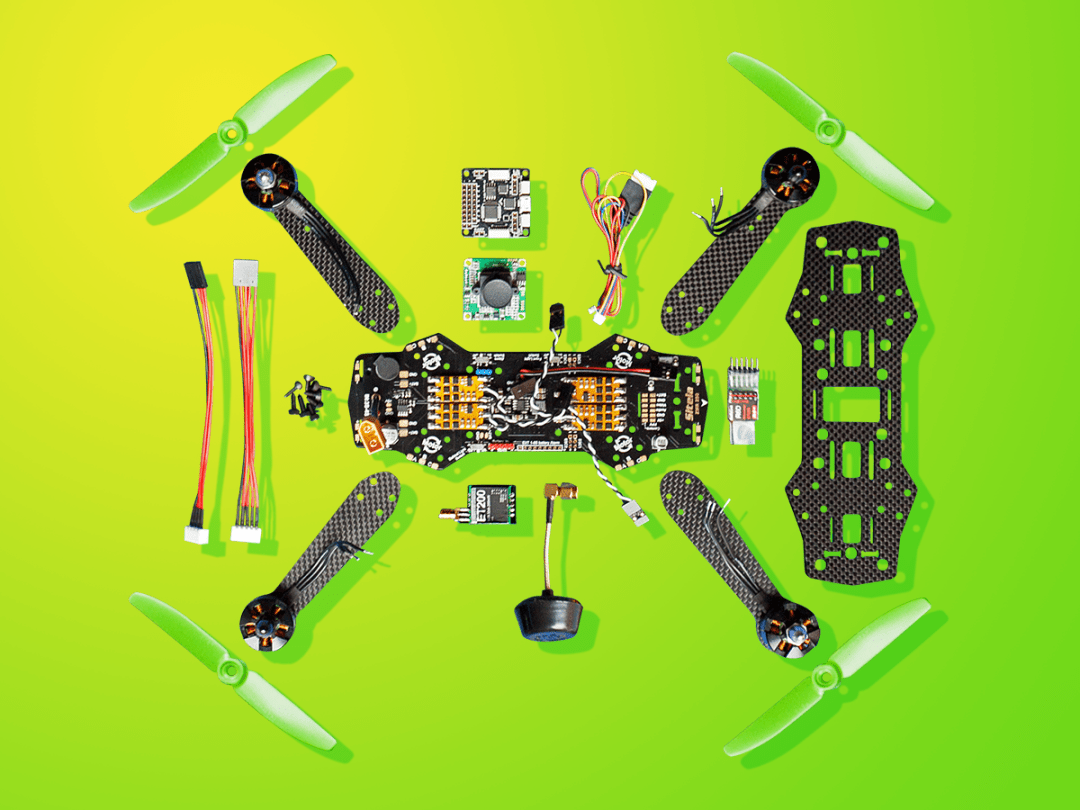
The kit list
Quadcopter
QAV ZMR 250 Mini DIY Quadcopter Kit (£75)
1300mah 45C 4S LiPo Battery (£17)
RadioLink T4EU 4 channel radio control with R7EH receiver (£35)
SkyRC E3 LiPo Balance charger (£9)
Tools
DroneBuildr Tool kit (£25)
Soldering iron 50W (from £25)
Servo tester (£2.75)
Multi-meter (from £7)
FPV kit (optional)
VR-007 FPV Goggles £60*
FPV 200 Bundle Pack (£27)
Circular polarised antenna set (£10)
*The headset in our video and photographs is the Headplay HD FPV headset with 40ch raceband receiver (£230), which is particularly good for glasses wearers. But the VR-007 FPV Goggles is ideal for a budget first build.
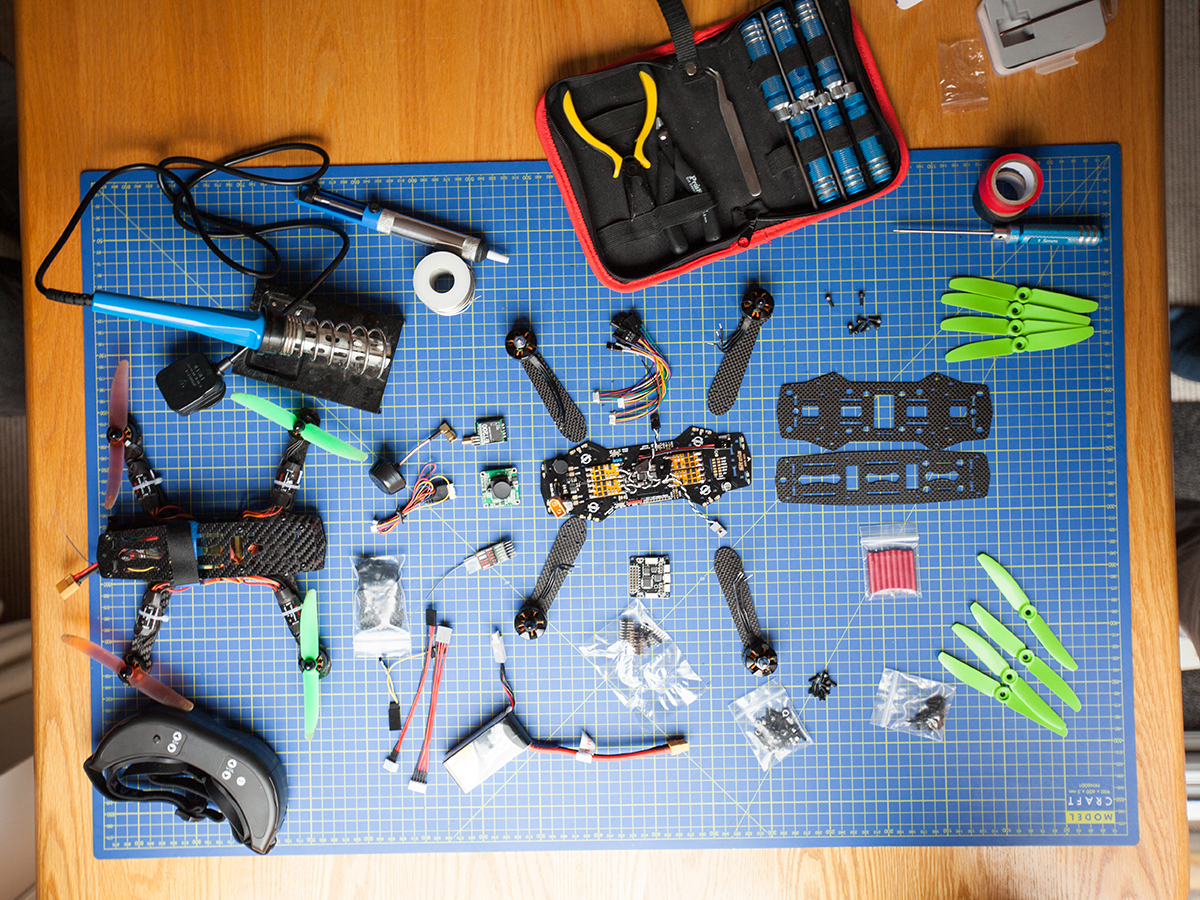
1) Gather your equipment
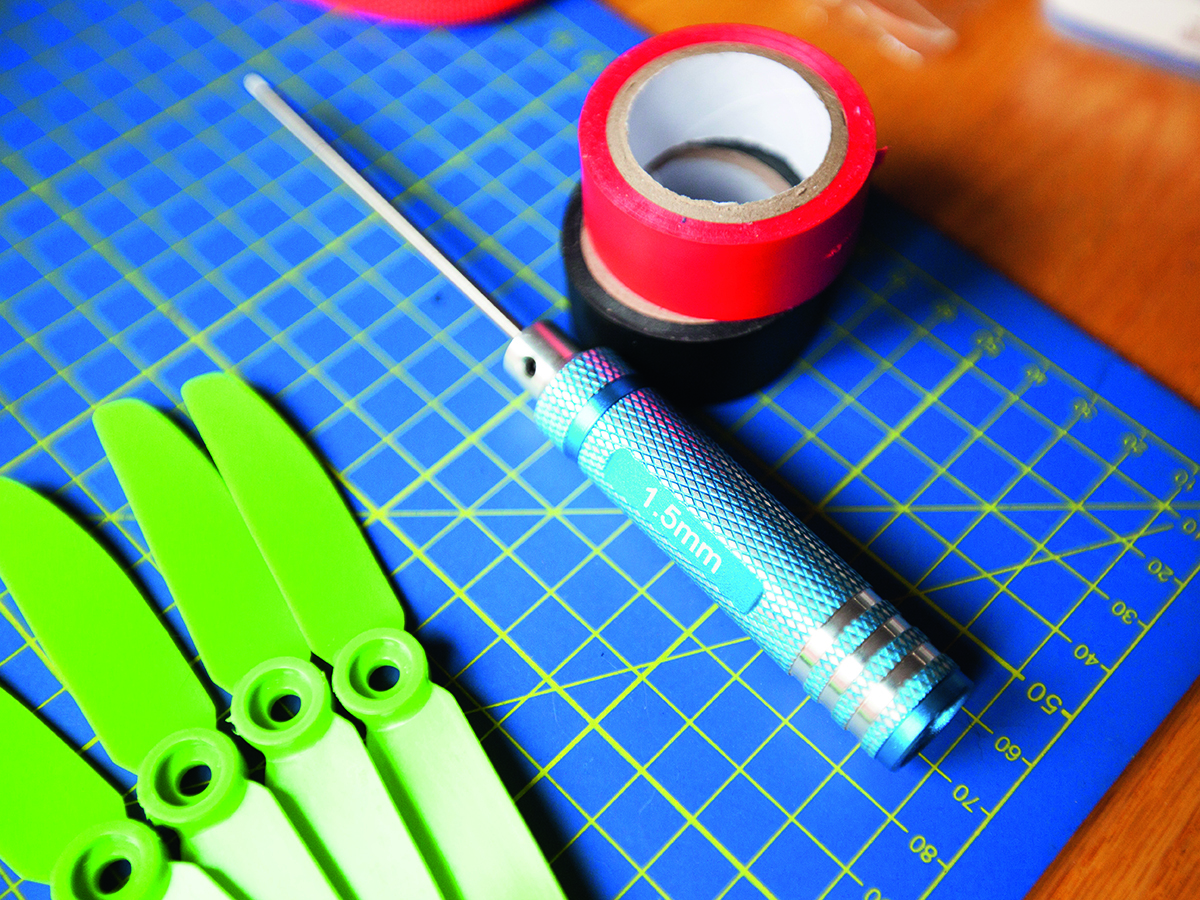
Tool up. You’ll need a soldering iron (with solder) and a multimeter (for testing connections). A good set of hex key screwdrivers and sockets as well as a set of needle-nose pliers will help massively here.
Space to work. A nice big cutting mat is a great base for doing a build. It marks out your building area and helps keep all your components vaguely organised – if you lose some bits your quadcopter isn’t going to go very far.
Be patient. Getting it wrong is all part of the fun. You’ll definitely make a few mistakes but as long as you’re careful and don’t rush they’ll be easily fixable. It’s a bit like a jigsaw puzzle – if it was entirely straightforward it wouldn’t be any fun when you finally solved it.
2) Start building
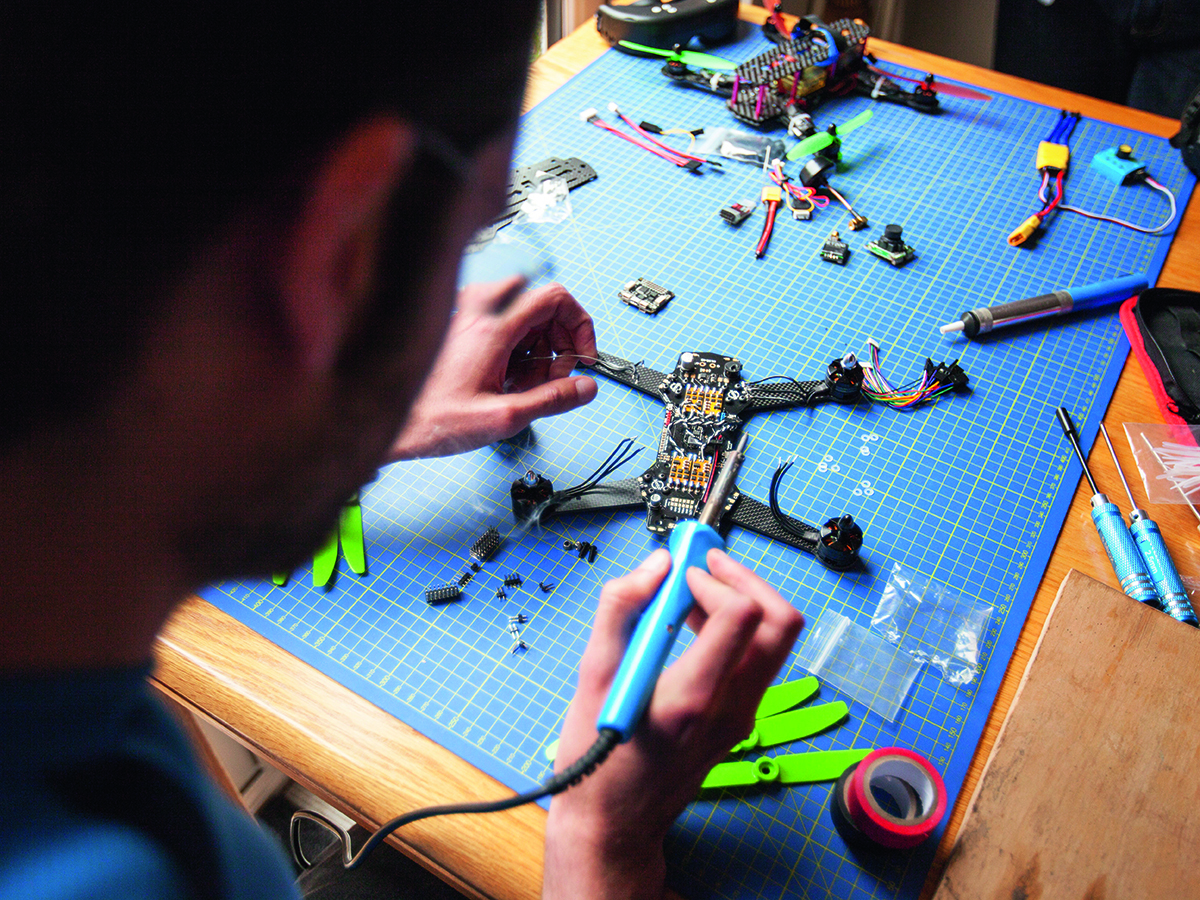
Solder on. If you’ve never soldered in your life before, it’s a good idea to practice. You can buy cheap learn-to-solder kits that have lots of connections to try your hand with. Otherwise, YouTube is your friend – check out Sparkfun’s comprehensive tutorials.
Add the brawn. The two pairs of motors need to rotate in opposite directions for your quad to fly. You’ll need to test their rotation direction using your servo tester so you know which wires to cross over. Then attach them to the arms, bolt the arms to the frame loosely and solder the motor wires to the main board.
Attach the brains. The flight controller board is the brains of the operation and translates your controller input into actual flying. Solder the connectors to the board and then test them using a multimeter. Lastly, solder the battery terminals to the base.
3) Get testy
First contact. Give all the connections a once-over and your soldered joints a little wiggle – a ‘dry joint’ can look good but pop off with a little movement. Check also for short-circuits where two soldered joints may be touching.
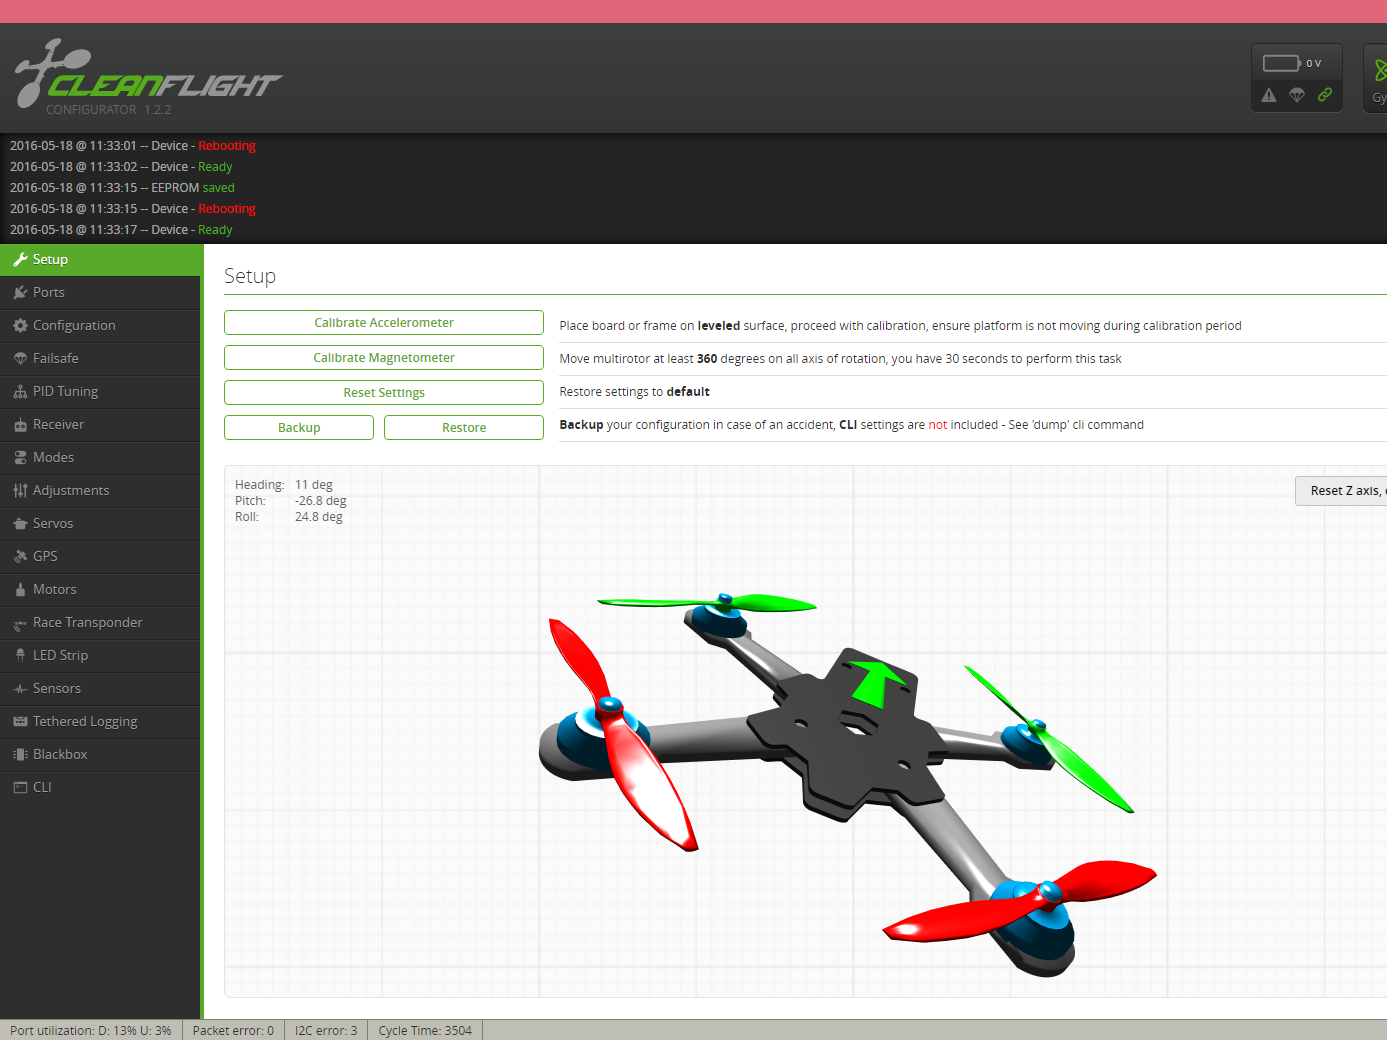
Power up. Attach the battery. Is anything smoking? If so, disconnect the battery quickly and check those connections again because something’s wrong. No smoke? It’s time to hook up your quad’s flight controller to your PC/Mac via USB and load up the free Cleanflight Chrome extension to test and configure.
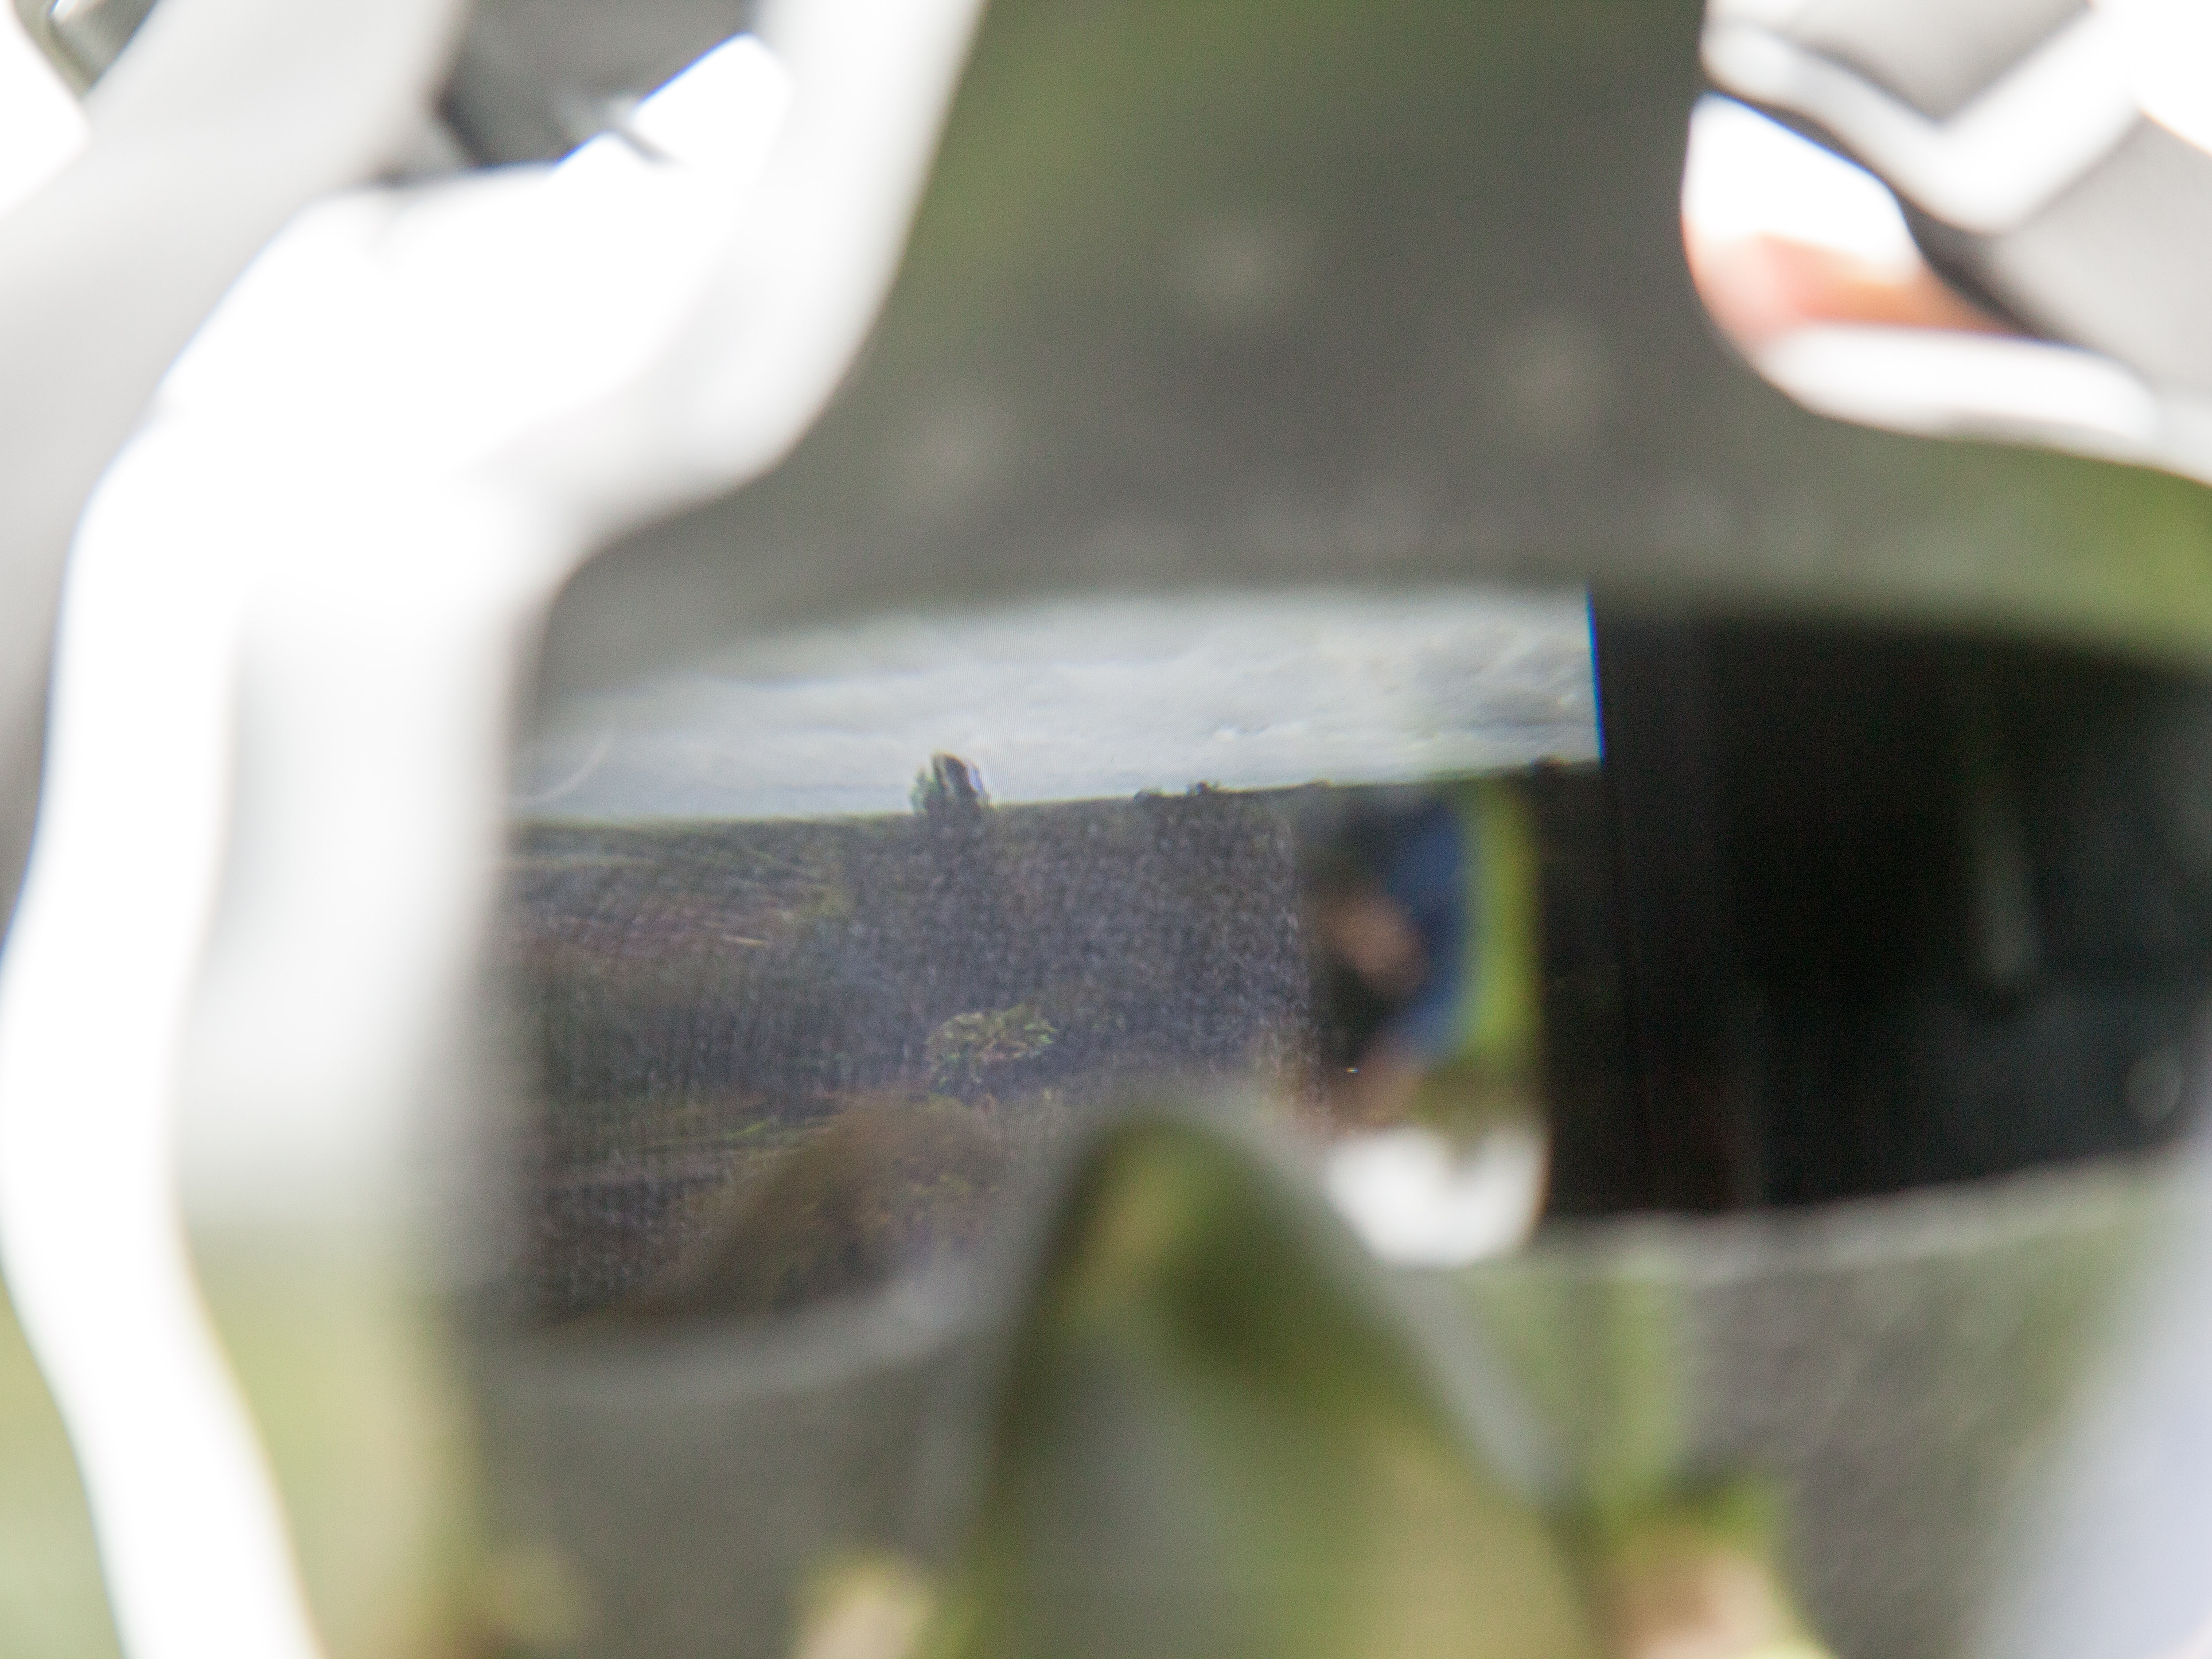
Are you receiving? The last part of the configuration involves hooking up your receiver to your quad and firing up your radio transmitter. If you’re adding FPV, this is the time to do that too. It will draw its power from the quad base board so just needs plugging in.
4) Time to fly
Learn from the pros. There are loads of YouTube vids showing FPV footage from racing drones and freestyle competitions that show incredible levels of skill. This takes lots of practice, so start with an easy oval course marked out with cones rather than trying to recreate the speeder scene from Jedi in a forest straight away (remember how many trees they hit…).
Don’t fly blind. If you’ve hooked up an FPV camera, it’s best to start with a monitor rather than goggles as you can glance up to see your quad in flight. You’ll also need a friend to act as a spotter. Once you get into FPV flying, HeadPlay goggles are great because they’re big and comfortable and you can wear them with glasses.
Let’s race. Ready to fly? Check out the map of nearby quad pilots and events at FPV Drone Racing Club. If you’re gearing up for a big competition, the courses are increasingly being released for you to practise on and compete against others online.
Level up with…
The book: Build Your Own Drone (£23)
Alex Elliott’s Haynes manual gives you a solid overview of drone tech and follows up with detailed, step-by-step guides to building your own, whether it’s a quadcopter like the one here or a fixed-wing surveillance drone. There’s also a history of drones and some handy details about UAV law to help you avoid getting clobbered by a hefty fine.
The website: FPV drone racing
If you’re looking to start racing – or just want to see what it involves – take a look at FPVUK and BFPVRA, who are both involved with races in the UK. Go along to spectate, meet people and ask lots of questions. Who knows, you might be ready to come back and race next time.
The simulator: Professional Drone Simulation
Want to test your flying skills to the limit without doing the same to your bank balance? This flight simulator uses your RC controller via USB and lets you fly around real-life courses. There’s even an online league so you can race other drone pilots from around the world before perhaps meeting them face-to-face. Lift-off (£15, liftoff-game.com) is another good alternative.
 Stuff Staff