Micro Drone 3.0 review
No-fly drone
Drones are everywhere right now, and not always in a good way.
TV folk love using them for lush aerial shots of castles, farms, old buildings – you know the ones. Joe Public loves using them for getting into trouble by flying somewhere he can’t trespass himself. If all you want to do with your drone is kick up some mischief, then it’s unlikely you’ll want to fork out a couple of grand for the privilege.
That’s where the Micro Drone 3.0 is supposed to come in. Launched and funded through Indiegogo, the idea is a small, affordable drone for everybody. It’s been an incredible crowdsourcing success story with the company behind it (Extreme Fliers) having raised a whopping $3,294,613.
With that kind of backing, you’d think the finished product would be a thing of wonder, but sadly, as I was to learn during my time with two Micro Drone 3.0s, my career as an aerial documentarian of my immediate surroundings is not to be. With this drone, at least.
Diddy drone
You can purchase the Micro Drone 3.0 by itself, or with a range of accessories, including a camera that attaches to the bottom of the drone – allowing you to record those much coveted aerial scenes.
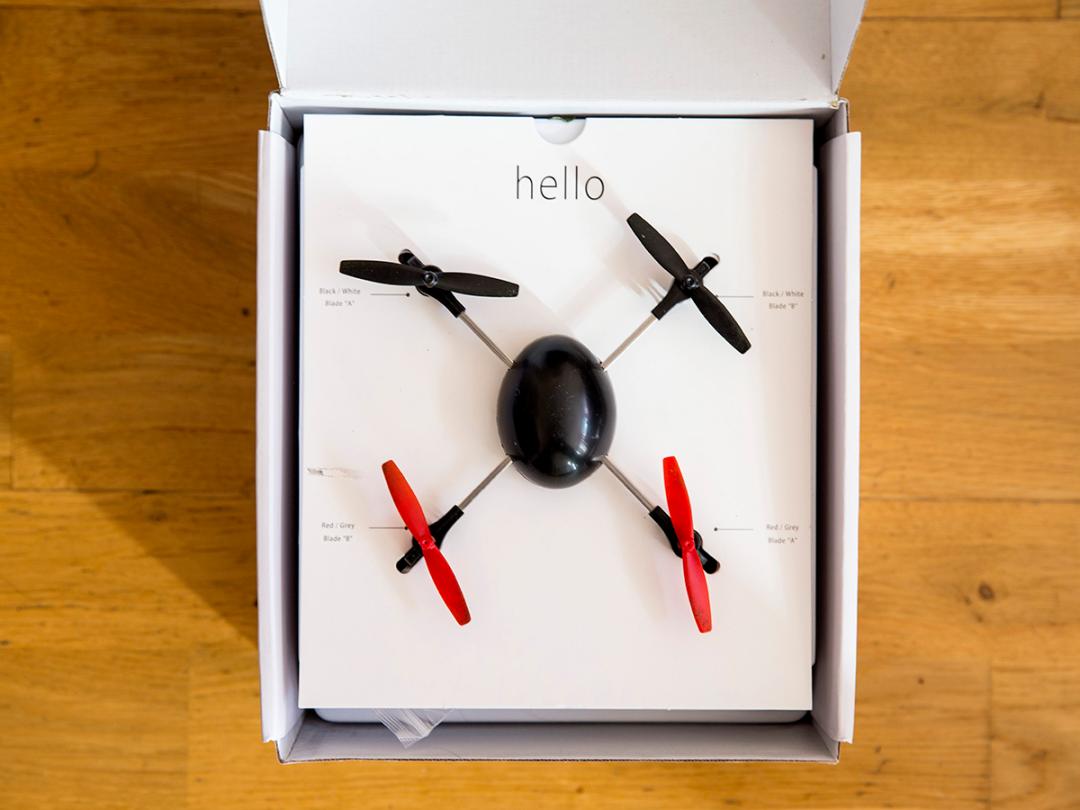
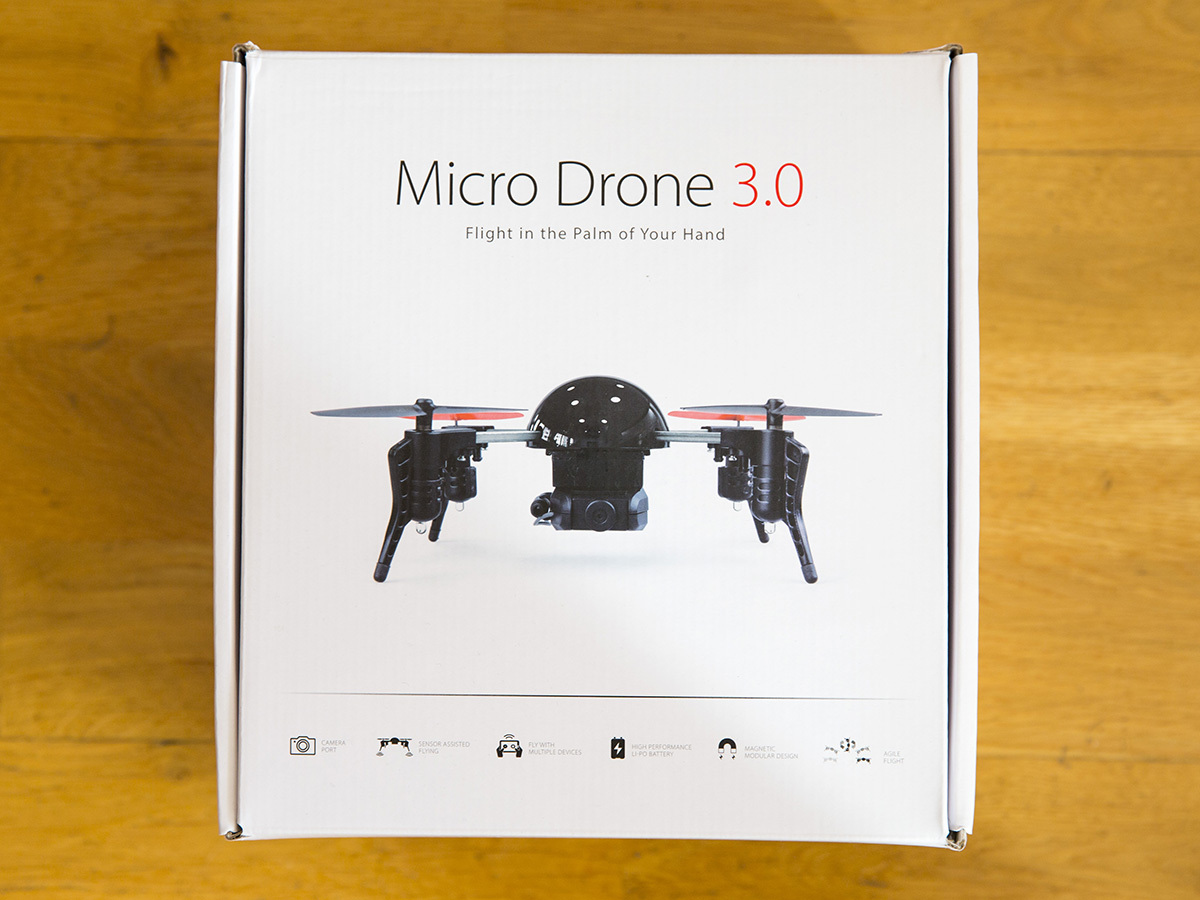
Opening the box and it’s apparent just how “micro” the micro drone is. It’s even erring on the side of cute (just about). Even if robots rise up and take over planet Earth one day, this one seems like it would be capable of reasonably minimal damage.
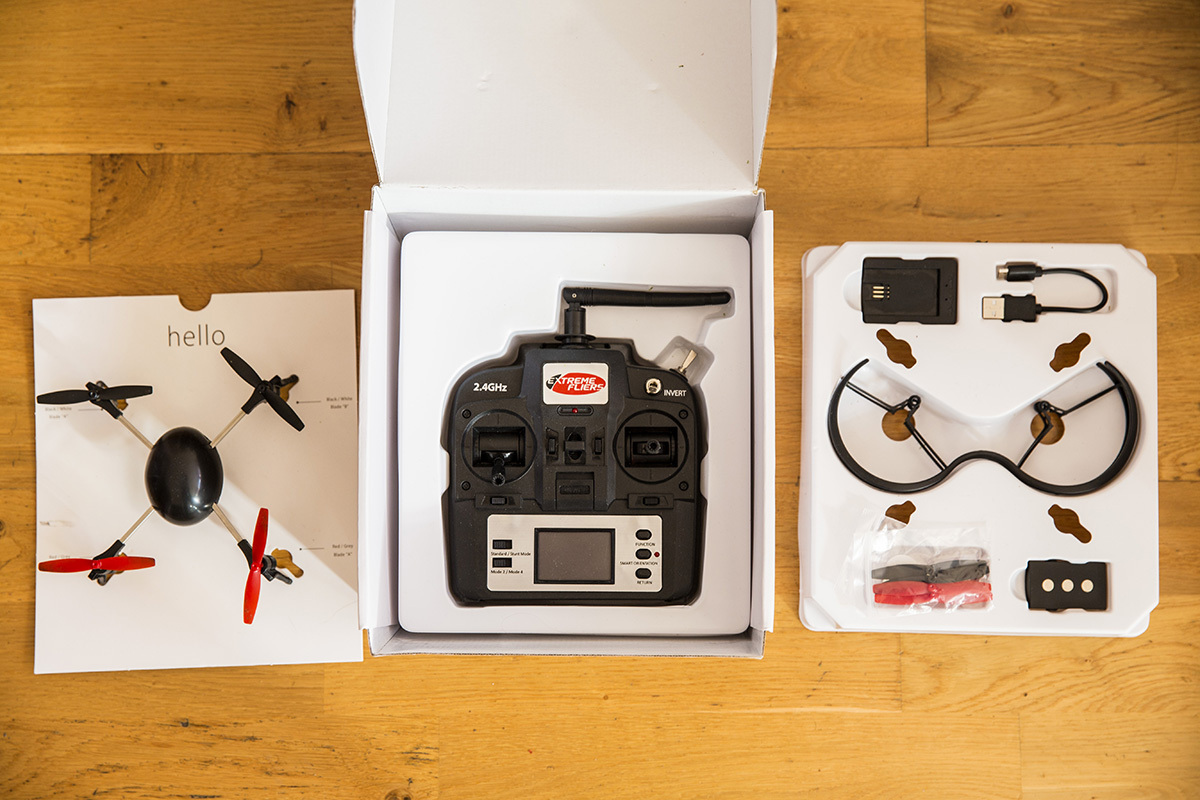
The Micro Drone 3.0 is placed on top of the box, and underneath you’ll find all the bits and bobs you need to get it going – namely the battery, the charger and spare blades. There are also a couple of guards for the blades should you be worried about the safety of any passing children or dogs while out flying. Because these things are all fun and games until someone slaps you with a lawsuit.
Our top drone › DJI Phantom 3 Standard review
Information overload
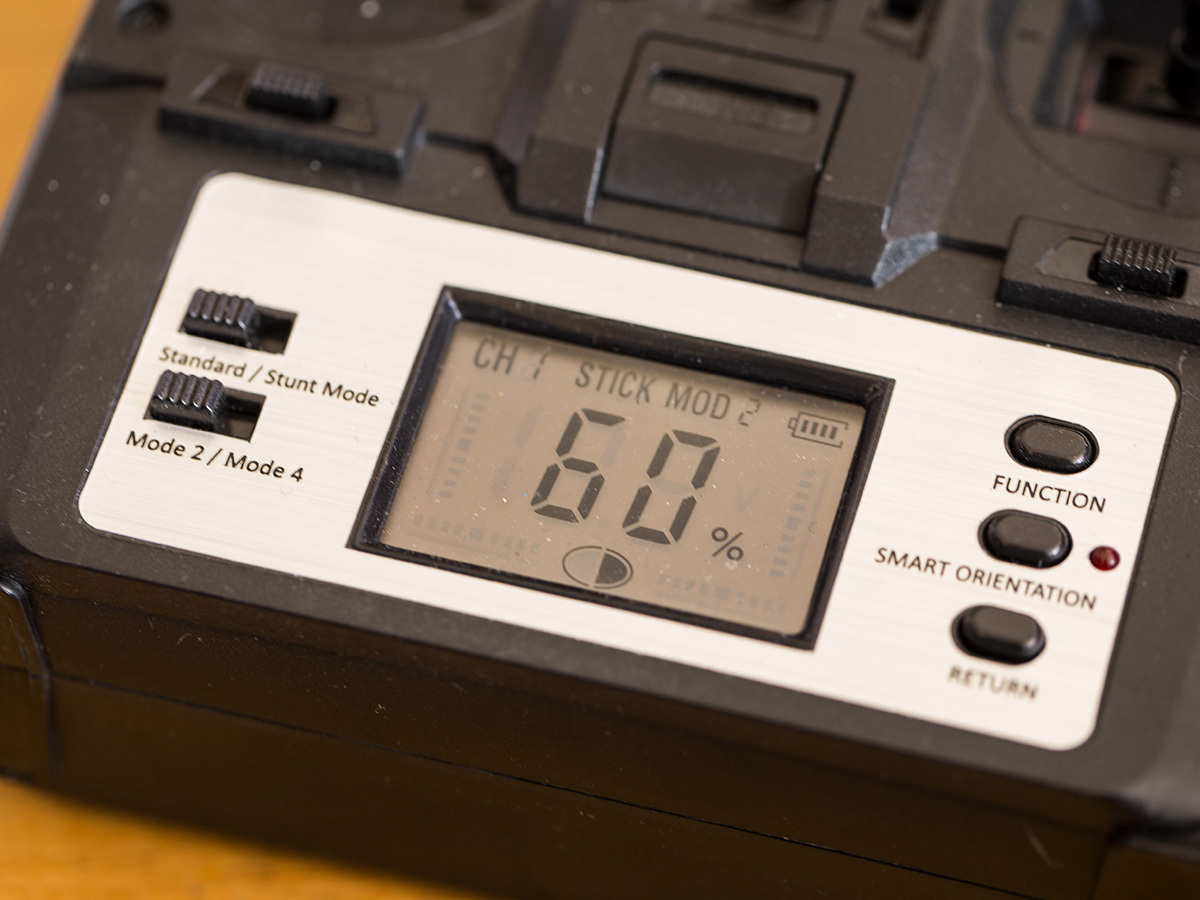
Underneath all of these components is a large controller for the drone, which is likely to make you wonder if you should have paid more attention while studying for your degree in engineering. Or need a degree to fly the thing.
It’s certainly an overwhelming set of controls for the first-time user, or in other words, anybody who’s never flown a drone before. You know, the “everybody” that the drone is aimed at.
Not to worry though, there’s an instruction manual that’s meant to cater for us absolute beginners. Sadly, the manual is written assuming you already know a heck of a lot about flying something like this. For instance “Trim settings should be set to the centre point for balanced flying.”
If you don’t know what a trim setting is in the first place, this is all pretty worrying.
Shonky charging
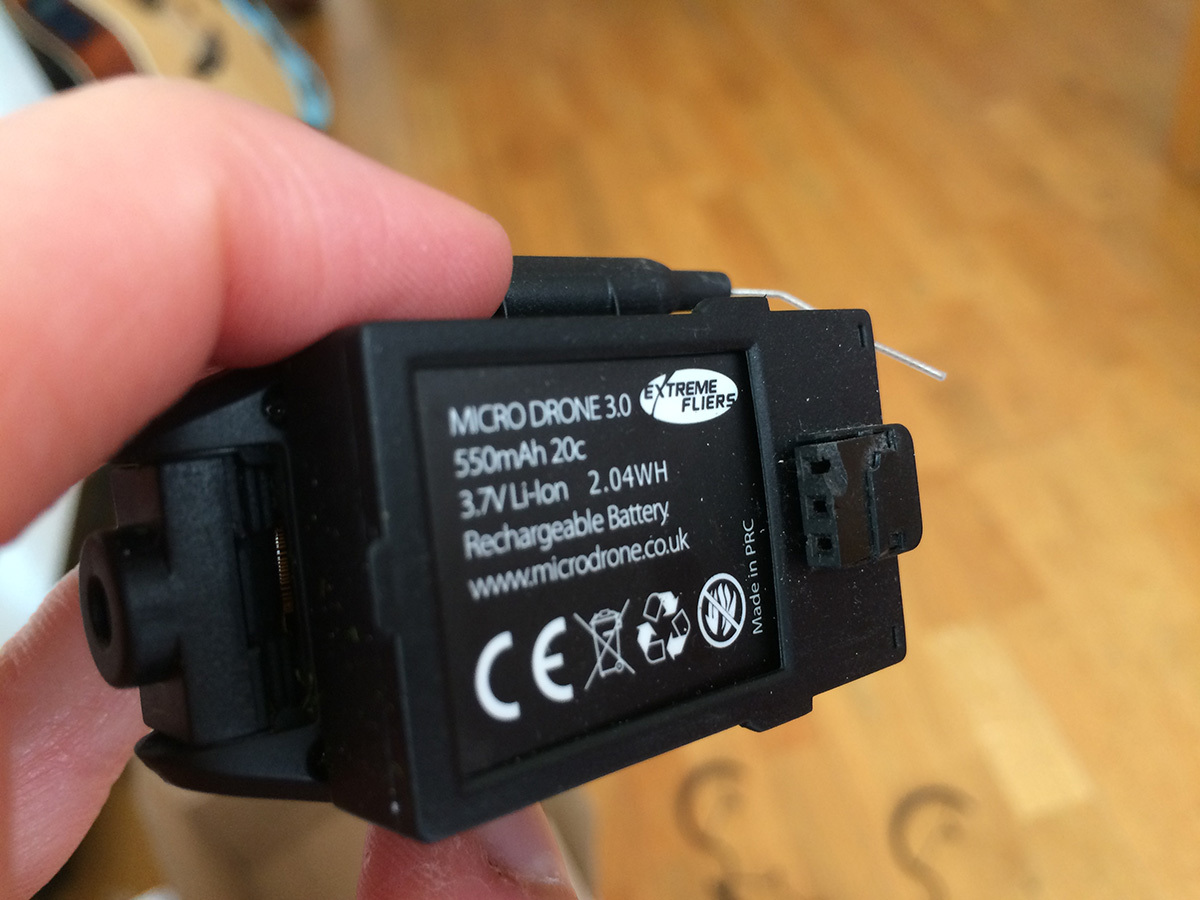
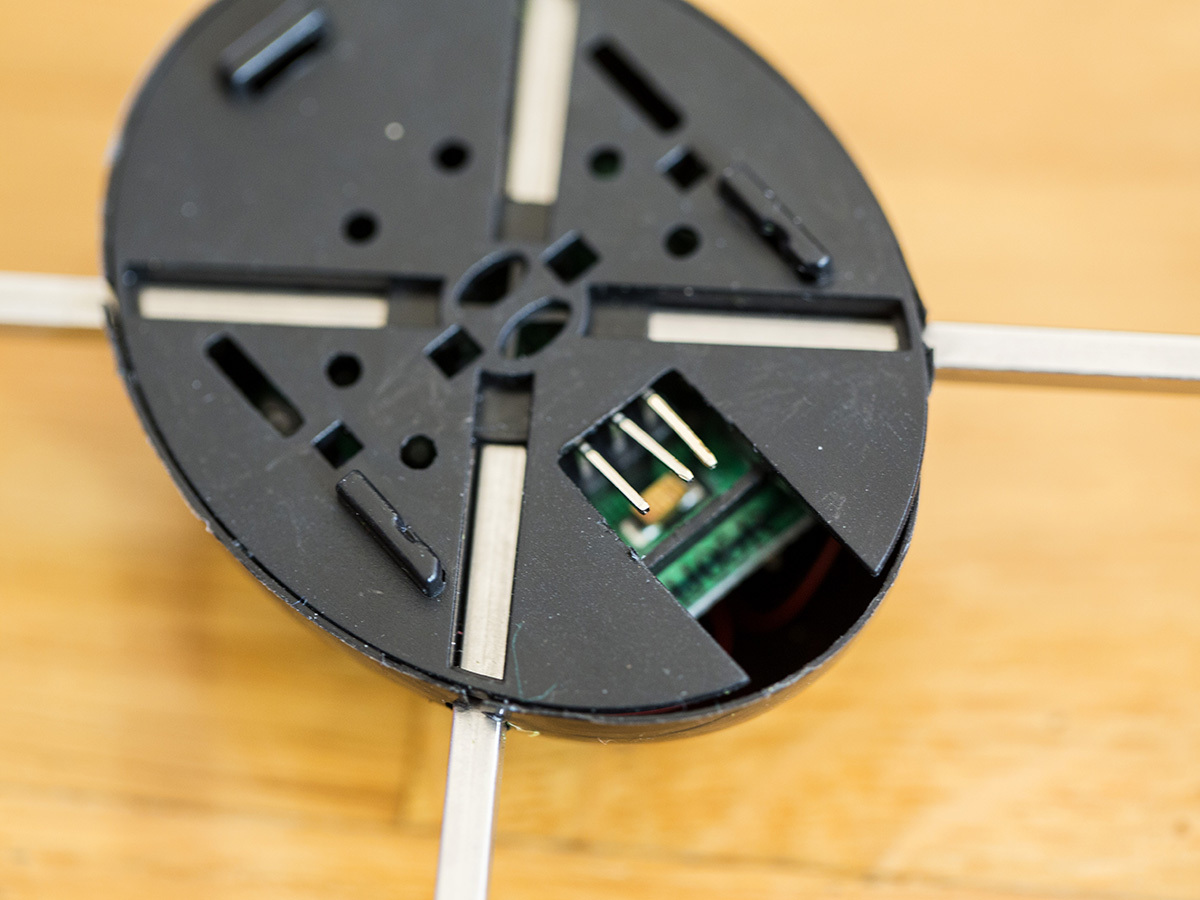
Putting these fairly major qualms aside, I hoped piloting would come naturally once I charged drone’s supplied battery and started to use it. The charger itself uses a three-pin proprietary connector, the like of which I’ve never seen before, so make sure you don’t lose it. Once it’s charged, you push the battery into the same setup of pins on the drone itself.
Be warned, these are flimsily attached and are very easy to bend. Since you can’t see the pins to line up with the battery when you’re inserting it, if one of these pins is slightly bent out of position, you may do it wrong and end up with no power. If you can get the pins lined up correctly, the LED lights on the bottom of the drone start to flash to indicate it’s been switched on.
There’s no on/off button, to cut the power to the drone, you need to take the battery out – this repeated motion is further bad news for the flimsiness of the pins.
Crashing landing #1

Once you’ve charged the a battery and paired the drone with its controller, you’re all set to fly. Need any help? Just follow the extensive instructions supplied in the MicroDrone’s manual…
“Push the left throttle stick up slowly to take off.”
Trouble is, what do you do after that? Take a further look at that manual and you get this helpful tidbit, “For the first flight, power up to around 60% throttle then ease off to the hover position.”
Of course, having never flown this drone before I have no idea how to get to the “hover position”. So the drone crashed to the floor from a height of no more than two metres.
Sadly, that was the end of my first MicroDrone flight. Only two of its propellers produced the correct amount of thrust to take off afterwards, and so it would flip over every time you tried to get it to lift off. Bearing in mind that this drone is designed for the every man user, and when you don’t know how to fly something it’s likely to fall on the floor, it was disappointing to have it break quite so quickly.
A great gimbal › DJI Osmo review
Second flight lucky?
Still, when a replacement arrived I trotted to the local park with a friend of mine who has more experience in flying these things. The wind was calm, the sun was out – what could go wrong?
Initially we had a bit more success with getting the drone to fly, although learning to control it still proved pretty problematic however. With no obvious way to hover it, it would fly off and with very sensitive controls, it came crashing down to earth a few times.
At one point it seemed as if we were starting to get the hang of it, but there still seemed no way to keep the drone in a relatively static position, the position I’d like to use to capture some smooth footage. Nevertheless, I attached the camera to the bottom of the battery (it attaches very simply via magnets), and this time switched to using the smartphone app to control the drone.
Smartphone controls
To do that, you first need to connect to the drone’s wi-fi, which was very straightforward. The app itself is also a lot less intimidating than the remote control, with two touchpad buttons to control the up-down, and left to right movement.
The problem here however is that with the controls packed into a small space, it’s very sensitive – if you push the “virtual” control up a little too fast, the drone will lift off and fly around quickly. It’s something you can learn to get a little bit better at with practice, but it certainly helps if you’re already used to how these things work.
Every time the drone hit the floor from any height of around one metre, the battery and camera would fall off – usually quite near the device, but sometimes a little bit further away. I would advise you keep very close to the drone’s flight path at all times, unless you want to invest in a new camera or battery if they fly off into some nearby shrubbery.
Crash landing #2
On one occasion I was able to get the drone to a decent height, although it’s flight path was rather precarious. Concerned that I might be about to crash into a group of nearby footballers, I brought the drone back down to earth. Perhaps a little bit faster than is advised, but again, no more than is to be expected from a noob flyer such as myself – or anyone you might expect to buy the Micro Drone 3.0.
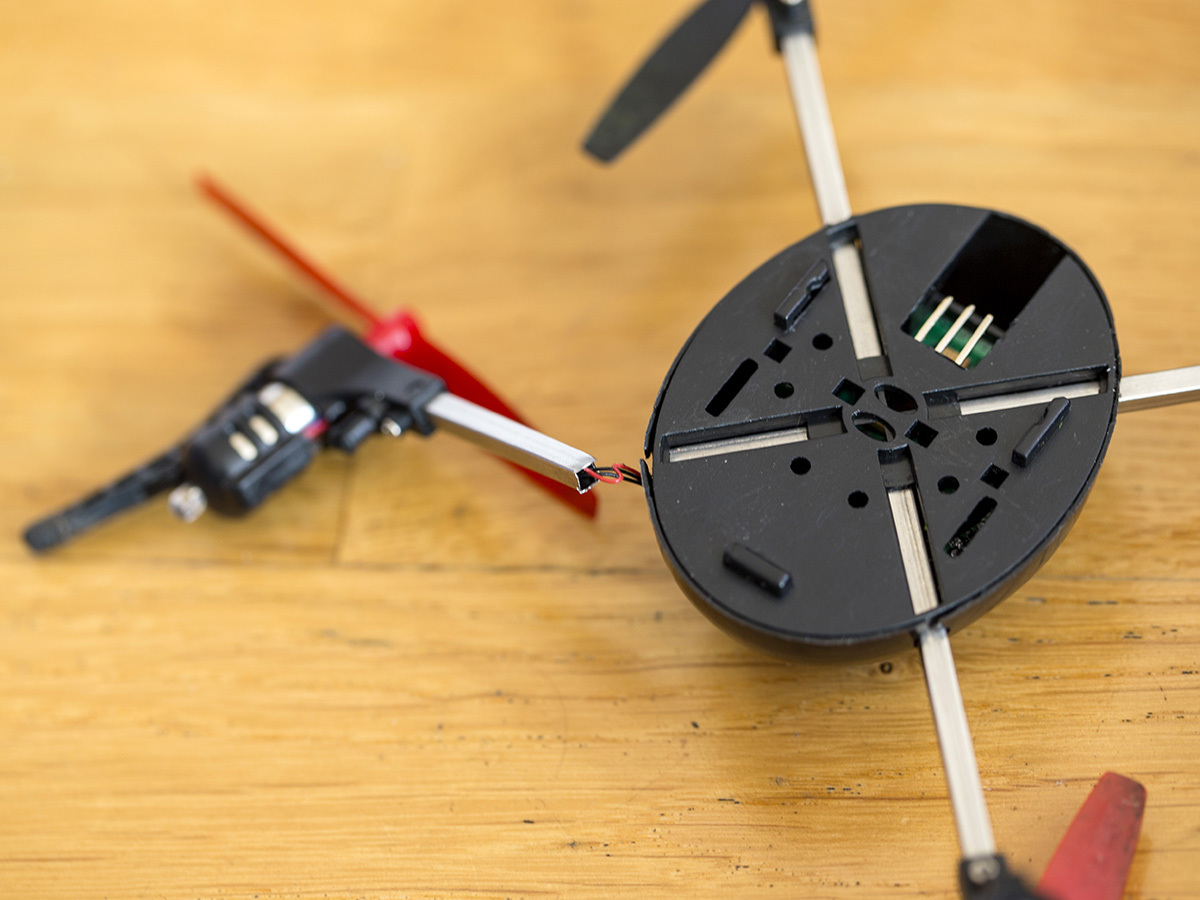
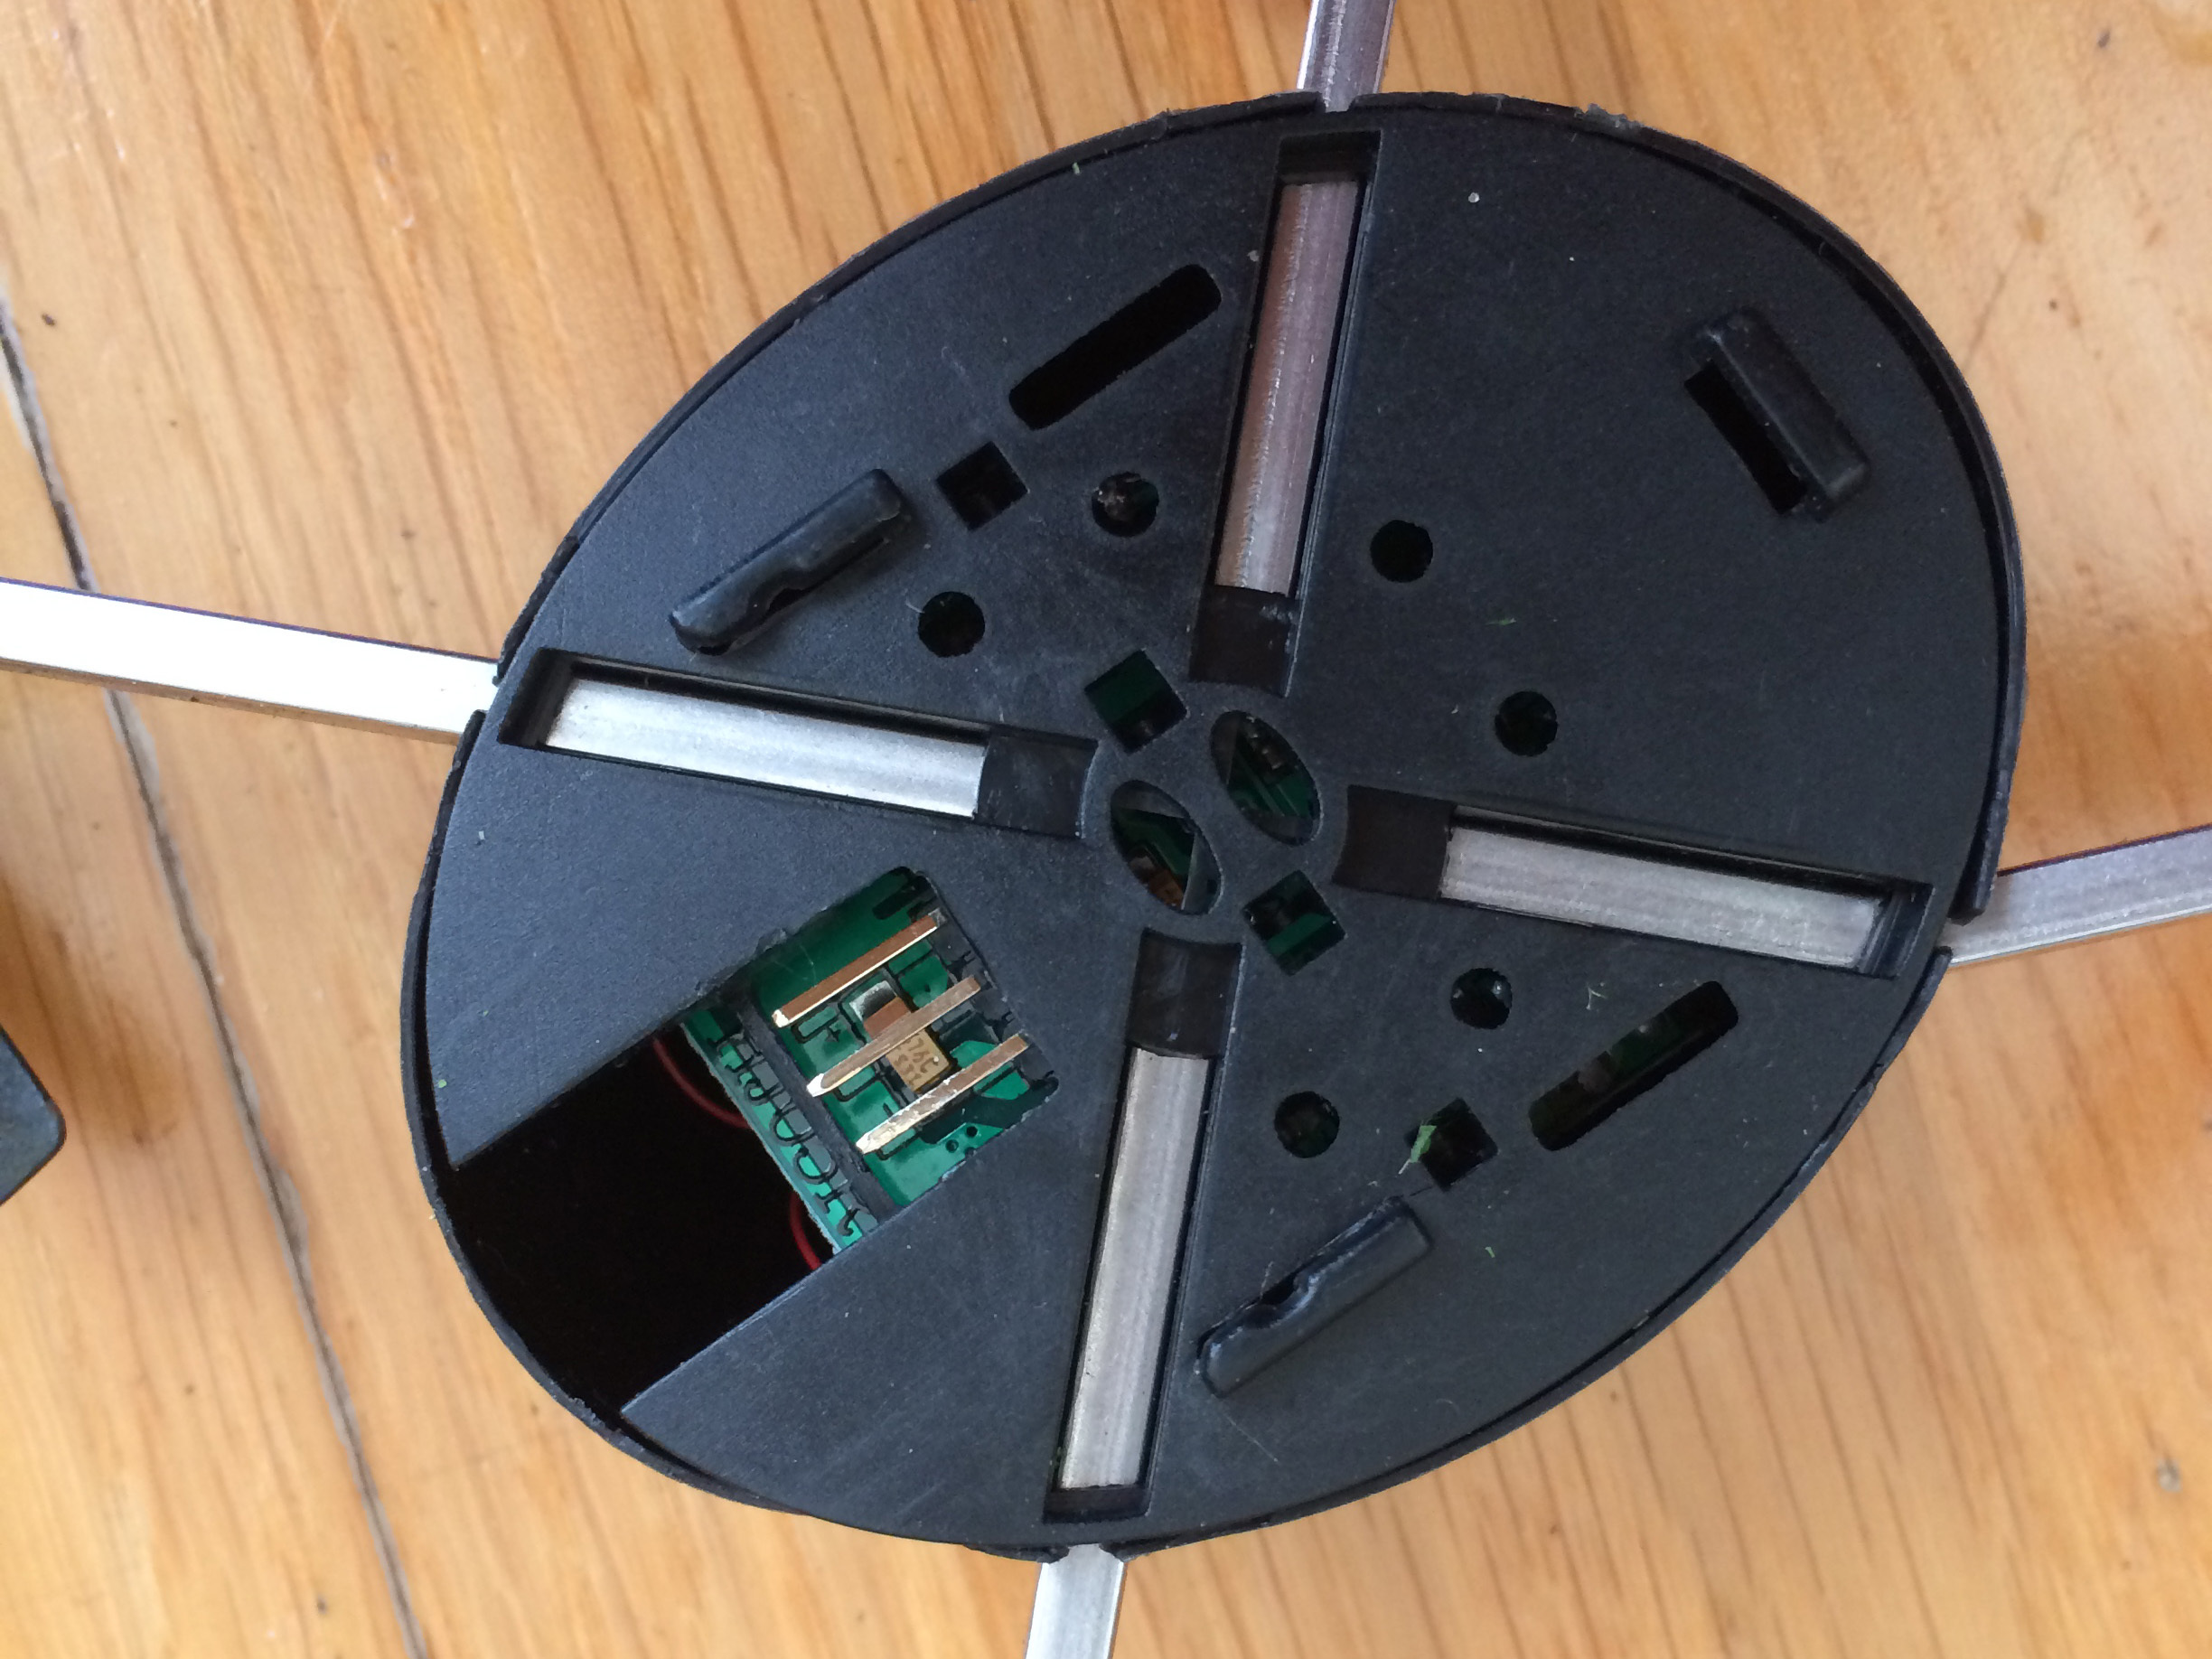
Approaching the drone, the battery and camera were of course detached, as I’d come to expect by now. Picking it up this time I could tell there was a bit more of a problem. One of the arms was bent out shape and the blade guards were looking a little worse for wear. Flipping the drone over and it was clear that the battery pins were even more bent than usual, and it appeared that a piece of plastic had also detached itself (I never found that again).
After some jiggling about I managed to get the battery back in, but it was now hanging on for dear life, and didn’t look like it would survive another flight. Luckily I didn’t have to worry about that as trying to get the drone to lift off now proved fruitless.
Since then I’ve been unable to even get the battery to reinsert since the pins are so badly out of shape, the bent arm has snapped in two, so there’s definitely no way of getting this unit up in the air again.
Micro Drone 3.0 Verdict
Looking at social media comments about the Micro Drone 3.0 proves that sadly, my experience of its poor performance is not unique. It appears to be built and designed so shoddily that just a couple of crashes are fatal.
When you’re just learning how to fly a drone, you can’t be expected to know exactly how it works, how to fly it, and how to avoid it crashing. Especially when the supplied instructions are so basic and poorly written.
While I don’t expect the MicroDrone to be built from titanium and be super robust for the price point, I also don’t expect it to break after just one short half an hour outing on a dry, calm day and where the landing is soft grass.
Sure, the Micro Drone 3.0 is “cheap” in comparison to other drones. During my time with it, I was able to get just a few seconds of usable footage (and even that is nothing to write home about) – so suddenly the cost per second is suddenly starting to look a bit more ‘big budget’.
If you have $175 to throw in the bin, get the Micro Drone 3.0, as sadly that’s the only place where mine is destined to end up.
Tech specs
| Battery | 450mAh Lithium Cell |
| Flight time | Up to 8 minutes |
| Weight | 56g (71g with camera) |
| Dimensions | Height 50mm, diameter 145mm, rotor diameter 55mm |
| Range | 50ft (smartphone), 300ft (2.4Ghz radio) |
| Speed | 45mph |
Stuff Says…
A disappointing result for what looked like to be a fun and promising Indiegogo campaign.
Good Stuff
Attractive price
Bad Stuff
Breaks easily
Poorly written instructions
Awkward design
 Amy Davies
Contributor, Stuff.tv
Amy Davies
Contributor, Stuff.tv